

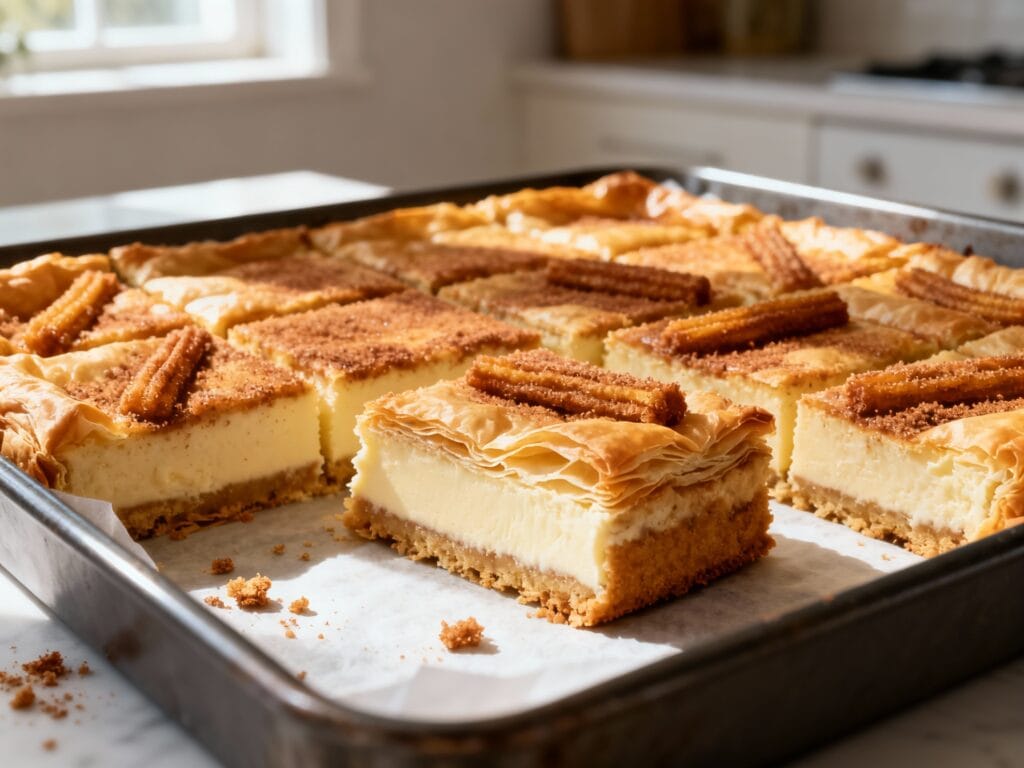
The Easiest Party-Ready Churro Cheesecake with Only 6 Ingredients
If you need a dessert that looks like you tried (but secretly took almost zero effort), this churro cheesecake is the move. It’s got that buttery, cinnamon-sugar churro vibe on the outside and a creamy cheesecake center that chills into sliceable perfection.
It’s also party-ready by design: easy to cut into bars, easy to transport, and impossible for people to “just have one.” Bonus: only 6 ingredients, and they’re the kind you can find at any grocery store.
Why You’ll Love This
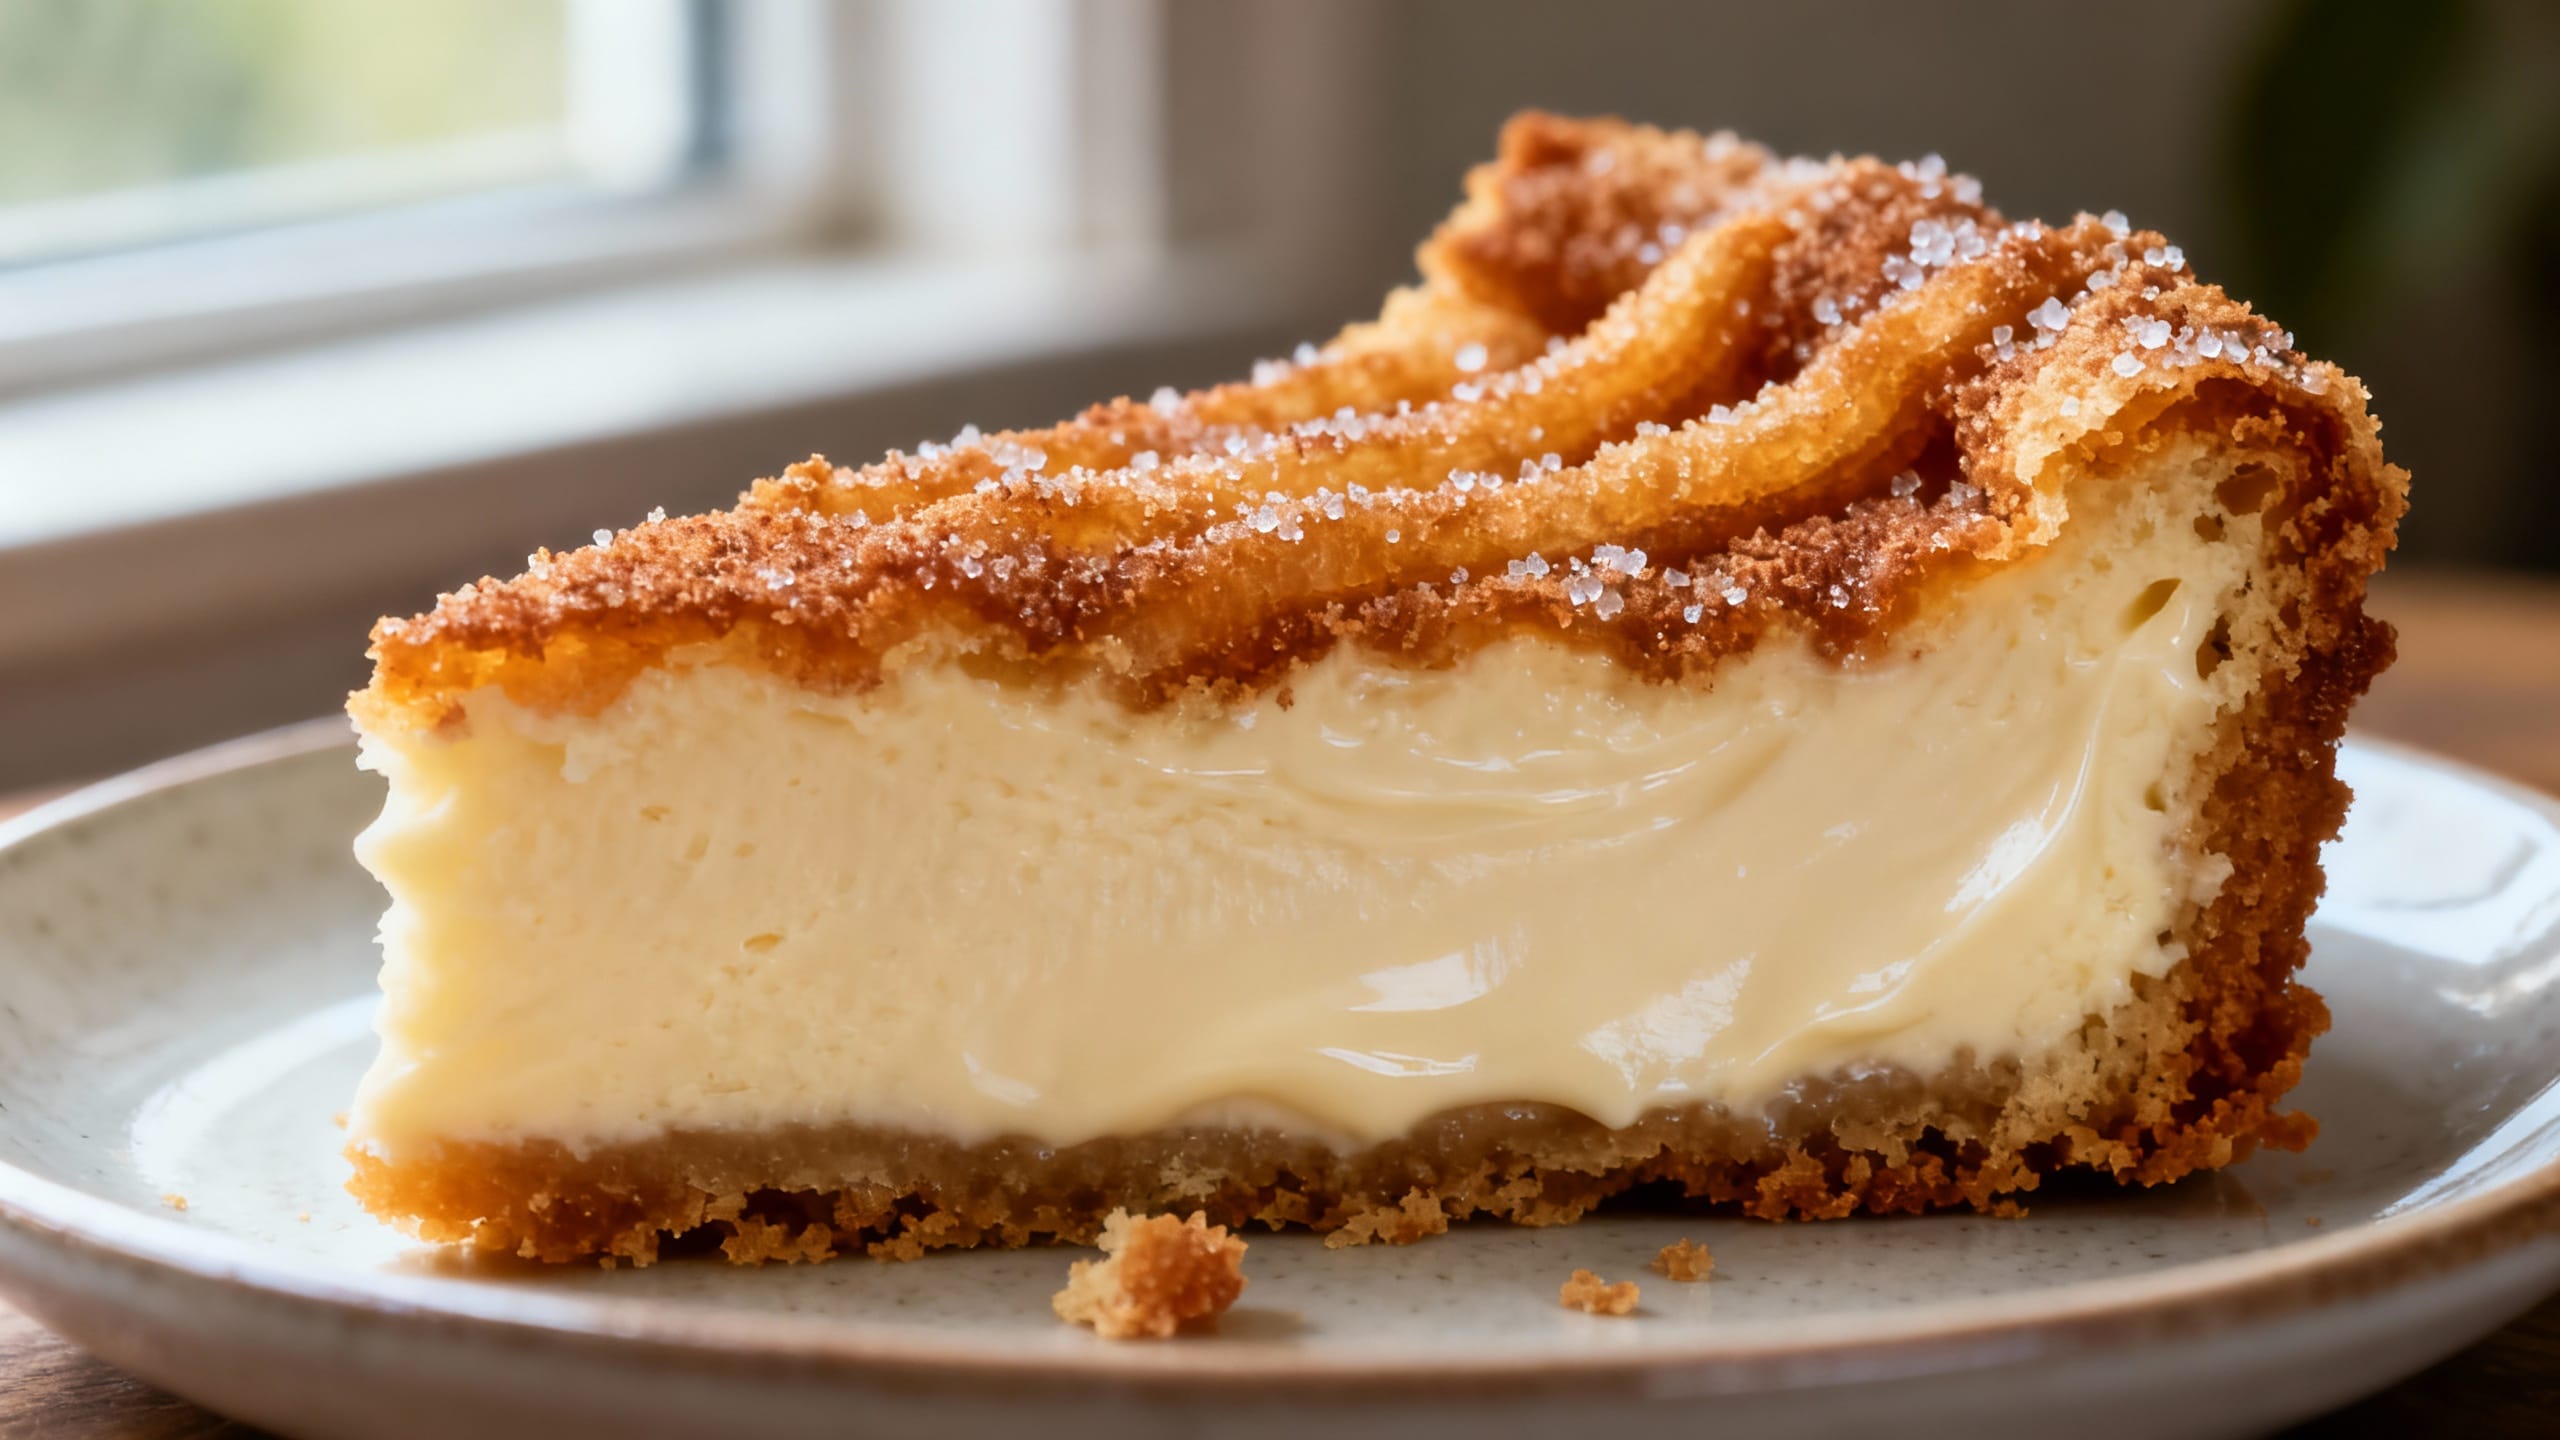
It’s the best of both worlds: crisp, cinnamon-sugar layers with a tangy-sweet cheesecake filling that sets up thick and smooth. No water bath, no fussy crust, no complicated steps—just a quick bake and a chill that turns it into the ultimate shareable treat.
Ingredients
- 2 cans crescent roll dough (8 oz each)
- 16 oz cream cheese, softened
- 1 cup granulated sugar, divided
- 1 teaspoon vanilla extract
- 1 teaspoon ground cinnamon
- 4 tablespoons unsalted butter, melted
How to Make It
- Preheat your oven to 350°F. Lightly grease a 9×13-inch baking dish (or line with parchment for extra-easy lifting and slicing).
- In a small bowl, mix 1/2 cup sugar with the cinnamon. Set aside—this is your churro magic.
- Unroll one can of crescent dough and press it into the bottom of the pan. Pinch seams together so you have one smooth layer.
- Sprinkle about 2 tablespoons of the cinnamon-sugar evenly over the bottom dough layer.
- In a medium bowl, beat the softened cream cheese with the remaining 1/2 cup sugar and vanilla until smooth and creamy (no lumps—take a minute here).
- Dollop the cream cheese mixture over the bottom layer and spread it evenly to the edges. An offset spatula makes this super quick.
- Unroll the second can of crescent dough and lay it on top. Press gently and pinch seams together so it covers the filling.
- Pour the melted butter evenly over the top layer (go slow so it doesn’t pool in one spot). Sprinkle the remaining cinnamon-sugar generously over the buttered top.
- Bake for 25–30 minutes, until the top is golden, slightly puffed, and looks set. If your edges brown faster than the middle, tent loosely with foil for the last few minutes.
- Cool at room temp for about 30 minutes, then refrigerate for at least 2 hours (4 is even better) before slicing into bars.
Tips for the Best Results
- Soften the cream cheese fully: If it’s still cold, you’ll fight lumps. Let it sit out 30–60 minutes or microwave in short bursts (unwrapped) until soft, not melty.
- Pinch those seams: Crescent dough seams can separate and let filling peek through. Press them together for cleaner layers.
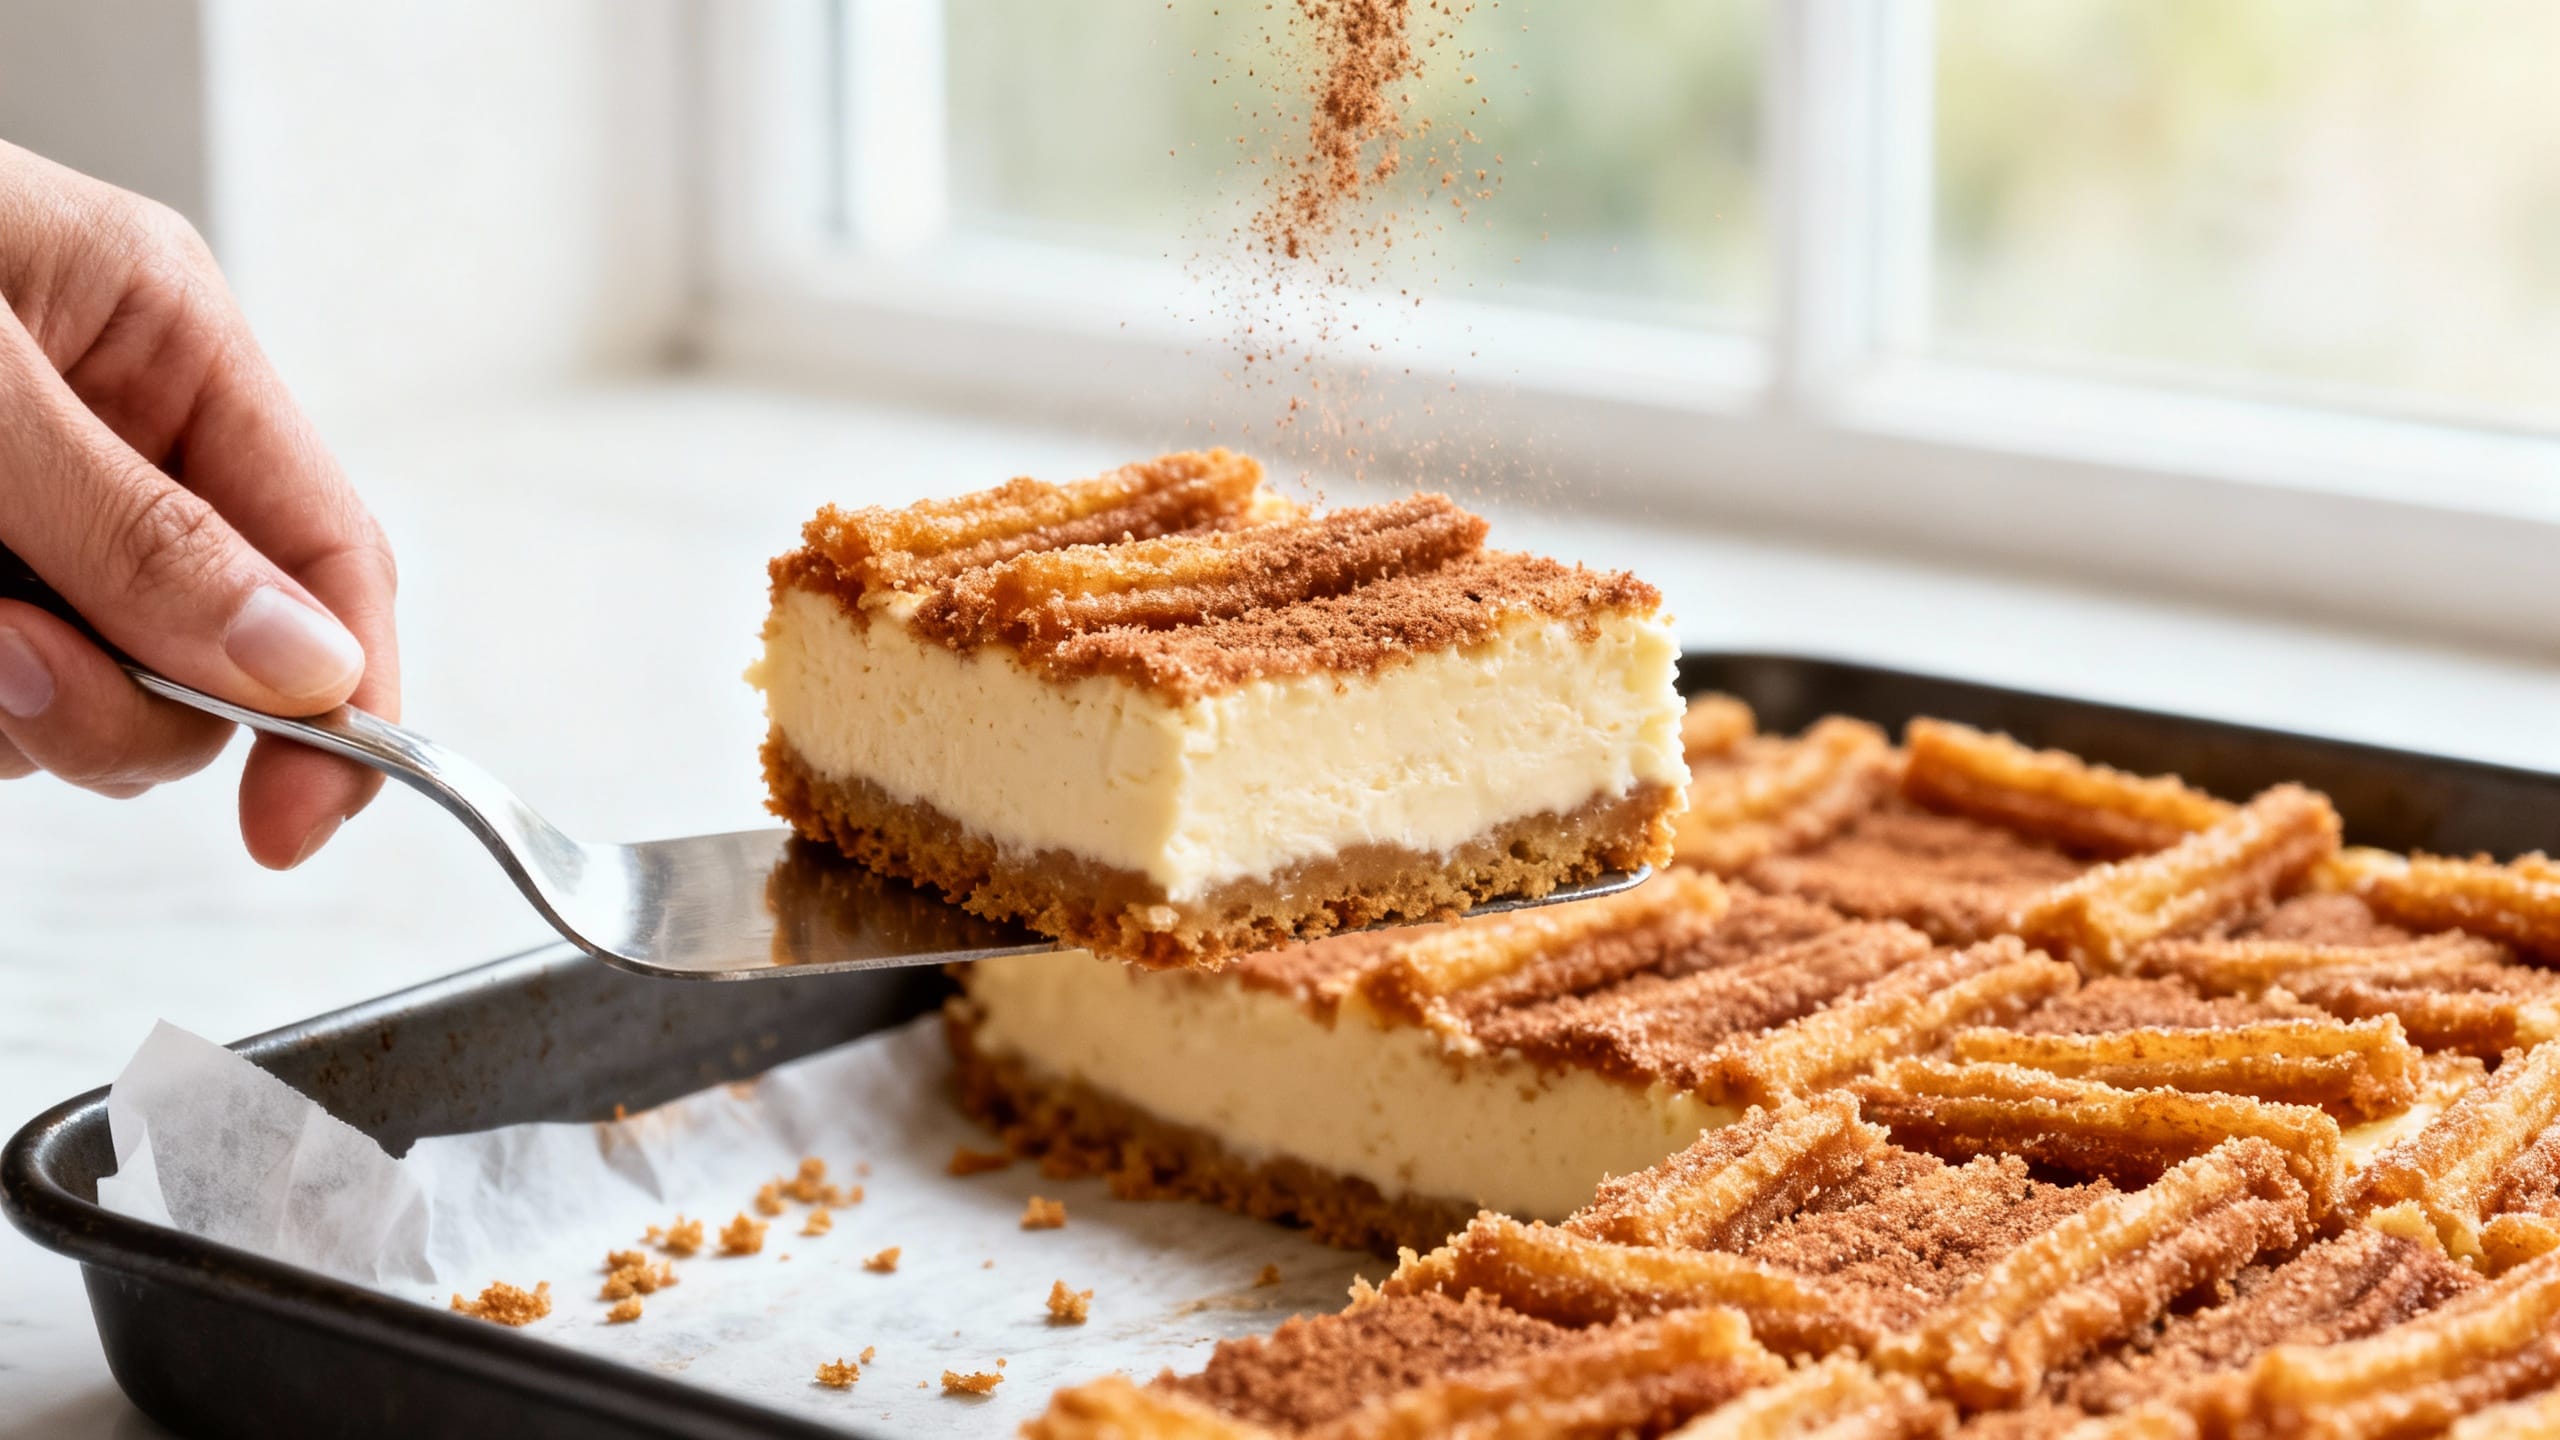
- Chill for clean slices: Warm bars taste great, but they cut like a mess. Cold = neat, bakery-style squares.
- Don’t skimp on the butter: It helps the cinnamon-sugar melt into that classic churro-like crackly top.
- Use a sharp knife and wipe between cuts: One quick wipe gives you those crisp-looking edges that scream “party tray.”
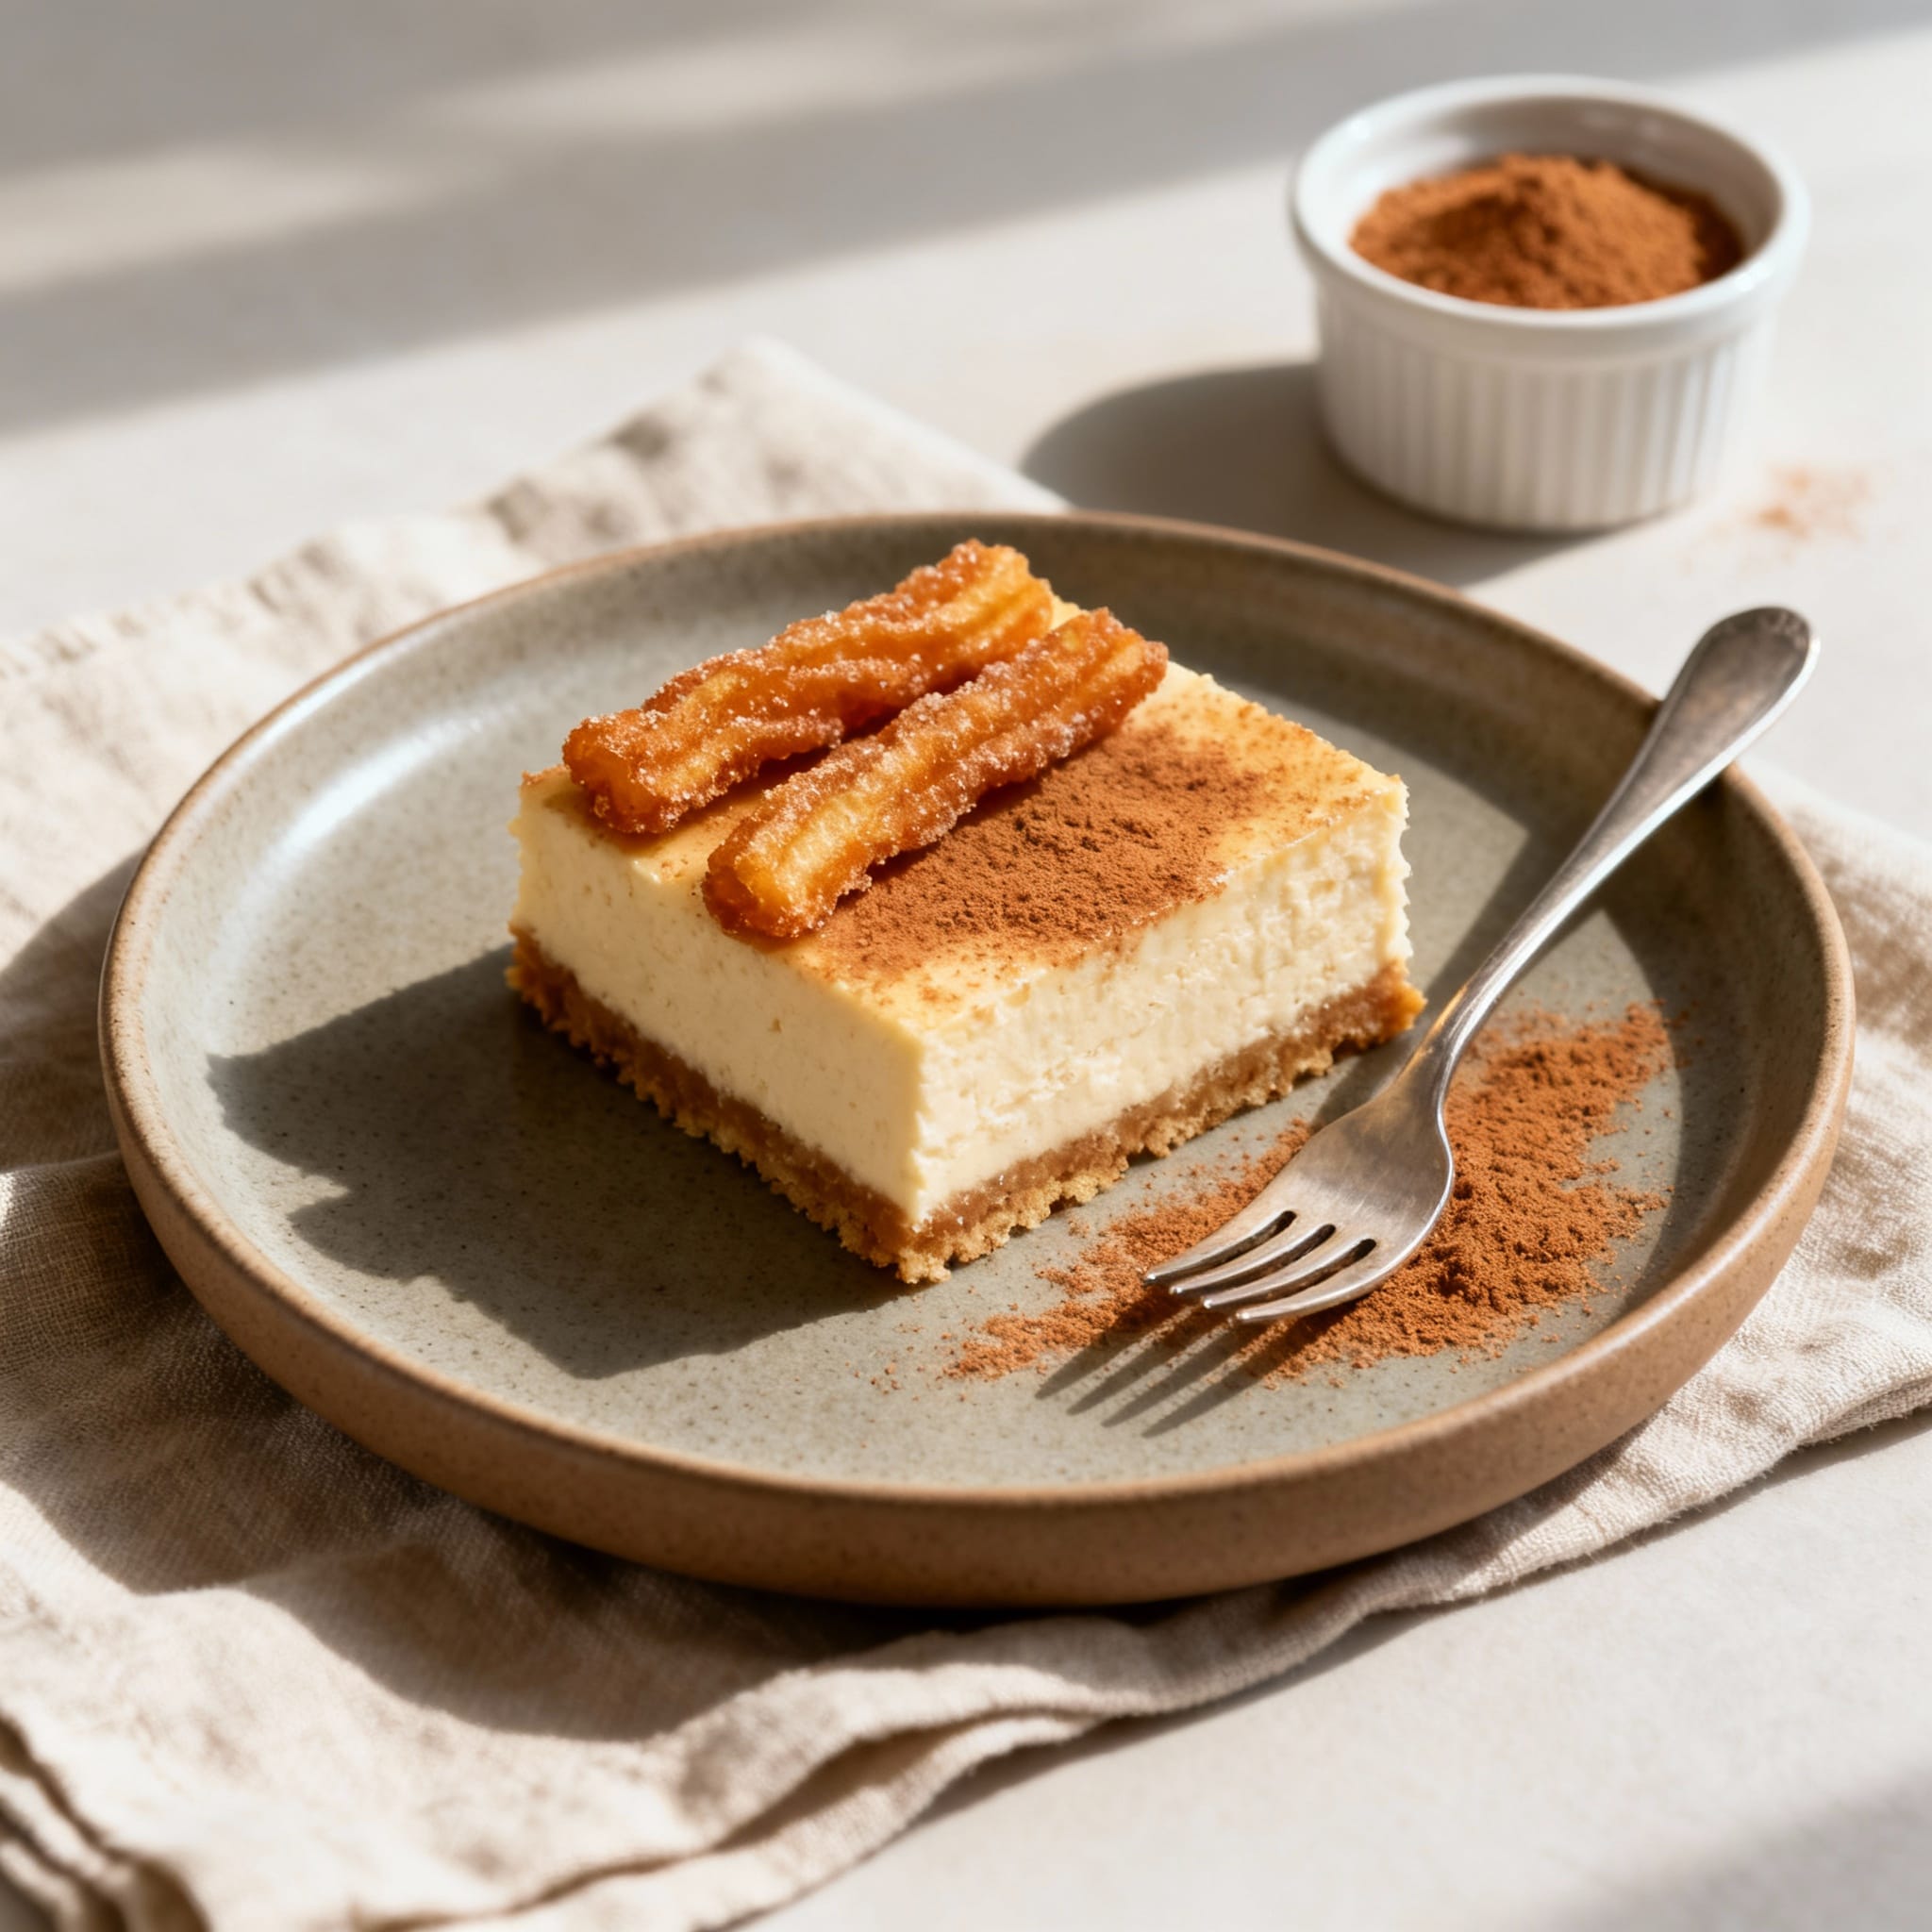
- Want extra sparkle? Sprinkle a tiny pinch of cinnamon-sugar right before serving for that fresh, just-coated look.
Variations
- Dulce de leche drizzle: Warm dulce de leche and drizzle over chilled bars right before serving for a caramel-churro situation.
- Chocolate swirl: Swirl 1/3 cup chocolate spread into the cream cheese layer before adding the top dough.
- Mini party bites: Bake in a parchment-lined 9×13, chill, then cut into small 1.5-inch squares for a dessert table that disappears fast.
- Pumpkin spice twist: Swap cinnamon for pumpkin pie spice (same amount) for a cozy fall version.
- Extra tangy filling: Add 1–2 tablespoons of sour cream to the cream cheese mixture (if you don’t mind going beyond 6 ingredients) for a slightly lighter, tangier set.
Storage & Serving
Store churro cheesecake bars covered in the refrigerator for up to 5 days. Serve chilled for the cleanest slices and the most “cheesecake” texture, or let them sit out for 10–15 minutes if you want a slightly softer bite. For parties, slice ahead, keep cold, and bring out in batches so the top stays crisp and the filling stays set.
FAQ
Do I have to chill it, or can I serve it warm?
You can serve it warm, but it’ll be more like a gooey cream-cheese pastry than a cheesecake bar. For that thick, creamy, sliceable center (and the clean party-ready squares), chill at least 2 hours—4 hours is even better.
How do I keep the crescent layers from sliding around?
Press the bottom layer firmly into the pan and pinch seams closed. When you add the top layer, lay it gently and press lightly—don’t stretch it. Chilling before slicing also helps the layers “lock” together.
Why did my cheesecake filling feel runny after baking?
This usually happens if it wasn’t baked quite long enough or if it wasn’t chilled long enough. The center should look set (not wet) when you take it out, and the real magic happens during chilling as the cream cheese firms up into that cheesecake texture.
Can I make this ahead for a party?
Yes—this is a perfect make-ahead dessert. Bake it the night before, cool, and chill overnight. Slice the next day for the neatest edges, and keep it refrigerated until it hits the dessert table.
What’s the best way to slice it into neat bars?
Chill it well, then use a sharp knife and wipe the blade between cuts. If you lined the pan with parchment, lift the whole slab out onto a cutting board before slicing for extra control and super-straight edges.