

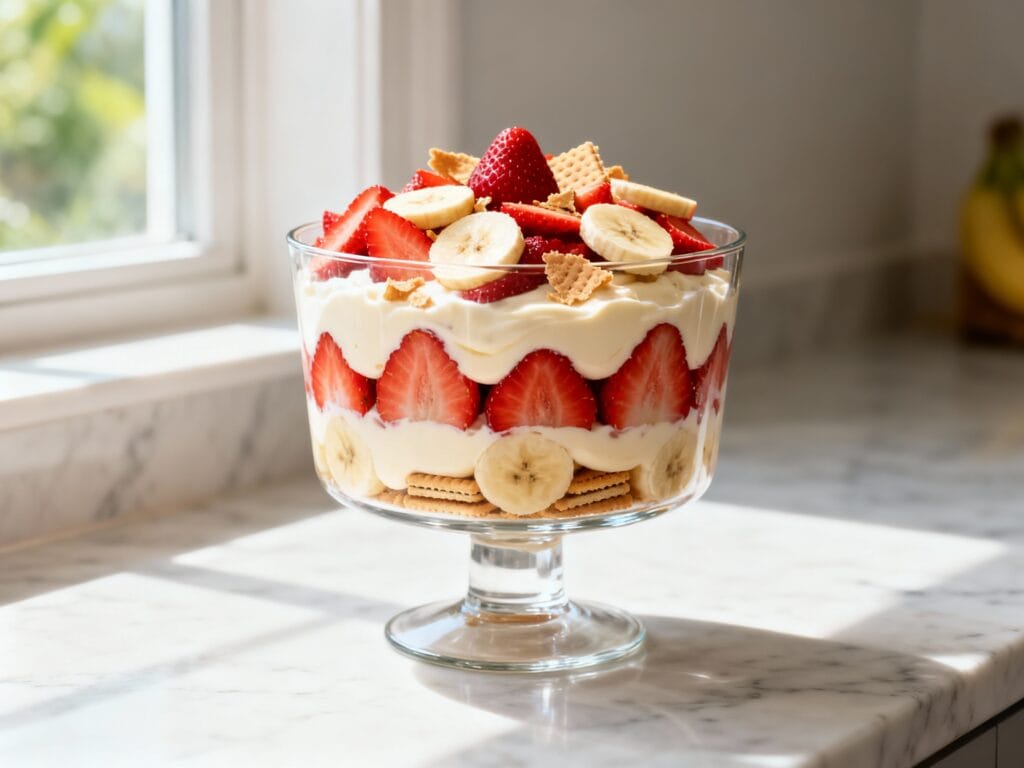
If summer had a signature dessert, this strawberry banana pudding would be it. Creamy vanilla pudding, sweet ripe bananas, juicy strawberries, and those nostalgic vanilla wafers that magically turn cake-y after a chill? It’s the kind of dessert that disappears fast at picnics, potlucks, and “I just want something sweet” moments.
This version tastes like a summer dream on purpose: bright fruit, extra-fluffy whipped topping, and just enough time in the fridge for the layers to become best friends.
Why You’ll Love This
It’s no-bake, low-stress, and always a crowd-pleaser—plus the strawberry-banana combo makes it feel fresh and fun while still delivering that classic, cozy banana pudding vibe.
Ingredients
- 1 (5.1 oz) box instant vanilla pudding mix
- 2 1/2 cups cold milk (whole milk preferred for the creamiest texture)
- 1 (14 oz) can sweetened condensed milk
- 1 teaspoon vanilla extract
- 1 (8 oz) tub whipped topping, thawed (or 2 cups homemade whipped cream)
- 1 (11 oz) box vanilla wafers
- 3–4 ripe bananas, sliced (ripe but not mushy)
- 2 1/2 cups fresh strawberries, hulled and sliced
- 1 tablespoon lemon juice (to toss with bananas, optional but helpful)
- Pinch of fine salt (optional, makes the flavors pop)
How to Make It
- Mix the pudding base: In a large bowl, whisk the instant pudding mix with cold milk for 2 minutes until thickened.
- Add the dreamy richness: Whisk in the sweetened condensed milk, vanilla extract, and a pinch of salt (if using) until smooth.
- Fold in the fluff: Gently fold in the whipped topping until the mixture looks light, creamy, and uniform. Don’t overmix—keep it airy.
- Prep the fruit: Slice bananas and strawberries. If you want the bananas to stay brighter, toss them with the lemon juice.
- Start layering: In a 9×13-inch dish (or a trifle bowl), add a single layer of vanilla wafers on the bottom.
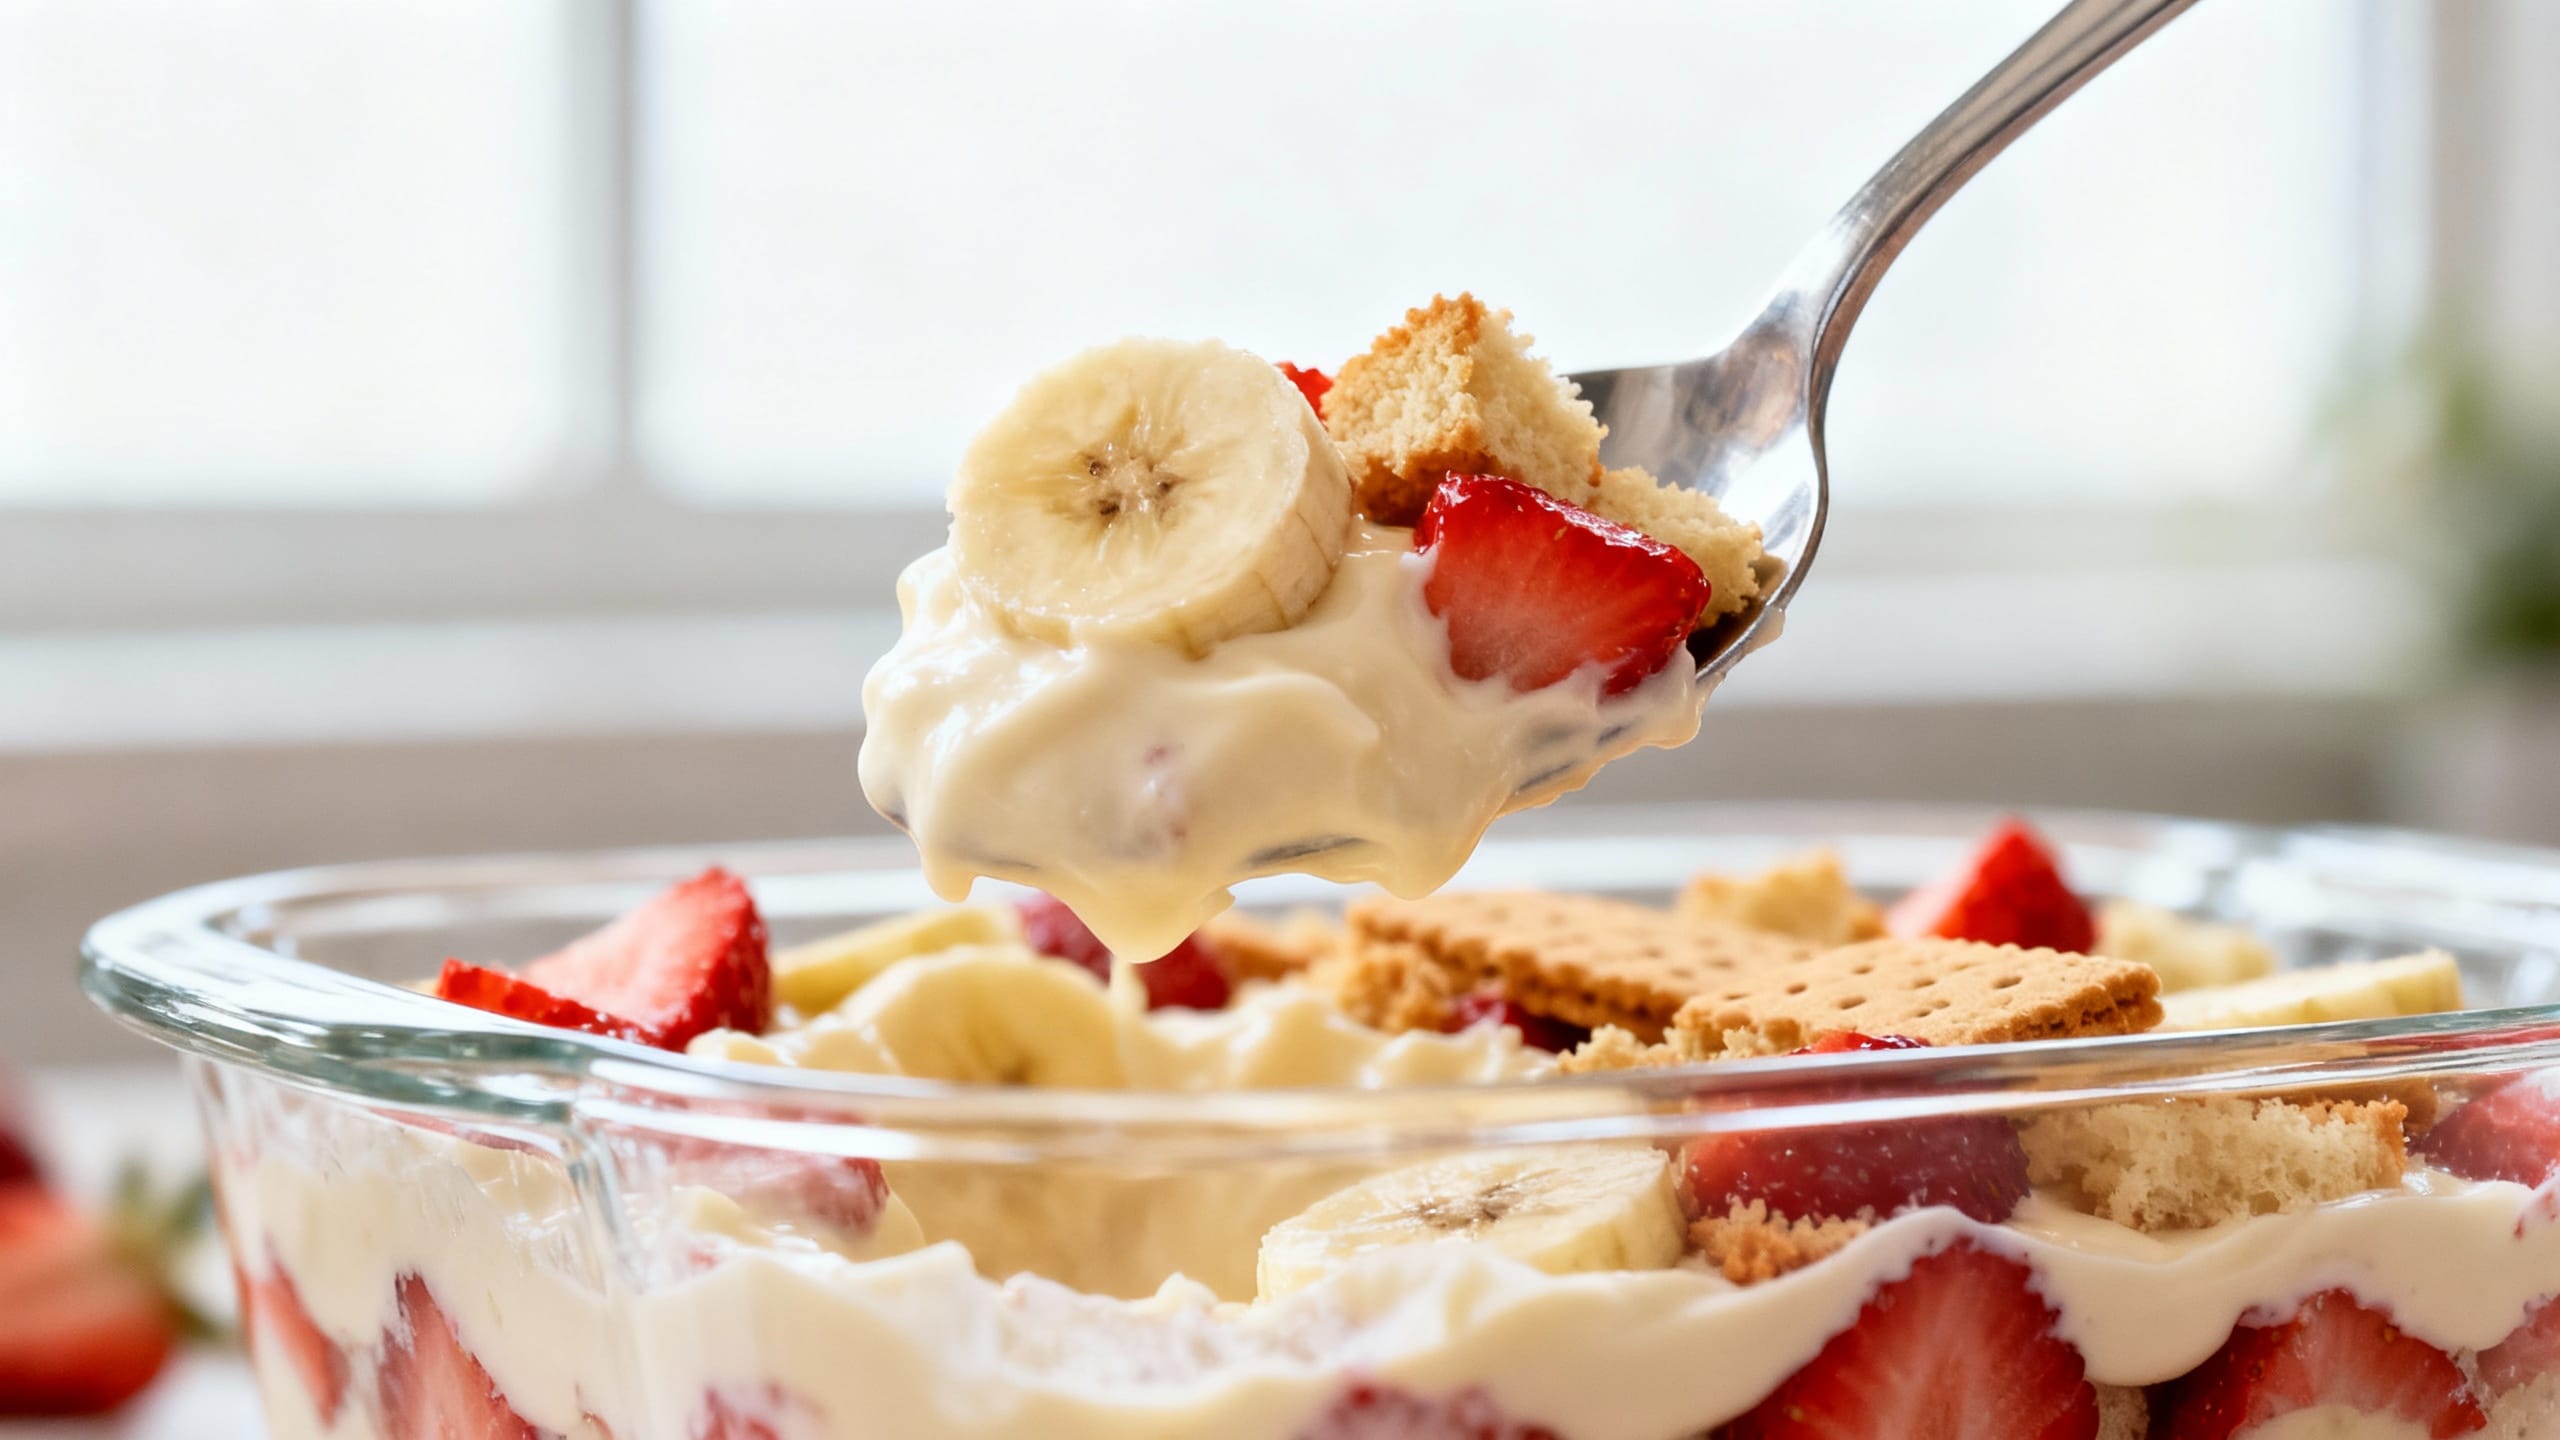
- Add fruit + cream: Spoon on about one-third of the pudding mixture, then scatter a layer of bananas and strawberries over it.
- Repeat the layers: Continue layering wafers, pudding, and fruit until you’ve used everything, finishing with a layer of pudding on top.
- Chill for the magic: Cover and refrigerate for at least 4 hours (overnight is even better) so the wafers soften and the flavors meld.
- Finish and serve: Right before serving, top with extra strawberry slices and a few crushed wafers for that pretty, crunchy finish.
Tips for the Best Results
- Use ripe, firm bananas: You want sweet flavor without turning the layers into banana mush.
- Slice fruit right before assembling: Especially the bananas—fresh slices look better and taste brighter.
- Chill long enough: Four hours is the minimum for soft, spoonable wafers; overnight gives the most “classic pudding” texture.
- Keep the top looking fresh: If you’re serving later, save a handful of strawberry slices for garnish right before serving.
- Layer tightly: Overlap the wafers so every scoop gets that soft cookie-cake bite.
- Want cleaner slices? Chill overnight and use a sharp knife wiped clean between cuts (works surprisingly well).
Variations
- Strawberry cheesecake vibe: Swap vanilla pudding for cheesecake-flavored instant pudding and add a few tablespoons of softened cream cheese when mixing the pudding base.
- Strawberry banana “shortcake”: Use butter cookies or shortbread cookies instead of vanilla wafers.
- Extra strawberry: Add 2–3 tablespoons strawberry jam to the pudding mixture for a subtle berry swirl (don’t overmix; keep it marbled).
- Chocolate-dipped moment: Add mini chocolate chips between layers, or drizzle chocolate syrup over the top right before serving.
- Homemade whipped cream option: Whip 1 cup cold heavy cream with 2 tablespoons powdered sugar and 1 teaspoon vanilla to medium peaks, then fold it in.
- Individual cups: Layer everything into small jars or cups for easy party serving and zero scooping chaos.
Storage & Reheating
Store covered in the refrigerator for up to 3 days. (No reheating needed—this one’s meant to be served chilled.) For the freshest look and texture, add any final garnishes like strawberry slices and crushed wafers right before serving.
FAQ
Can I make strawberry banana pudding the night before?
Yes—overnight is actually ideal. It gives the wafers time to soften into that classic cake-like texture and lets the flavors blend. Just hold back a few strawberries (and crushed wafers) to garnish right before serving so it looks extra fresh.
How do I keep the bananas from turning brown?
Toss the banana slices with about 1 tablespoon lemon juice before layering. It won’t make them taste lemony, but it slows browning. Also, keep the bananas under the pudding layer when possible, since limiting air contact helps.
Can I use frozen strawberries instead of fresh?
Fresh strawberries are best here because frozen berries release a lot of juice and can make the pudding watery. If frozen is what you have, thaw completely, drain very well, and pat dry with paper towels before layering.
What’s the best dish to use for layering?
A 9×13-inch baking dish is the easiest for serving a crowd, while a trifle bowl gives you those pretty layers. For parties, individual cups or jars are super convenient and stay looking neat.
Can I make it without sweetened condensed milk?
You can, but the flavor and texture will be less rich. If you need a swap, use an extra 1/2 cup milk and add 2–4 tablespoons sugar to taste when whisking the pudding, then fold in whipped topping as usual. The condensed milk version is the “summer dream” upgrade, though.