

If you’ve ever been put in charge of “bring dessert” for a party, you already know the pressure. You want something cute, crowd-friendly, and low effort… but still like you totally have your life together.
This No-Bake Strawberry Banana Pudding for Parties is that dessert. It’s creamy, fruity, layered, and honestly kind of impossible to mess up. Bonus: you can make it ahead, stash it in the fridge, and show up looking like the host’s favorite guest.
Why You’ll Love This
It’s a zero-oven, big-batch dessert with classic strawberry-banana vibes, soft vanilla wafers, and a fluffy pudding layer that tastes like nostalgia (but upgraded). It travels well, serves a crowd, and disappears fast—so you’ll want to snag a spoonful early.
Ingredients
- 1 (5.1 oz) box instant vanilla pudding mix
- 3 cups cold milk (whole milk gives the creamiest texture)
- 1 (14 oz) can sweetened condensed milk
- 1 teaspoon vanilla extract
- 8 oz cream cheese, softened
- 1 (8 oz) tub whipped topping (or 2 1/2 cups homemade whipped cream)
- 1 (11 oz) box vanilla wafer cookies
- 4–5 ripe bananas, sliced (not overripe and mushy)
- 1 1/2 to 2 cups fresh strawberries, hulled and sliced
- Optional: 1–2 tablespoons lemon juice (for tossing banana slices)
- Optional garnish: extra crushed wafers, strawberry slices, banana coins
How to Make It
- Whisk the pudding base. In a large bowl, whisk the instant pudding mix with cold milk for about 2 minutes until it starts to thicken. Set aside for 5 minutes.
- Mix in the condensed milk and vanilla. Whisk the sweetened condensed milk and vanilla extract into the pudding until smooth and glossy.
- Beat the cream cheese. In a separate bowl, beat the softened cream cheese until completely smooth (no lumps). This is key for that cheesecake-like creaminess.
- Combine for the creamy layer. Add the pudding mixture to the cream cheese and beat until smooth and fully combined.
- Fold in the whipped topping. Gently fold the whipped topping into the pudding mixture until fluffy and uniform. Try not to overmix—you want it light.
- Prep the fruit. Slice bananas and strawberries. If you’re making this a few hours ahead, toss banana slices with a little lemon juice to slow browning (you won’t taste it much).
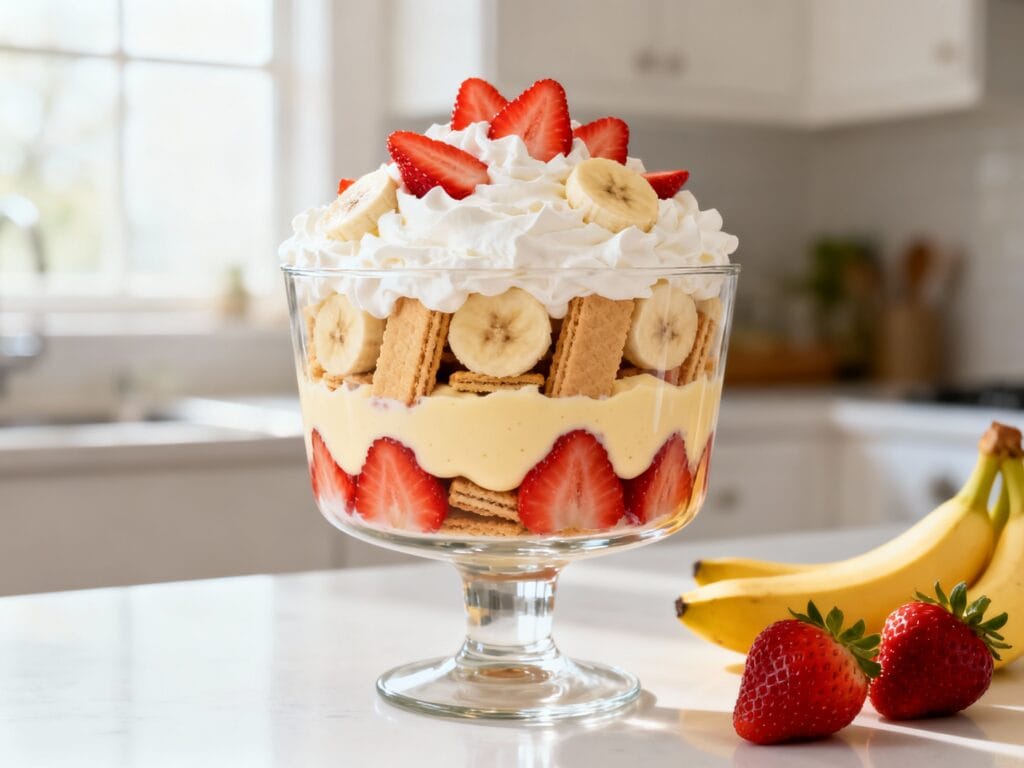
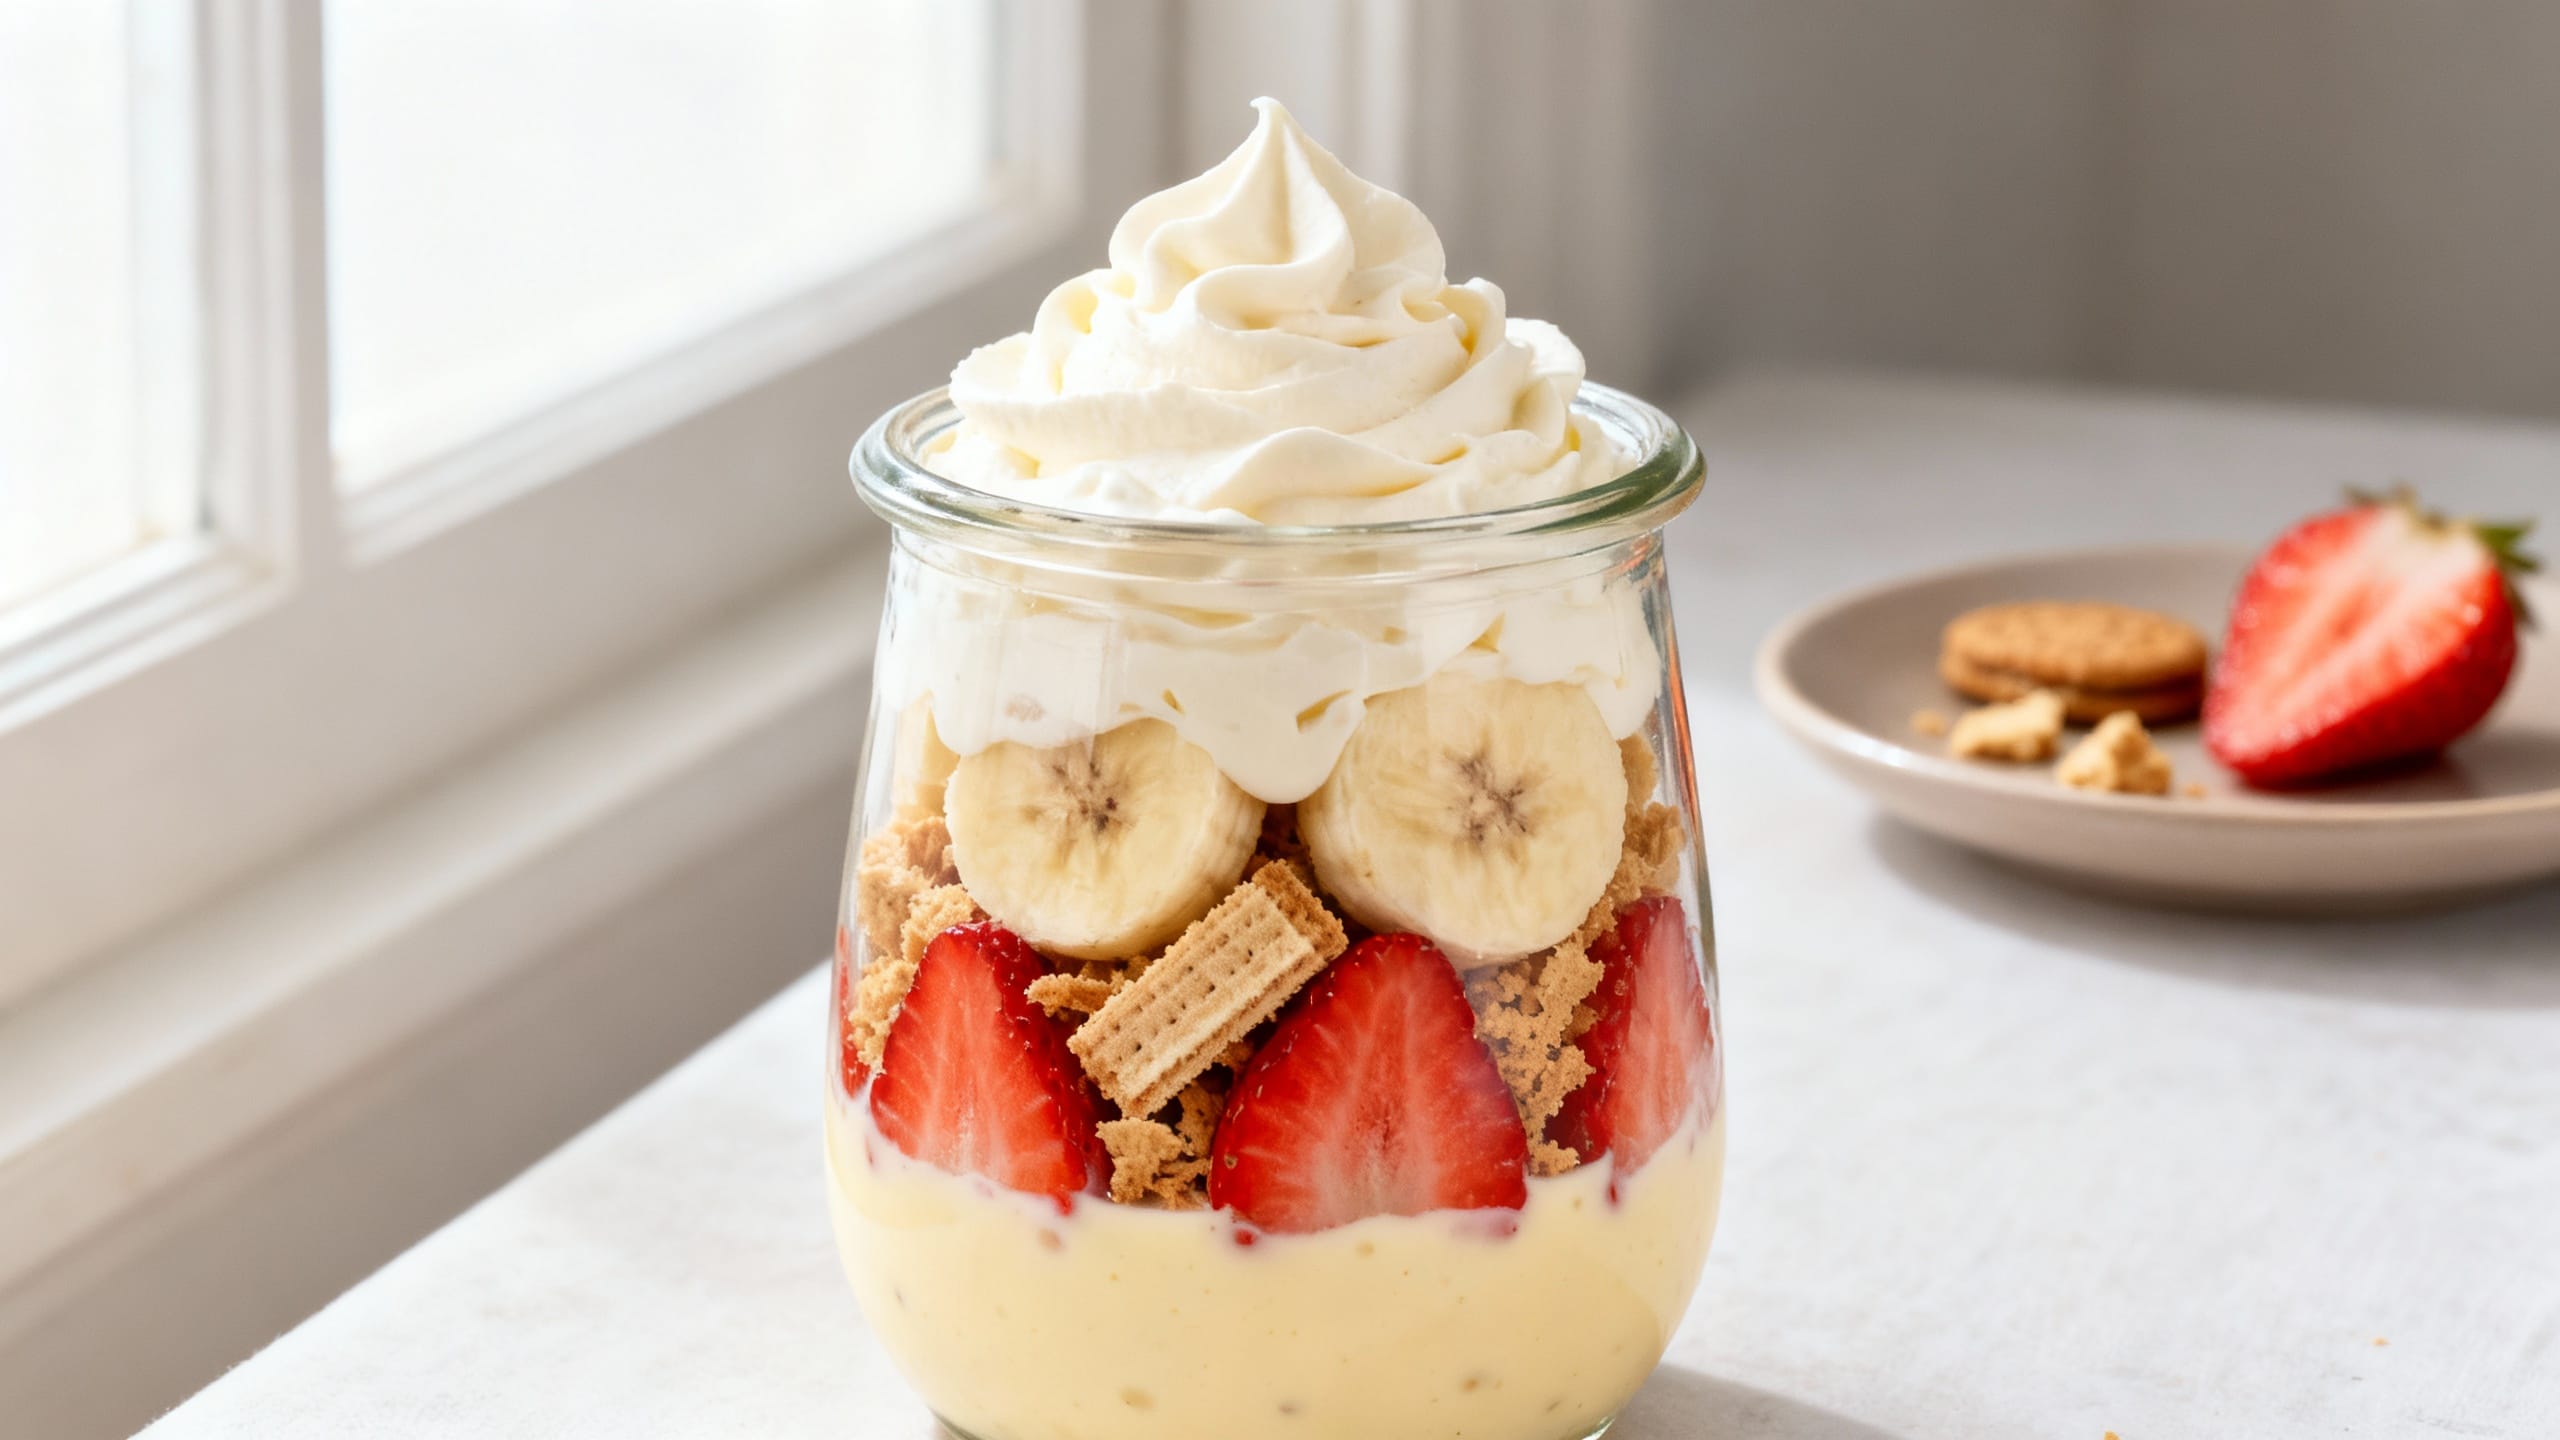
- Layer it up. In a trifle bowl or a 9×13-inch dish, add a layer of vanilla wafers, then a layer of pudding cream, then bananas, then strawberries. Repeat layers until you run out, ending with pudding cream on top.
- Chill for that perfect texture. Cover and refrigerate for at least 4 hours (overnight is even better) so the wafers soften into that classic pudding cake vibe.
- Finish and serve. Right before serving, add garnish: crushed wafers, extra fruit, or a few whole wafers around the edge for party presentation points.
Tips for the Best Results
- Use ripe-but-firm bananas. Super soft bananas can turn watery and mushy in the layers.
- Softened cream cheese matters. Let it sit at room temp for 30–45 minutes so it blends smoothly without lumps.
- Chill time is not optional. The magic happens when the wafers soften and the layers set. Aim for 4+ hours.
- Keep the top pretty. If you want the fruit on top to look fresh, add the final banana/strawberry garnish right before serving.
- For clean slices, use a 9×13. A trifle is cute, but a baking dish makes party portions easy and consistent.
- Don’t overmix after adding whipped topping. Fold gently to keep the pudding layer airy and scoopable.
Variations
- Chocolate-strawberry banana: Use chocolate pudding mix instead of vanilla and add a sprinkle of mini chocolate chips between layers.
- Strawberry cheesecake vibe: Swap vanilla wafers for graham crackers and add 1/2 teaspoon lemon zest to the pudding cream.
- Berry mix party version: Add blueberries or raspberries for extra color (and more “wow” on the table).
- Mini party cups: Layer everything in clear cups or jars for grab-and-go servings. Great for potlucks and kids’ parties.
- Lighter swap: Use 1/3-less-fat cream cheese and light whipped topping. Still tasty, just slightly less rich.
Storage & Reheating
Store covered in the refrigerator for up to 2 days for the best texture (it’s still safe up to 3, but the bananas soften and brown more). This is a no-bake chilled dessert, so there’s no reheating—just scoop straight from the fridge and serve.
FAQ
How far in advance can I make no-bake strawberry banana pudding for a party?
You can make it up to 24 hours ahead, and it actually gets better after a long chill. If you want the fruit on top to look extra fresh, save a few strawberry slices and banana coins to garnish right before serving.
How do I keep the bananas from turning brown?
Toss the banana slices with 1–2 tablespoons of lemon juice before layering. Also, keep bananas tucked between pudding layers (less air exposure) and add any “pretty” banana garnish at the last minute.
Can I use fresh whipped cream instead of whipped topping?
Yes. Whip 1 1/2 cups cold heavy cream with 2–3 tablespoons powdered sugar to stiff peaks, then fold it in. Homemade whipped cream tastes amazing, but the dessert may soften a bit faster than with whipped topping, so keep it chilled.
What’s the best dish to use for serving at parties?
A 9×13-inch dish is the easiest for buffet-style serving and clean scoops. A trifle bowl looks extra cute for display, and individual cups are perfect if you want zero mess and super quick grab-and-go portions.
Can I freeze strawberry banana pudding?
Freezing isn’t ideal because bananas and pudding change texture when thawed (watery, a little grainy, and the wafers can get weird). If you need a make-ahead plan, refrigerate it and aim to serve within 48 hours.