

Nothing says “I did that” quite like homemade cream puffs. They look bakery-level fancy, but the secret is that pâte à choux is mostly about timing and confidence (and yes, you can absolutely pull it off at home).
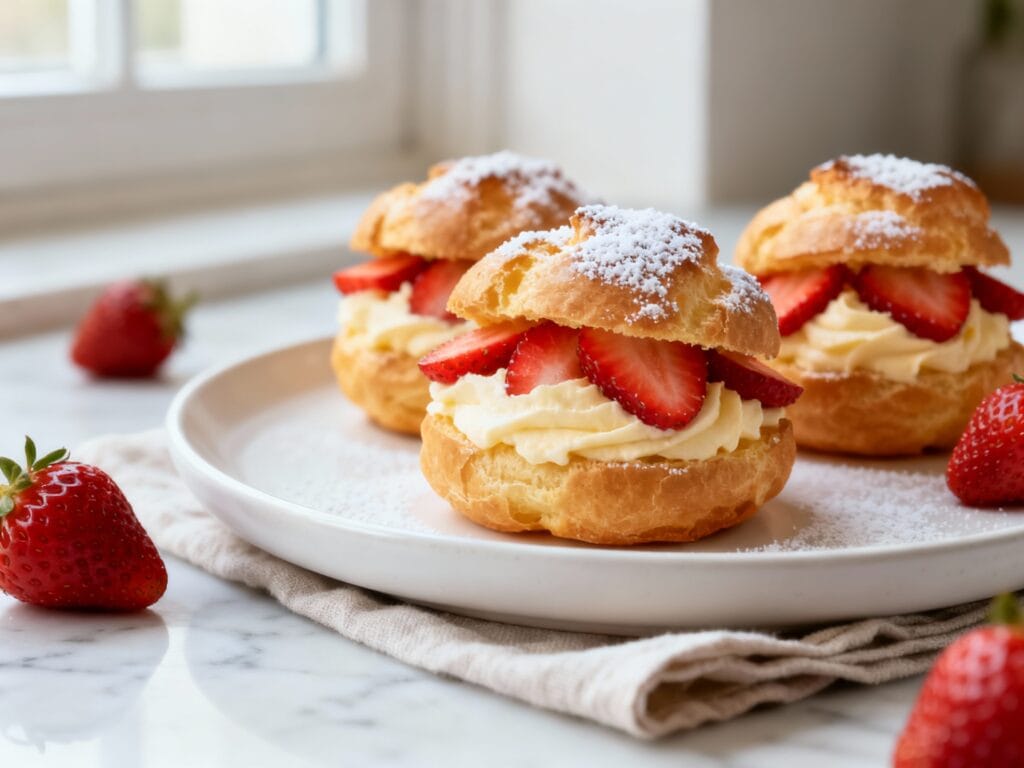
These Homemade Strawberry Cream Puffs are crisp, golden shells filled with fluffy strawberry cream and a little extra fresh berry moment on top. Below is a true step-by-step so you’re not guessing at texture, doneness, or when to stop mixing.
Why You’ll Love This
They’re light, airy, and feel special without being complicated: you bake one simple dough, whip a quick strawberry cream, and assemble right before serving for that perfect crisp-meets-creamy bite.
Ingredients
- 1/2 cup (120 ml) water
- 1/2 cup (120 ml) whole milk
- 8 tbsp (113 g) unsalted butter, cut into pieces
- 1 tbsp granulated sugar
- 1/2 tsp fine salt
- 1 cup (125 g) all-purpose flour
- 4 large eggs, room temperature
- 1 cup (240 ml) cold heavy whipping cream
- 4 oz (115 g) cream cheese, softened
- 1/2 cup (60 g) powdered sugar
- 1 tsp vanilla extract
- 1 to 1 1/2 cups fresh strawberries, finely chopped (plus extra sliced for topping)
- Optional: 1–2 tsp lemon juice (brightens the strawberry flavor)
- Optional: powdered sugar for dusting
How to Make It
- Prep. Preheat oven to 425°F (220°C). Line a baking sheet with parchment paper. If you want evenly sized puffs, draw 2-inch circles on the parchment and flip it over so the ink doesn’t touch the dough.
- Boil the base. In a medium saucepan over medium heat, combine water, milk, butter, sugar, and salt. Stir until the butter melts, then bring to a full simmer (you want actual bubbling, not just steaming).
- Make the panade. Add flour all at once. Stir vigorously with a wooden spoon or sturdy spatula until a thick dough forms. Keep cooking and stirring for 60–90 seconds, until a thin film forms on the bottom of the pan and the dough looks smooth and slightly glossy.
- Cool slightly, then add eggs. Transfer dough to a mixing bowl. Let it cool for 3–5 minutes (so it won’t scramble the eggs). Add eggs one at a time, mixing well after each. The dough will look separated at first, then come together. You’re done when it’s smooth, shiny, and forms a “V” shape as it falls from the spoon/spatula.
- Pipe and bake. Spoon dough into a piping bag fitted with a round tip (or snip the corner off a sturdy zip-top bag). Pipe 10–12 mounds, about 2 inches wide, spacing them apart. Smooth any peaks with a fingertip dipped in water. Bake at 425°F for 10 minutes, then reduce heat to 375°F (190°C) and bake 18–22 minutes more, until deeply golden and firm.
- Dry the shells. Turn off the oven. Poke a small hole in the side of each puff (knife tip or skewer) to let steam escape, then return them to the turned-off oven with the door cracked for 10 minutes. Cool completely on a rack.
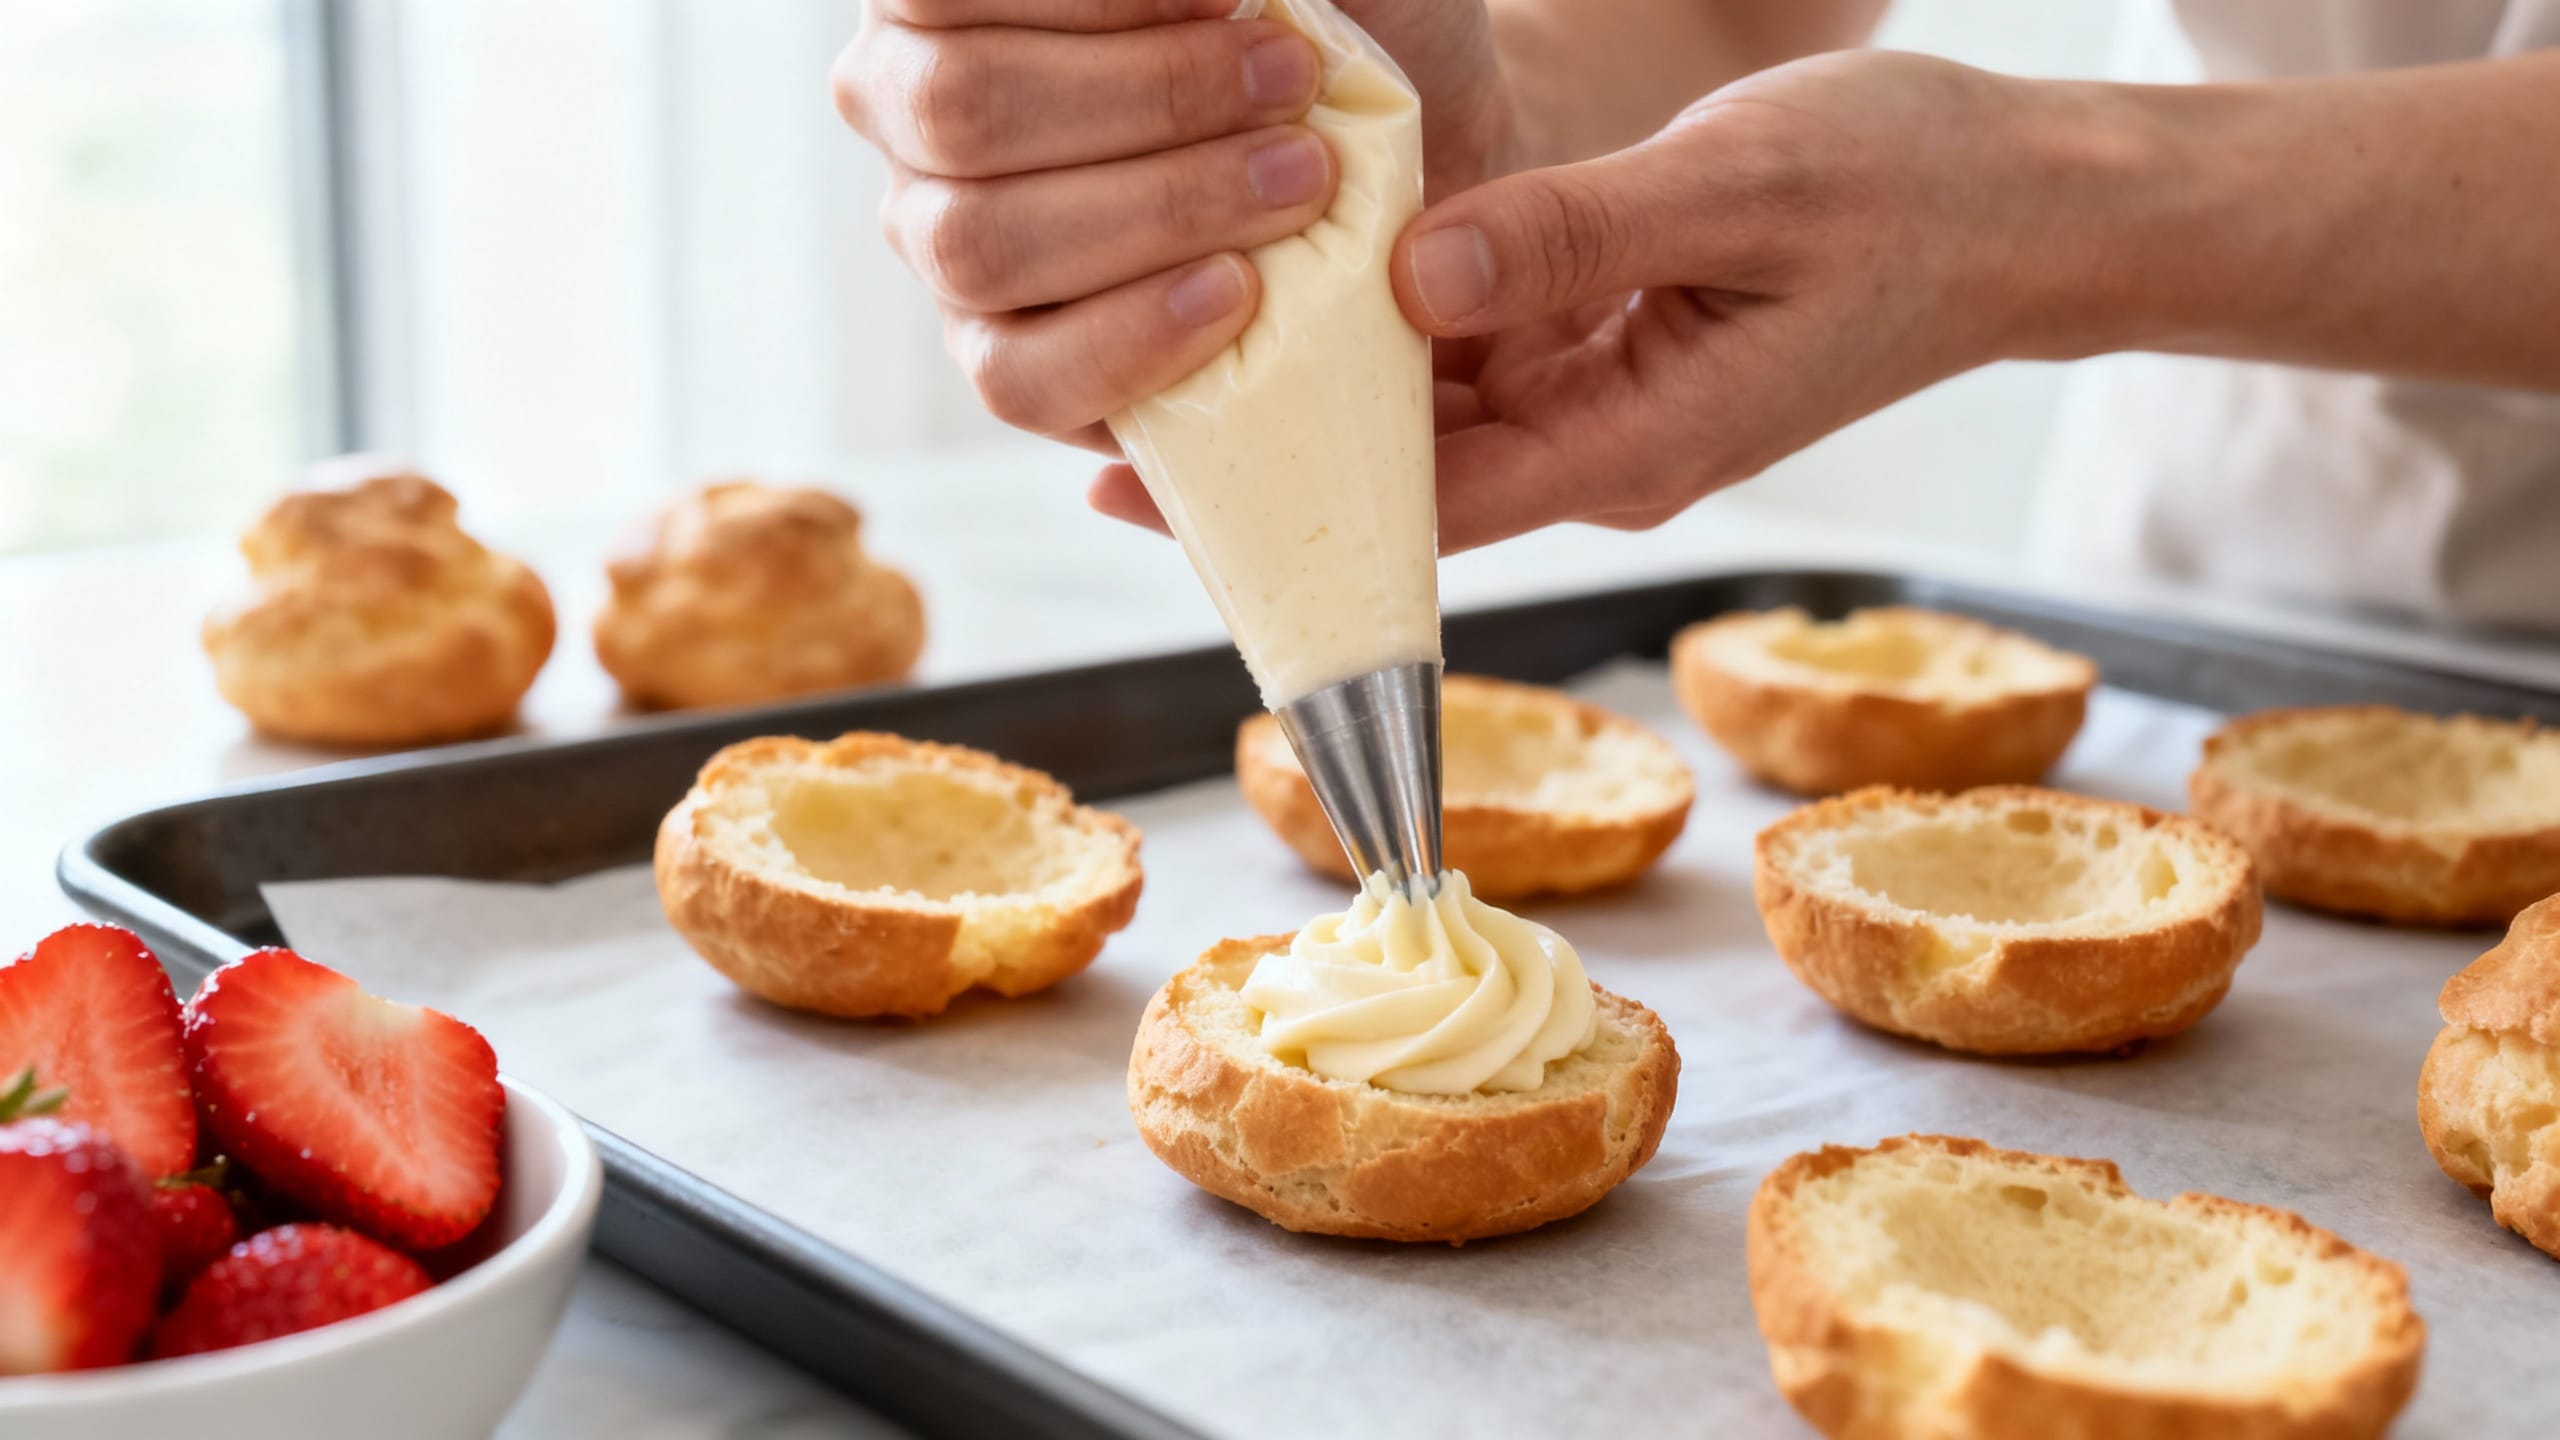
- Make strawberry cream. In a bowl, beat cream cheese until smooth. Add powdered sugar and vanilla and beat again. Slowly pour in cold heavy cream and whip until thick, fluffy peaks form. Fold in finely chopped strawberries (and lemon juice if using). If your strawberries are super juicy, pat them dry first.
- Fill and finish. Slice each puff in half or cut a small lid off the top. Pipe or spoon in strawberry cream. Add a few strawberry slices, replace the top, and dust with powdered sugar if you’re feeling extra.
Tips for the Best Results
- Measure flour correctly: Spoon into the measuring cup and level off. Too much flour = dense puffs.
- Don’t rush the drying step: That extra time (film on the pan + drying in the oven) helps prevent collapse.
- Room-temp eggs matter: They blend in smoother and help the dough emulsify properly.
- Watch color, not just time: Cream puffs should be a rich golden brown. Pale puffs often deflate.
- Keep the oven door closed: Don’t peek during baking, especially in the first 20 minutes.
- Chill your cream tools: A cold bowl and beaters make whipping faster and more stable.
- Manage strawberry moisture: Finely chop, pat dry, and fold in at the end so the cream stays thick.
Variations
- Strawberry shortcake vibes: Add a spoonful of strawberry jam to the cream and top with crushed graham crackers.
- Chocolate-dipped: Dip the tops in melted chocolate and let set before filling.
- Pastry cream option: Fill with vanilla pastry cream and add strawberries for a more classic French feel.
- Lemon strawberry: Add 1 tsp lemon zest to the cream and a tiny pinch of salt to make flavors pop.
- Mini cream puffs: Pipe 1-inch rounds and reduce bake time by a few minutes (still aim for deep golden).
Storage & Reheating
For the crispiest results, store unfilled shells at room temp in an airtight container for up to 2 days, or freeze up to 2 months. Filled cream puffs should be refrigerated and enjoyed within 24 hours. To re-crisp unfilled shells, warm at 300°F (150°C) for 5–8 minutes, then cool before filling.
FAQ
Why did my cream puffs collapse after baking?
Usually they weren’t baked long enough (too pale) or they trapped steam inside. Bake until deeply golden and firm, then poke a small vent hole and let them dry in the turned-off oven with the door cracked for 10 minutes.
How do I know my choux dough has the right egg amount?
After mixing in the eggs, the dough should be smooth and glossy and fall from a spatula in a thick “V” shape. If it’s stiff and breaks off in chunks, it likely needs more egg (beat another egg separately and add a little at a time). If it’s runny and can’t hold a mound, there’s too much egg.
Can I make these strawberry cream puffs ahead of time?
Yes: bake the shells up to 2 days ahead (or freeze them), and make the strawberry cream up to 1 day ahead. Assemble right before serving so the shells stay crisp.
My strawberry cream turned watery—what happened?
Fresh strawberries release juice quickly, especially if they’re very ripe. Finely chop and pat dry, fold them in at the end, and avoid overmixing. If needed, add 1–2 extra tablespoons of powdered sugar or chill the cream 20–30 minutes to help it firm up.
Can I fill cream puffs without a piping bag?
Totally. Slice them in half and spoon the strawberry cream inside, or use a zip-top bag with the corner snipped off. It won’t be quite as “bakery perfect,” but it’ll taste exactly as good.