

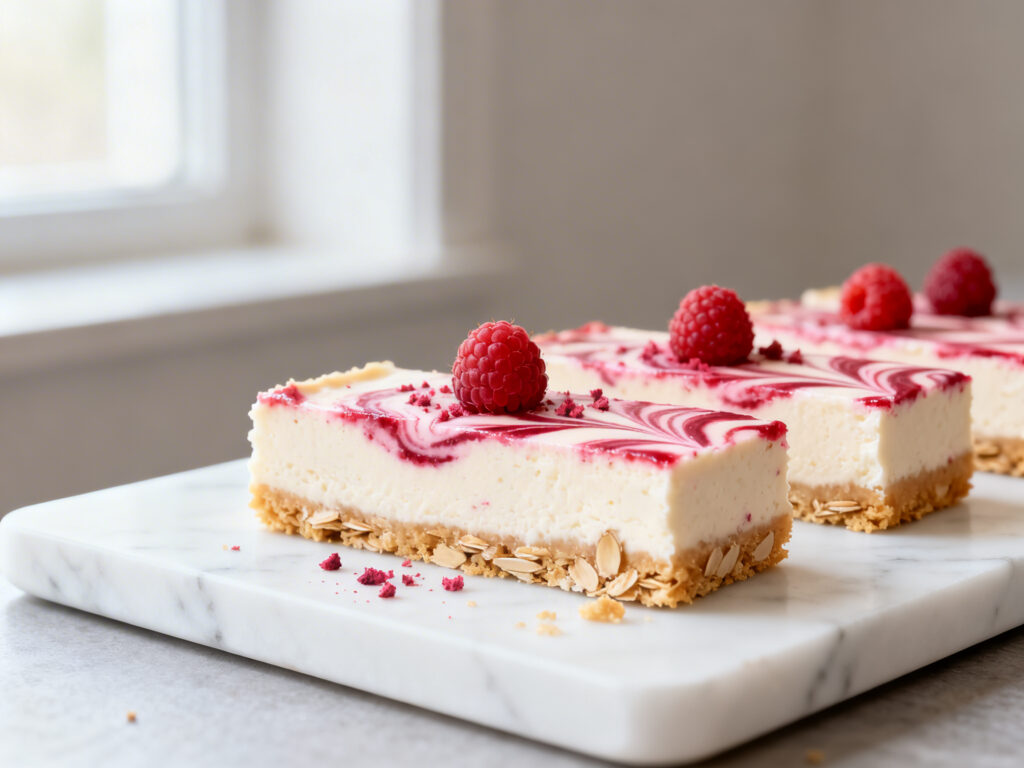
If you love cheesecake but don’t love the sugar crash, these Healthy Raspberry Cheesecake Bars are about to become your new go-to. They’re creamy, tangy, and loaded with bright raspberry flavor—without the “I just ate dessert for dinner” feeling.
These bars are naturally lower in sugar, and I’m also giving you a high-protein option that still tastes like a legit treat. Perfect for meal prep, post-workout snacks, or a cute little dessert moment after lunch.
Why You’ll Love This
They’re the best of both worlds: real cheesecake vibes with a lighter ingredient list, a jammy raspberry swirl, and an easy bar format that slices clean and stores like a dream.
Ingredients
- For the crust: 1 1/2 cups almond flour, 2 tablespoons melted butter (or coconut oil), 2 tablespoons maple syrup (or sugar-free syrup), 1/2 teaspoon vanilla extract, 1/8 teaspoon salt
- For the raspberry swirl: 1 1/2 cups raspberries (fresh or frozen), 1–2 tablespoons chia seeds, 1–2 tablespoons sweetener of choice (maple syrup, honey, or a zero-cal sweetener), 1 teaspoon lemon juice
- For the cheesecake filling: 16 oz (2 blocks) reduced-fat cream cheese, softened, 1 cup plain Greek yogurt (2% or nonfat), 2 large eggs, 1/3 cup sweetener of choice (maple syrup, honey, or a granulated zero-cal sweetener), 1 tablespoon lemon zest, 2 teaspoons vanilla extract, 1 tablespoon cornstarch (or arrowroot starch), pinch of salt
- High-protein option (swap in): Replace 1/2 cup of the Greek yogurt with 1/2 cup blended cottage cheese or add 1 scoop (about 25–30g) vanilla protein powder and reduce cornstarch to 2 teaspoons
How to Make It
- Prep your pan. Preheat oven to 325°F (163°C). Line an 8×8-inch pan with parchment, leaving overhang so you can lift the bars out later.
- Make the crust. In a bowl, mix almond flour, melted butter, maple syrup, vanilla, and salt until it looks like damp sand. Press firmly into the bottom of the pan (use the bottom of a measuring cup to pack it tight).
- Pre-bake. Bake crust for 10 minutes, then let it cool while you make the filling. Keep the oven on.
- Cook the raspberry swirl. In a small saucepan over medium heat, warm raspberries until they break down (about 4–6 minutes). Stir in chia seeds, sweetener, and lemon juice. Simmer 1–2 minutes, then remove from heat to thicken.
- Mix the filling. In a large bowl, beat softened cream cheese until smooth. Add Greek yogurt, eggs, sweetener, lemon zest, vanilla, cornstarch, and salt. Mix until creamy and mostly lump-free (don’t overwhip—just smooth).
- Assemble. Pour cheesecake filling over the crust and smooth the top. Dollop raspberry mixture across the surface.
- Swirl. Use a knife or skewer to gently swirl the raspberry through the top (a few figure-eights is enough—don’t fully mix it in).
- Bake. Bake 30–38 minutes, until the edges are set and the center has a slight jiggle (like Jell-O, not liquid).
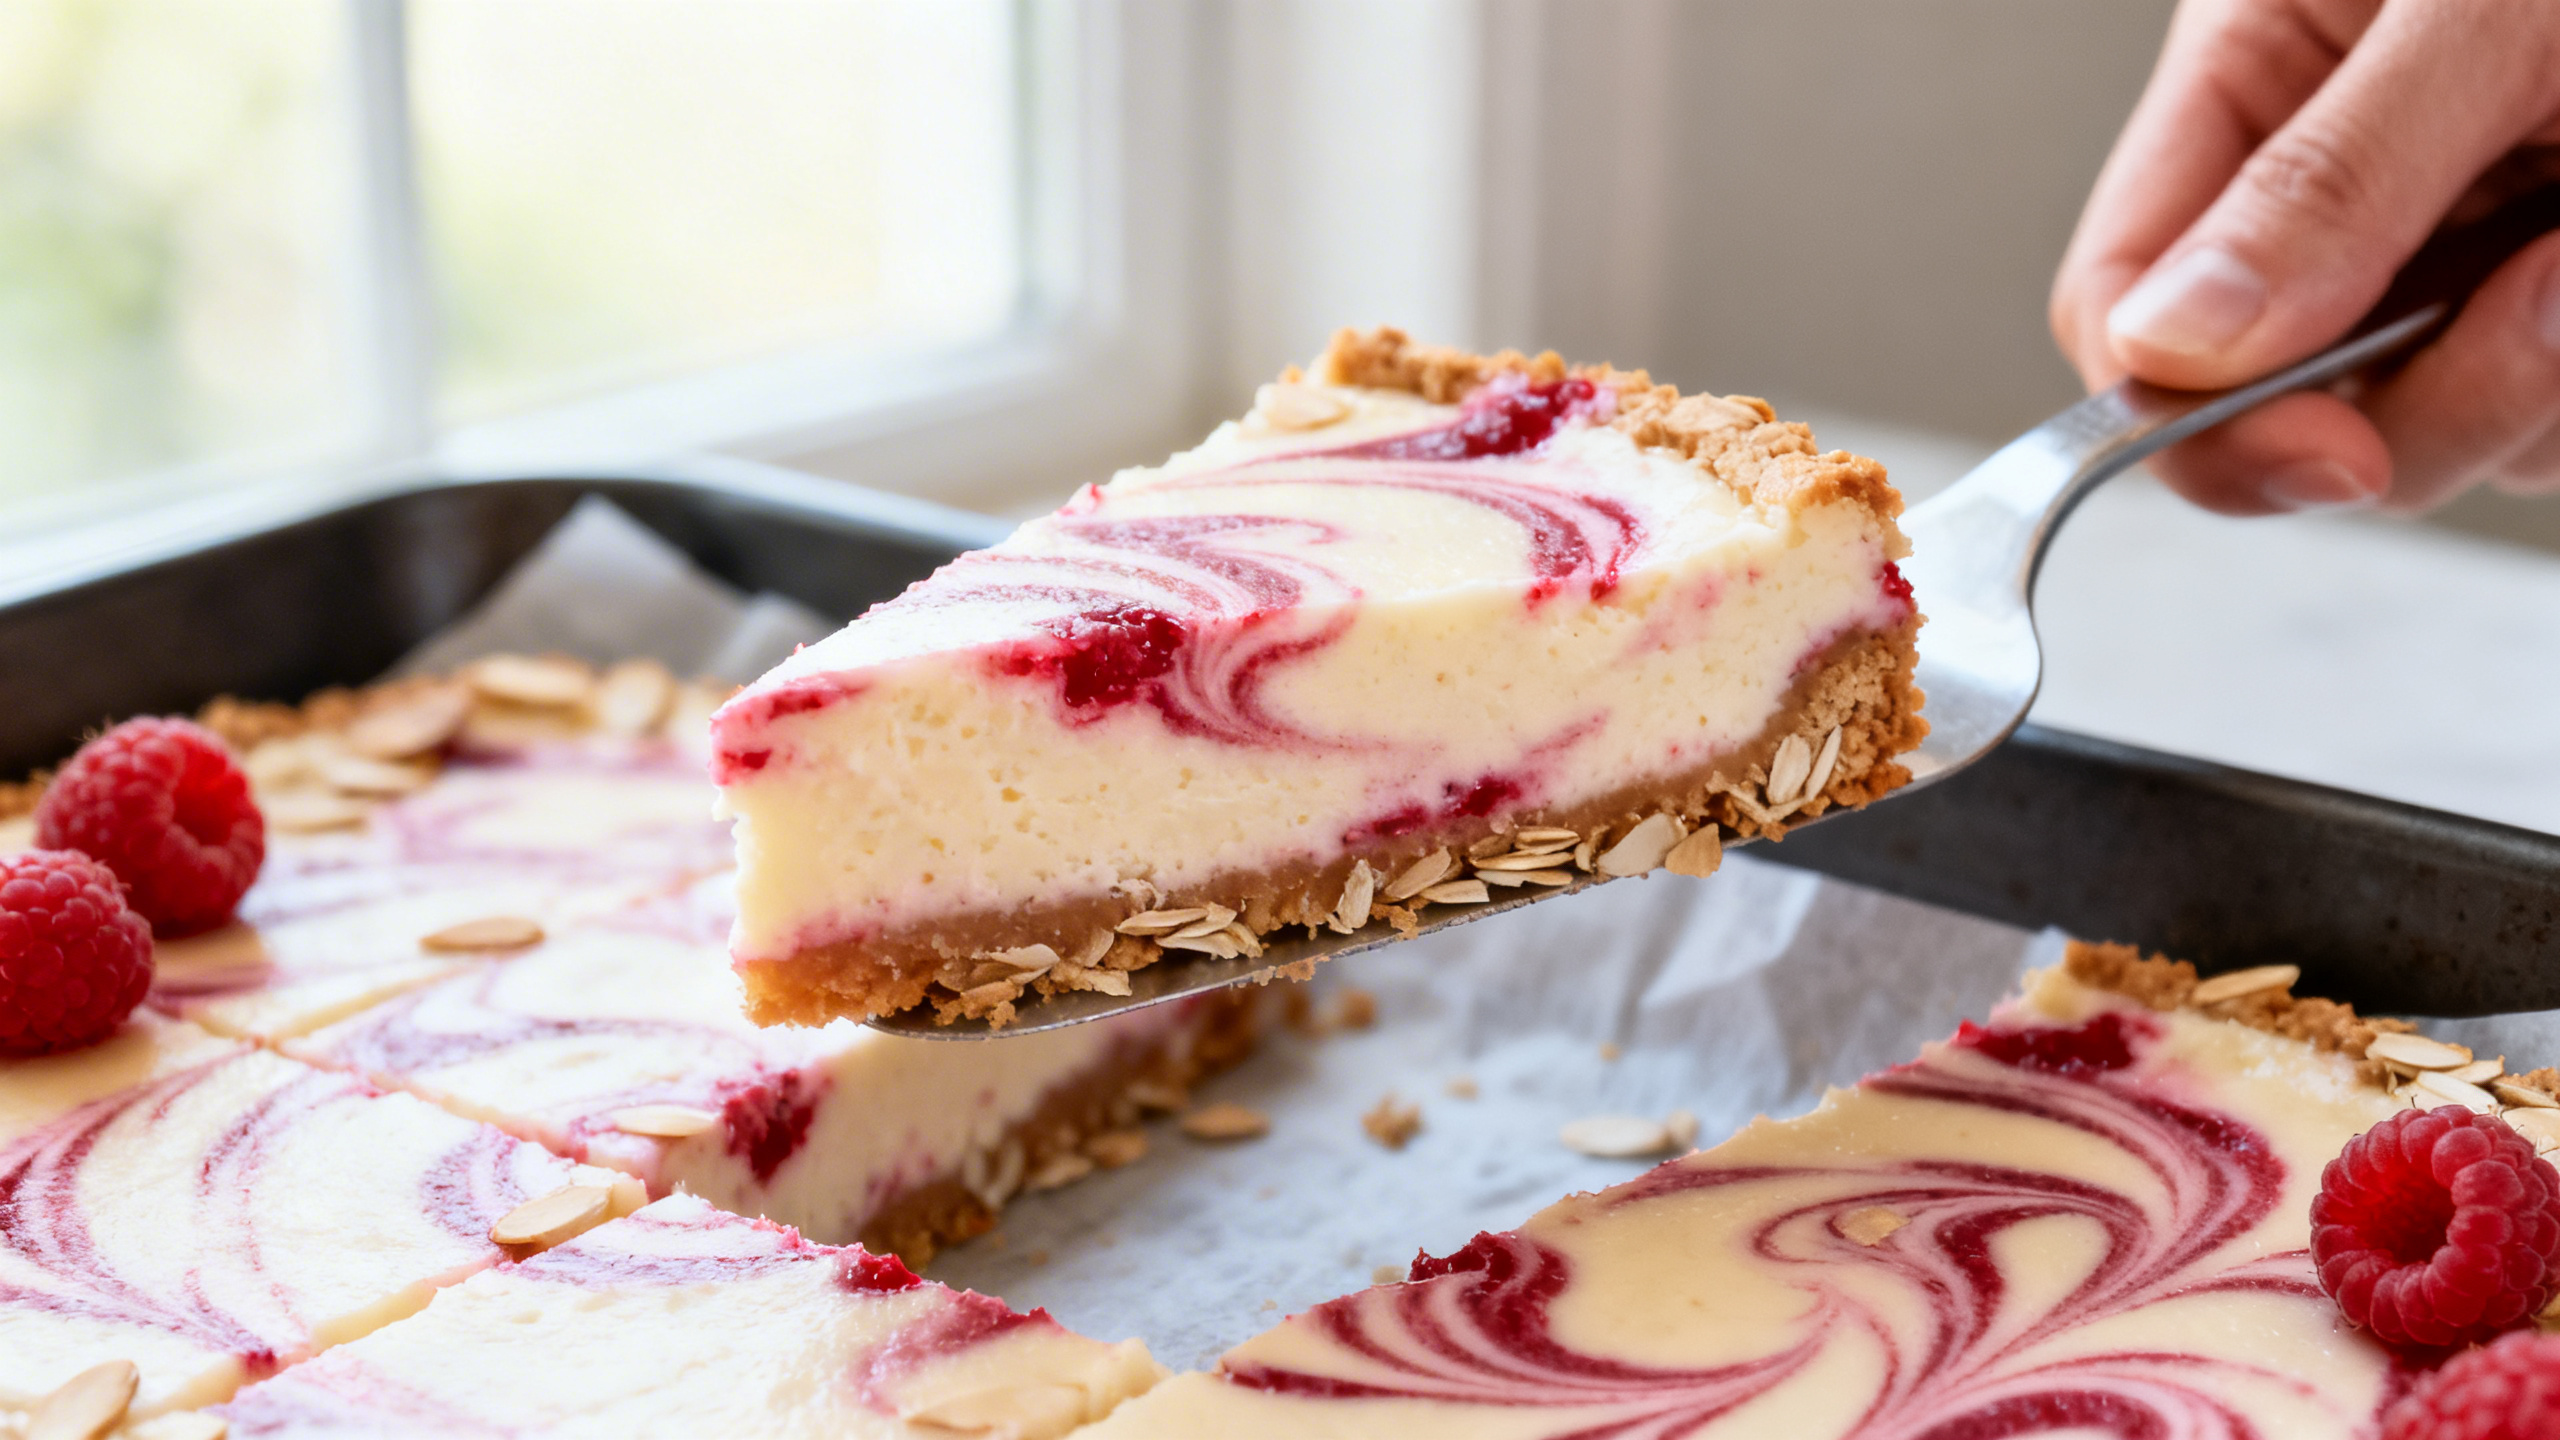
- Cool + chill. Cool at room temp for 45–60 minutes, then refrigerate at least 4 hours (overnight is even better) before slicing.
Tips for the Best Results
- Room-temp cream cheese matters. Cold cream cheese = lumpy batter. Let it sit out 45–60 minutes for the smoothest filling.
- Don’t overbake. Cheesecake keeps cooking as it cools. Pull it when the center is still slightly jiggly.
- Sweetener flexibility is your friend. If using a zero-cal sweetener, start smaller and adjust to taste (some are sweeter than sugar).
- Chill before slicing. This is the difference between “bars” and “soft cheesecake puddle.” Worth the wait.
- For clean cuts: Use a sharp knife wiped clean between slices. A quick dip in hot water helps too.
- Want thicker swirl? Let the raspberry mixture cool a bit longer so it sets up before swirling.
Variations
- Higher protein, even more: Use blended cottage cheese for part of the yogurt and add 1–2 extra tablespoons Greek yogurt if the batter feels too thick.
- Berry swap: Try strawberries, blueberries, or a mixed berry blend. If using strawberries, chop them so they break down faster.
- No-bake-ish vibe: Bake as written, but serve extra cold with a spoonful of fresh raspberries on top for that chilled cheesecake shop feel.
- Chocolate raspberry: Add 2 tablespoons cocoa powder to the filling and an extra tablespoon sweetener (cocoa can taste bitter without a little boost).
- Nut-free crust: Use 1 1/2 cups oat flour plus 2 extra tablespoons butter. Bake time stays the same.
Storage & Reheating
Store bars in an airtight container in the fridge for up to 5 days. These are best served chilled (no reheating needed), but you can let a slice sit at room temp for 10 minutes if you like a softer, creamier texture. For longer storage, freeze sliced bars (wrapped individually) for up to 2 months and thaw overnight in the fridge.
FAQ
How low sugar are these bars, really?
It depends on your sweetener choice. Using maple syrup or honey keeps them “naturally sweetened” but not super low sugar. If you swap in a zero-cal sweetener for both the filling and raspberry swirl, you’ll cut the added sugar dramatically while keeping the classic cheesecake taste.
What makes this a high-protein option?
The base recipe already gets a protein boost from Greek yogurt and eggs. For higher protein, replace part of the yogurt with blended cottage cheese, or add vanilla protein powder (and slightly reduce the starch). Both options bump protein without turning the texture chalky.
Can I use frozen raspberries?
Yes—frozen raspberries work perfectly. Cook them straight from frozen; you may need 1–2 extra minutes on the stove to evaporate extra water so the swirl thickens nicely.
Why did my cheesecake crack?
Cracks usually come from overbaking or mixing too much air into the batter. Pull the bars when the center still jiggles slightly, and mix just until smooth. Even if you get a tiny crack, the raspberry swirl covers it like it was planned.
Can I make these in a 9×13 pan?
You can, but you’ll want to scale up the recipe (about 1.5x for a thinner bar, or 2x for a similar thickness). Bake time will change—start checking around 25–30 minutes and watch for set edges with a gentle center jiggle.