

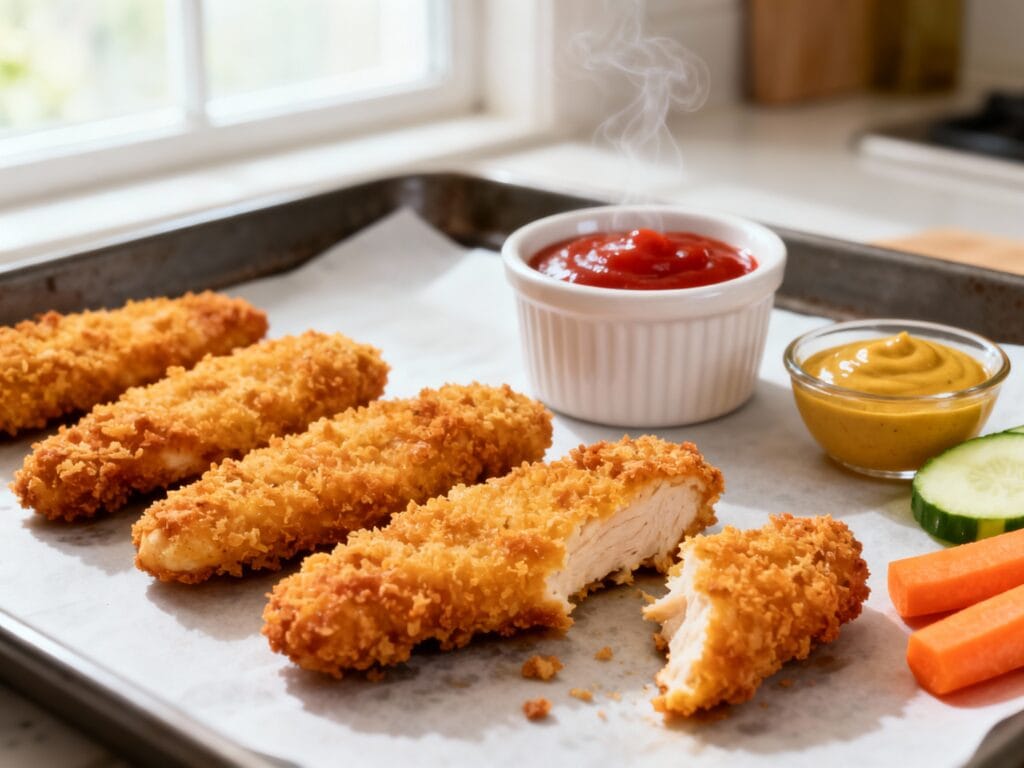
If you’re looking for a kid-approved dinner that feels like “fun food” but still checks the healthy box, these Healthy Crispy Baked Chicken Tenders for Kids are it. They come out crunchy on the outside, juicy inside, and you don’t need a deep fryer (or a pile of oil) to get that classic tender vibe.
They’re also super doable for busy weeknights: simple ingredients, a quick bake, and the kind of leftovers that reheat shockingly well. Pair with fruit, veggies, or a simple salad and call it a win.
Why You’ll Love This
These baked chicken tenders are crispy without frying, lightly seasoned for kid-friendly flavor, and easy to customize for picky eaters—plus they freeze and reheat like a dream for quick lunches.
Ingredients
- 1 1/2 lb chicken tenders (or chicken breast cut into 1-inch strips)
- 2/3 cup whole wheat panko breadcrumbs (or regular panko)
- 1/3 cup grated Parmesan cheese
- 1 tsp garlic powder
- 1 tsp smoked or sweet paprika
- 1/2 tsp kosher salt
- 1/4 tsp black pepper (optional for sensitive kiddos)
- 2 large eggs
- 2 tbsp plain Greek yogurt (helps the coating stick and adds protein)
- 2 tbsp olive oil (or avocado oil)
- Nonstick cooking spray (optional but helps with browning)
How to Make It
- Preheat your oven to 425°F. Line a large baking sheet with parchment paper or place a wire rack on the sheet for maximum crispiness.
- Pat the chicken dry with paper towels. This is the not-so-glam step that makes the coating actually stick and crisp up.
- In a shallow bowl, mix the panko, Parmesan, garlic powder, paprika, salt, and pepper.
- In a second shallow bowl, whisk the eggs with the Greek yogurt until smooth.
- Dip each chicken tender into the egg mixture, letting excess drip off, then press into the breadcrumb mixture. Gently pack the crumbs on all sides.
- Arrange the coated tenders on the prepared baking sheet (or wire rack) with a little space between each one. Crowding = steaming, and we want crisp.
- Drizzle the tenders with olive oil (or lightly spray the tops with nonstick spray). This helps the coating turn golden instead of pale.
- Bake for 14–18 minutes, flipping halfway through, until the coating is deeply golden and the chicken reaches 165°F in the thickest part.
- Rest for 3–5 minutes before serving. The juices settle, and the coating stays crisp instead of sliding off.
Tips for the Best Results
- Use a wire rack if you have one. Air circulation = crispier all around, no soggy bottoms.
- Don’t skip drying the chicken. Moisture is the enemy of crunch.
- Press the coating on. Think “gentle but confident” so the crumbs stick through flipping.
- Cut even-sized strips. If using chicken breast, aim for similar thickness so everything finishes together.
- Check temp, not just time. Chicken is done at 165°F; overbaking is how tenders turn into “chicken sticks.”
- Go light on pepper for little kids. You can always add more at the table for adults.
Variations
- Gluten-free: Use gluten-free panko or crushed gluten-free cereal (like rice cereal) for crunch.
- Dairy-free: Skip the Parmesan and swap Greek yogurt for dairy-free yogurt or an extra egg.
- Extra crunchy “chips” style: Replace half the panko with crushed cornflakes (unsweetened) for that ultra-crisp bite.
- Mild “pizza” tenders: Add 1 tsp Italian seasoning to the crumb mix and serve with warm marinara.
- Simple ranch vibes: Add 1–2 tsp ranch seasoning to the breadcrumbs (reduce salt slightly).
- Spicy for grown-ups: Add cayenne to the breadcrumb mix, or serve with hot honey on the side.
Storage & Reheating
Store leftover chicken tenders in an airtight container in the fridge for up to 4 days. To reheat and keep them crispy, warm in a 400°F oven or air fryer for 5–8 minutes (microwaving works, but the coating will soften). For longer storage, freeze in a single layer, then transfer to a freezer bag for up to 2 months.
FAQ
How do I keep baked chicken tenders crispy (not soggy)?
Use a wire rack if possible, don’t overcrowd the pan, and add a little oil or cooking spray on top of the breading. Also, let them cool for a few minutes after baking—steam can soften the coating if they’re stacked too soon.
Can I make these Healthy Crispy Baked Chicken Tenders for Kids ahead of time?
Yes. You can bread the chicken up to 8 hours ahead and keep it covered in the fridge on a tray. When ready, bake straight from the fridge (add 1–2 minutes if needed). For best texture, don’t drizzle oil until right before baking.
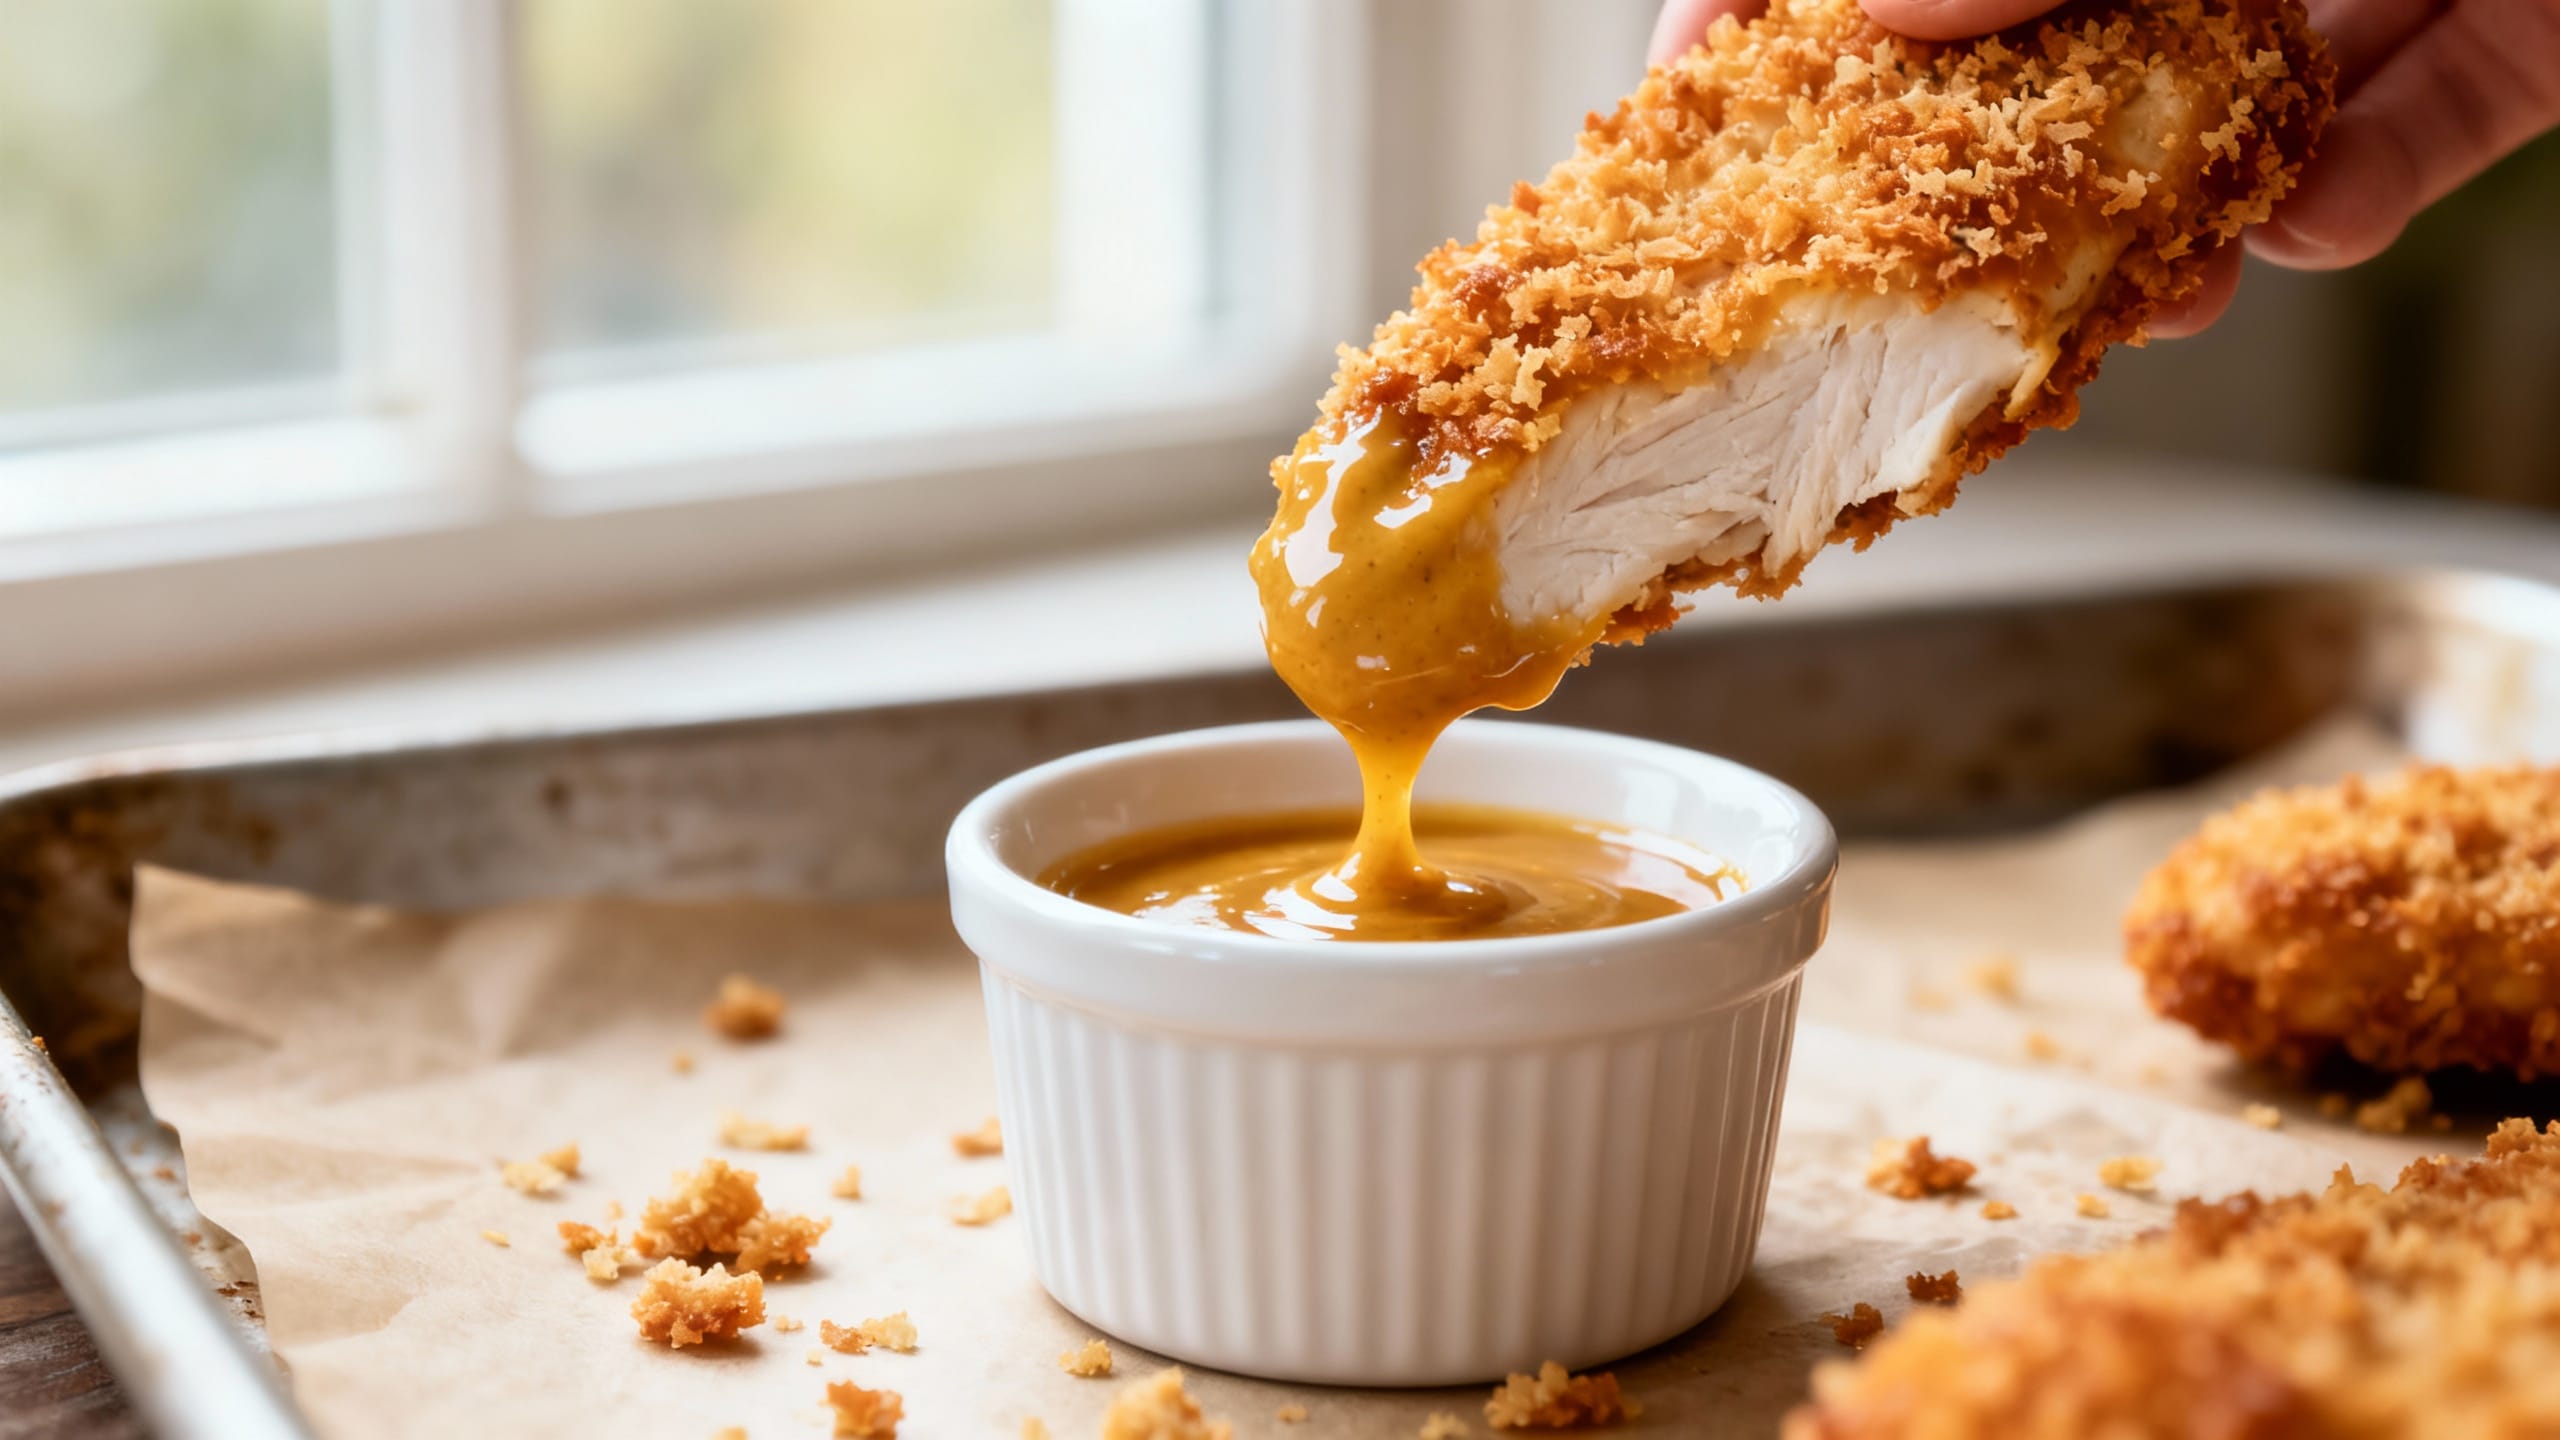
What’s the best dipping sauce for kids?
Ketchup and honey mustard are classics, but a quick “healthy-ish” dip is plain Greek yogurt mixed with a little ranch seasoning or a small squeeze of lemon and a pinch of salt. Marinara is also a safe, kid-friendly option.
Can I use chicken breast instead of chicken tenders?
Absolutely. Slice chicken breast into even strips (about 1 inch wide) so they cook evenly. If some strips are thicker, gently pound them to a similar thickness so you don’t end up with a mix of dry and undercooked pieces.
Can I freeze these after baking, and how do I reheat from frozen?
Yes—freeze fully cooled tenders in a single layer, then store in a freezer bag. Reheat from frozen in a 400°F oven for about 12–15 minutes or in an air fryer at 375°F for 8–10 minutes, flipping halfway, until hot and crisp.