


If you’ve ever baked French bread that tasted amazing but sliced like chaos (hello, crumbling ends and uneven slabs), this one’s for you. This French Bread Recipe for Sandwiches is built around the real goal: a loaf that’s long, evenly shaped, sturdy enough to hold fillings, and still soft inside with a crisp, golden crust.
Below you’ll get the exact dough, the best loaf shape for sandwich slices, and a simple slicing guide so your turkey club or veggie sub doesn’t turn into a bread snowstorm.
Why You’ll Love This
This recipe makes a smooth, sandwich-friendly French loaf with consistent width from end to end, so your slices stack neatly and hold up to spreads, meats, and crunchy veggies without tearing.
Ingredients
- 3 1/2 cups (420g) bread flour (all-purpose works, but bread flour is sturdier)
- 1 1/2 teaspoons fine sea salt
- 2 1/4 teaspoons (1 packet) instant yeast
- 1 1/4 cups (300g) warm water (about 100–105°F)
- 1 tablespoon sugar (helps fermentation and browning)
- 1 tablespoon olive oil (optional, but helps a softer sandwich-style crumb)
- 1 egg, beaten with 1 tablespoon water (optional egg wash for shine)
How to Make It
- Mix the dough. In a large bowl, whisk flour, salt, yeast, and sugar. Add warm water and olive oil. Stir until a shaggy dough forms, then knead 8–10 minutes by hand (or 6–8 minutes in a stand mixer) until smooth and elastic.
- First rise. Shape into a ball, place in a lightly oiled bowl, cover, and let rise 60–90 minutes until doubled (warmer kitchen = faster).
- Pre-shape for better slices. Turn dough onto a lightly floured surface. Pat into a rectangle and roll up loosely into a log. Let rest 10 minutes (this relaxes the gluten so shaping is easier).
- Shape the “best sandwich” loaf. Flatten the dough into a rectangle about 8×12 inches. Fold the top third down and press to seal. Fold the bottom third up and press to seal. Now roll the log gently until it’s 14–16 inches long with even thickness. Pinch the seam closed and tuck the ends under slightly for a blunt, uniform shape (better slices than pointy ends).
- Second rise. Place seam-side down on a parchment-lined baking sheet (or in a baguette pan). Cover loosely and rise 35–55 minutes until puffy and 1.5x bigger.
- Heat the oven + add steam. Preheat to 425°F. Put an empty metal pan on the bottom rack (for steam). When ready to bake, pour 1 cup hot water into the pan carefully.
- Score and bake. Optional: brush with egg wash for shine. Score 3–4 diagonal slashes (1/4 inch deep). Bake 22–28 minutes until deep golden and the loaf sounds hollow when tapped (or internal temp hits about 200–205°F).
- Cool completely, then slice. Cool at least 45–60 minutes on a rack before slicing. This is the difference between clean sandwich slices and a gummy interior.
Tips for the Best Results
- Go for blunt ends. For sandwiches, tuck the ends under instead of tapering. You’ll get more full-size slices and fewer “sad end pieces.”
- Use bread flour if you can. It gives a slightly chewier, stronger structure that holds fillings better.
- Even thickness = even slices. When rolling the loaf, use light pressure and work from the center outward to keep the middle from bulging.
- Seal the seam well. Pinch firmly so it doesn’t split open during baking (which makes lopsided slicing).
- Steam makes that crisp crust. The hot-water-in-pan trick boosts oven spring and gives you that classic French bread crackle.
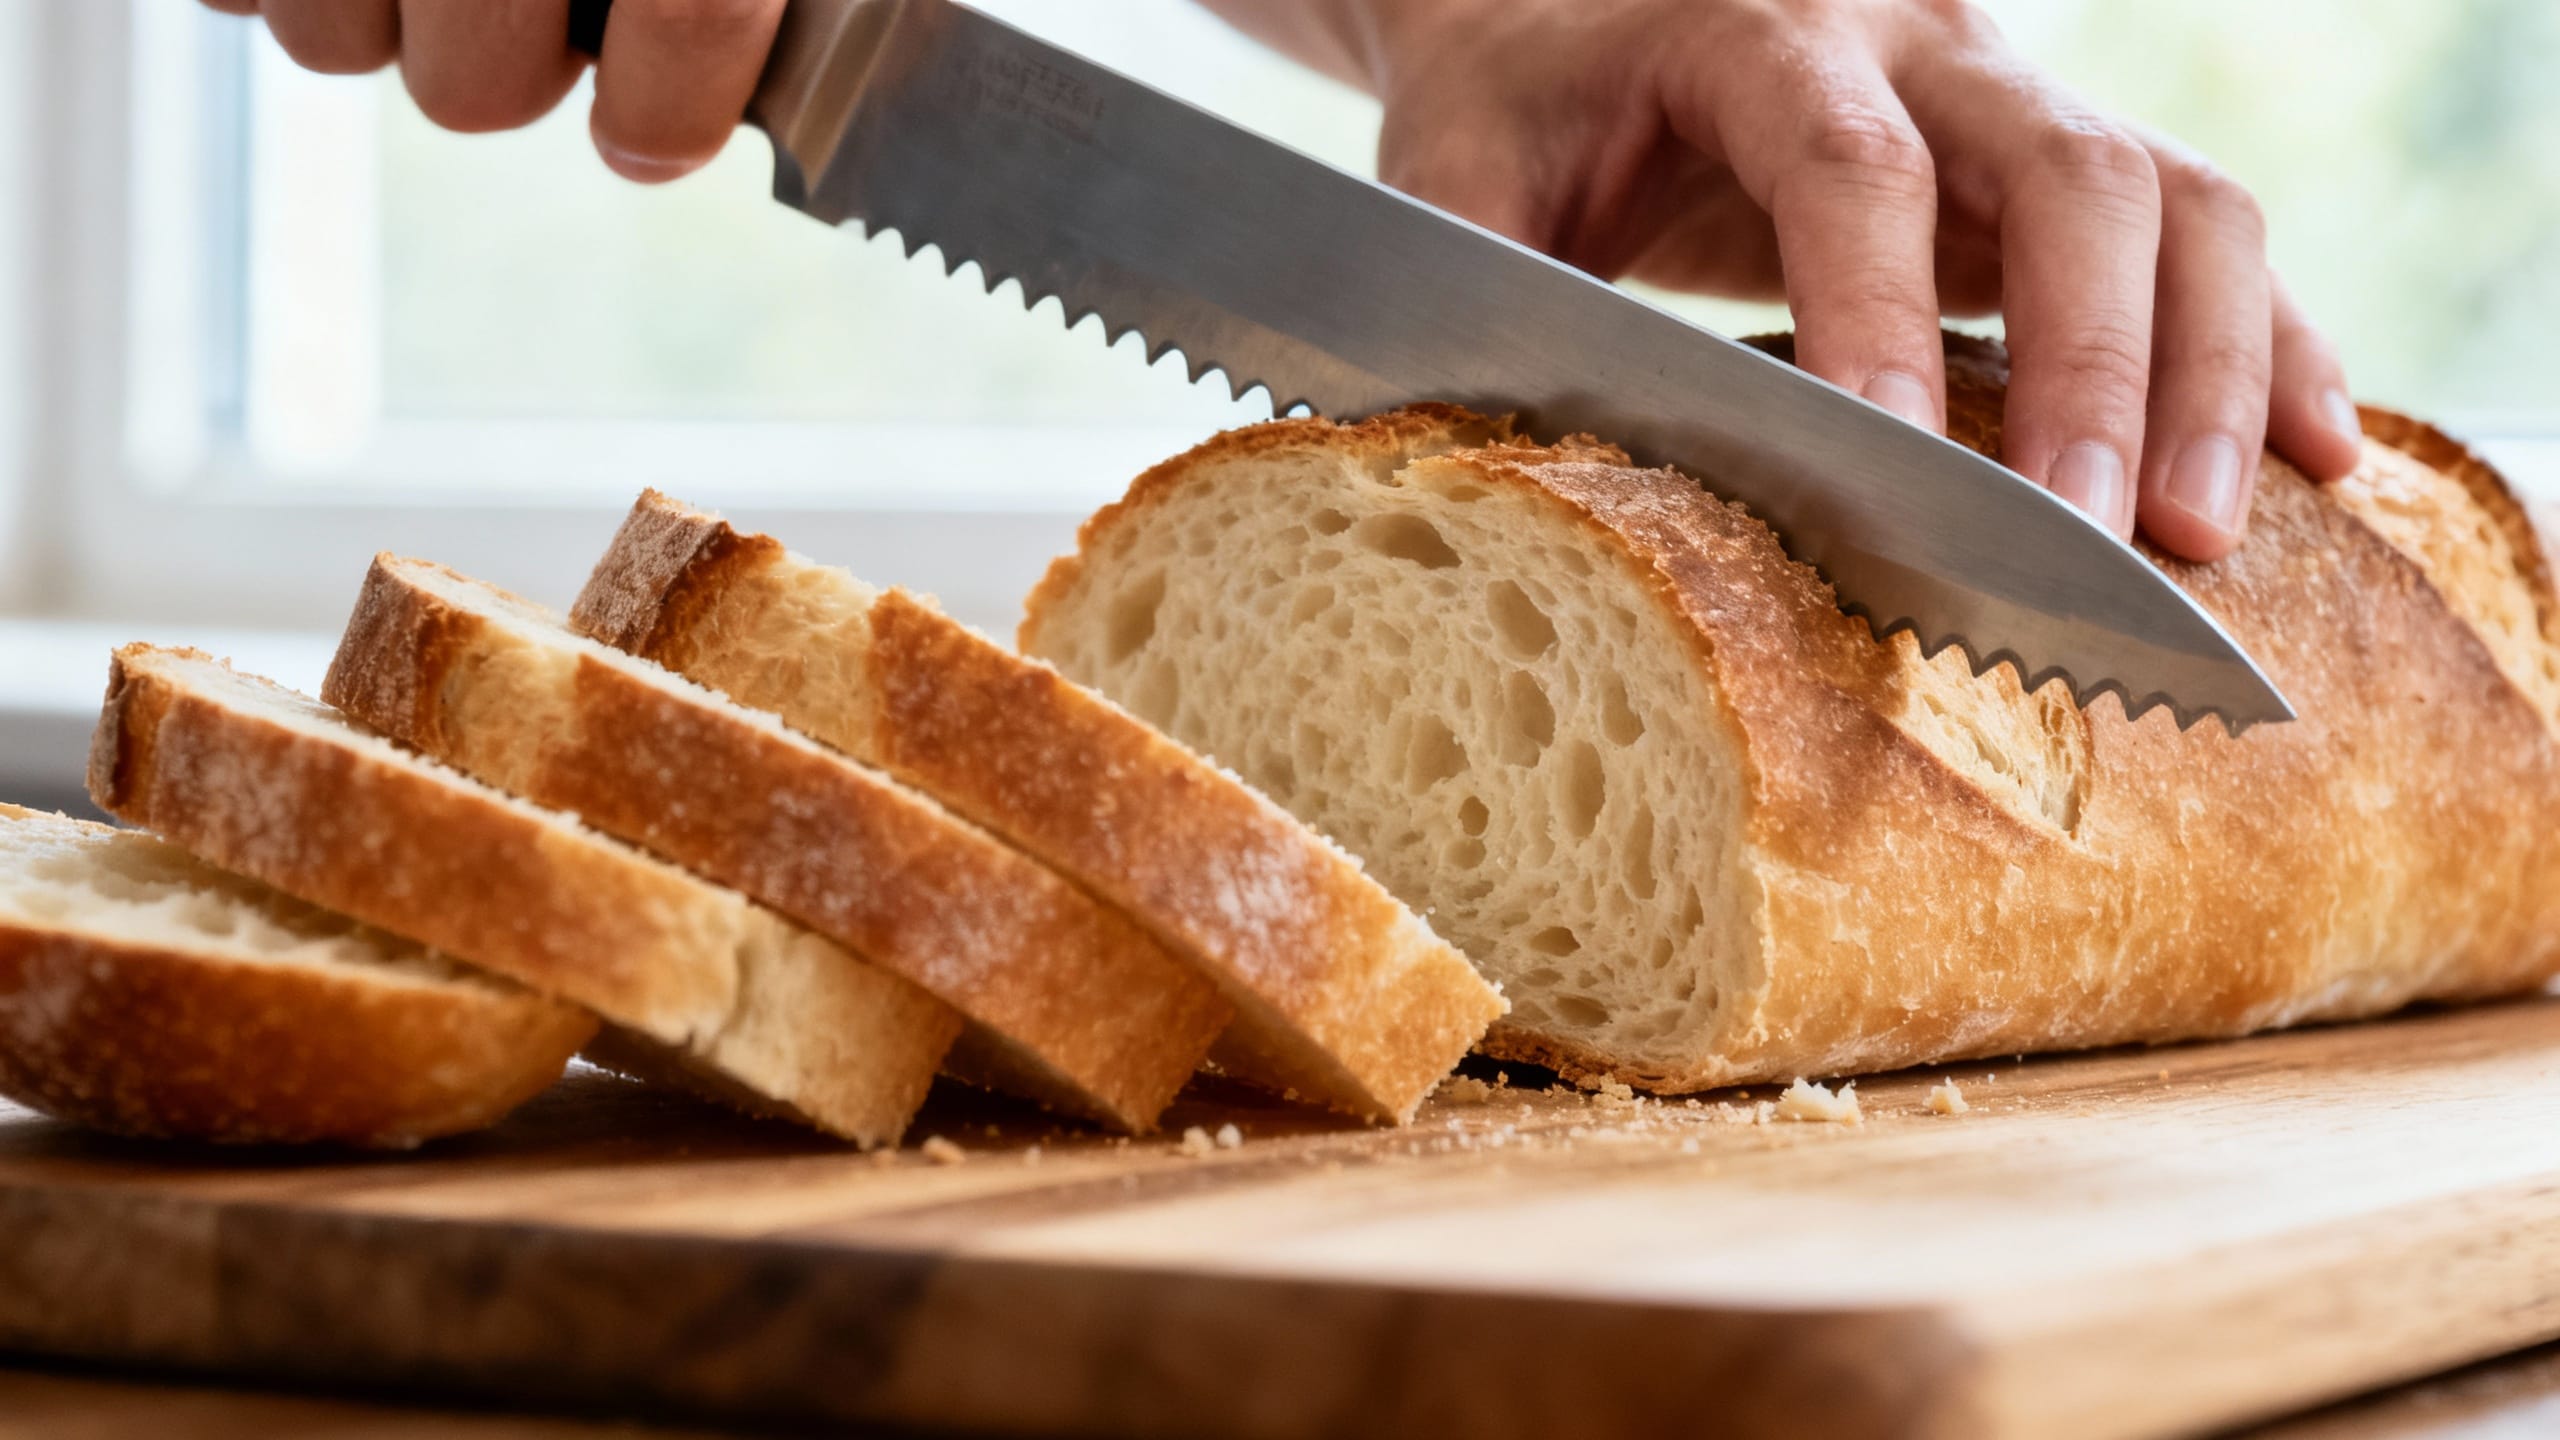
- Slice with the right tool. A serrated bread knife is non-negotiable. Use long, gentle strokes instead of pressing down.
- Sandwich slice guide: For deli-style sandwiches, aim for 1/2-inch slices. For thinner tea-sandwich vibes, go 3/8-inch. For subs, slice lengthwise instead of crosswise.
Variations
- Sesame top: Brush with egg wash, sprinkle sesame seeds before baking.
- Garlic-herb loaf: Mix 1 teaspoon garlic powder + 1 teaspoon Italian seasoning into the flour.
- Whole wheat blend: Swap 1 cup bread flour for 1 cup whole wheat flour (add 1–2 tablespoons extra water if dough feels dry).
- Softer sandwich crust: Brush the hot loaf lightly with melted butter right after baking.
- Mini sandwich loaves: Divide dough into two smaller logs (8–10 inches). Bake 18–22 minutes.
Storage & Reheating
Store cooled bread wrapped in a clean towel or in a paper bag for up to 2 days at room temp (plastic softens the crust). For longer storage, slice and freeze in a zip-top bag up to 2 months. Reheat slices in a toaster, or refresh a whole loaf at 350°F for 8–10 minutes (lightly mist the crust with water first for peak crispness).
FAQ
What’s the best shape for French bread if I want neat sandwich slices?
A blunt-ended, evenly thick log is the move. Skip the pointy baguette ends and aim for a 14–16 inch loaf with the same width from end to end. That’s how you get consistent slices that don’t collapse under fillings.
How do I slice French bread for sandwiches without crushing it?
First, cool it fully (at least 45–60 minutes). Use a serrated bread knife and long sawing strokes, keeping your other hand on top of the loaf lightly. Don’t push down—let the knife do the work.
How thick should I cut slices for different sandwiches?
For most lunch sandwiches, 1/2 inch is the sweet spot. For PB&J or lighter fillings, 3/8 inch works well. If you’re making a sub, slice the loaf lengthwise and don’t cut all the way through so it hinges like a roll.
Why did my loaf split on the side and get weirdly shaped?
Usually it’s one of three things: the seam wasn’t pinched closed, the loaf was under-proofed (so it “burst” in the oven), or the scores were too shallow. Pinch the seam firmly, let the second rise get visibly puffy, and score about 1/4 inch deep.
Can I make the dough ahead for meal prep sandwiches?
Yes. After kneading, cover the dough and refrigerate 8–24 hours for a slow rise. Let it sit at room temp 30–60 minutes before shaping, then proceed with the second rise and baking. The flavor gets even better, and you’ll still get that slice-friendly shape.