

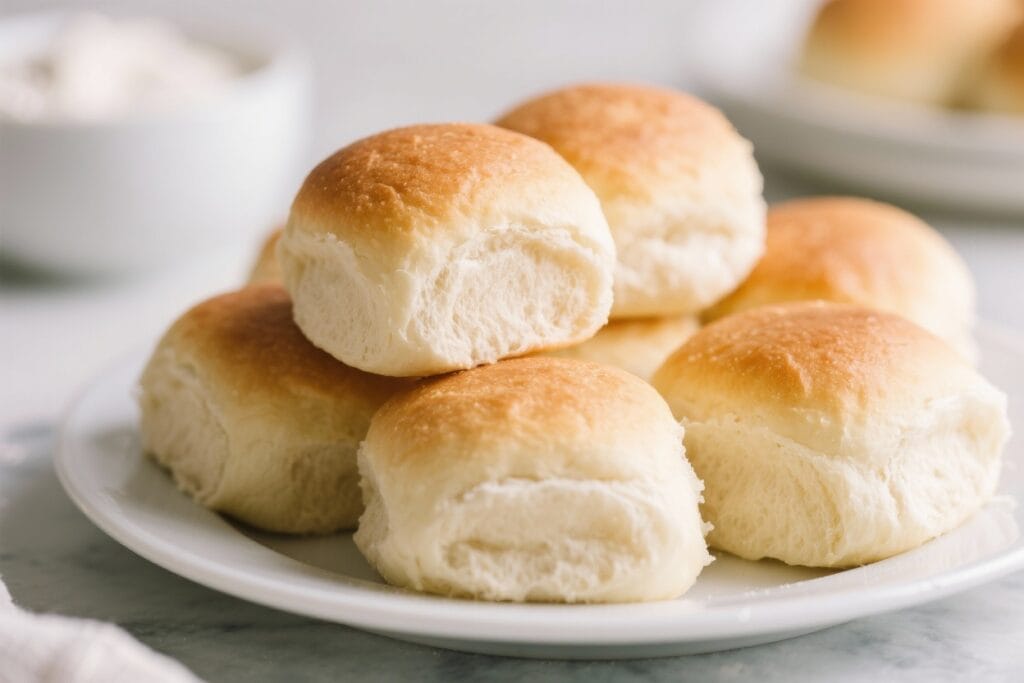
These dinner rolls are the kind you tear into while they’re still warm and steam curls up from the center. They’re soft, fluffy, and lightly sweet with a buttery top that makes them irresistible. If you’ve been nervous about baking with yeast, this recipe keeps things simple and forgiving.
You’ll get reliable results with basic ingredients and clear steps. No fancy equipment, no complicated techniques—just homemade rolls you’ll be proud to serve.
What Makes This Recipe So Good
- Beginner-friendly: Simple steps, common ingredients, and a forgiving dough make this a great first yeast bread.
- Ultra fluffy texture: Milk, butter, and a touch of sugar give you soft, pillowy rolls every time.
- Quick enough for a weeknight: About 2 hours start to finish, including rise time.
- Versatile: Shape them small, big, knotted, or in a pull-apart style. They work for dinner, sliders, or breakfast.
- No special tools needed: Just a bowl, spoon, and a baking pan.
A stand mixer is optional.
Shopping List
- All-purpose flour (3 1/2 to 4 cups)
- Warm milk (1 cup; around 105–115°F)
- Active dry yeast (2 1/4 teaspoons, or 1 packet)
- Granulated sugar (3 tablespoons)
- Unsalted butter (6 tablespoons, melted and slightly cooled; plus more for brushing)
- Egg (1 large)
- Salt (1 teaspoon)
- Neutral oil or nonstick spray (for greasing the bowl and pan)
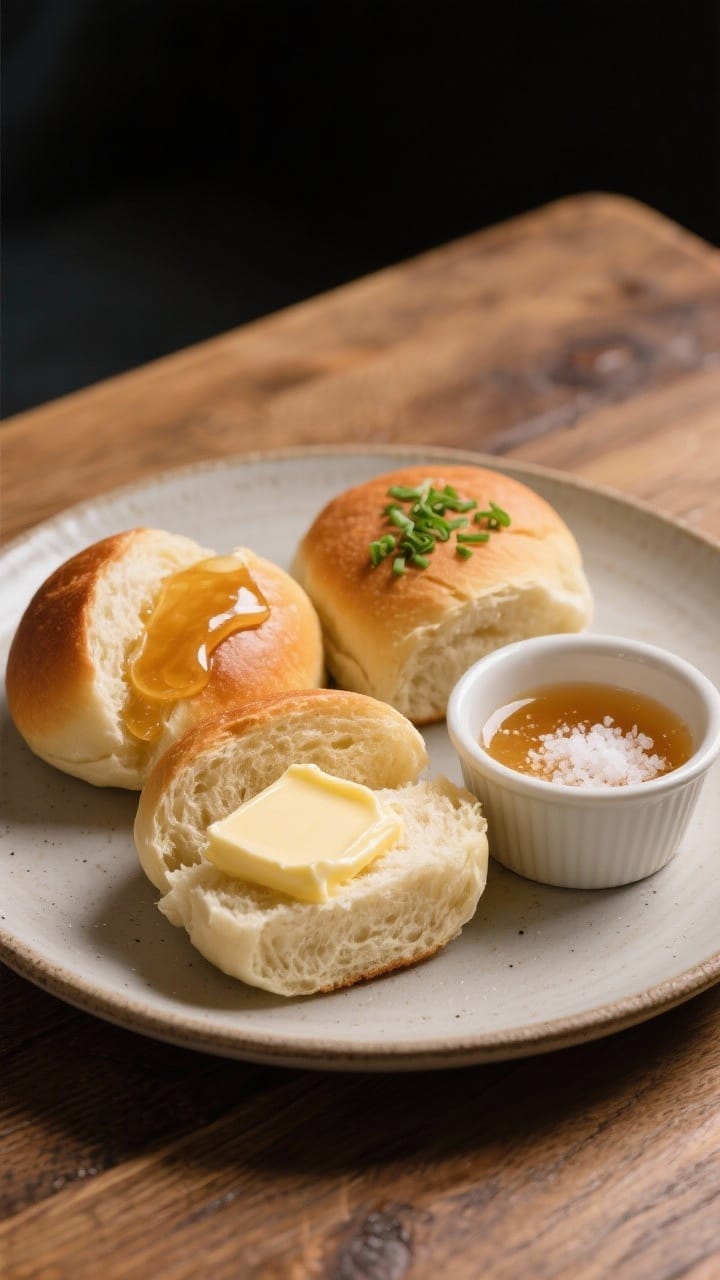
- Optional: Flaky sea salt, honey, or garlic butter for finishing
Step-by-Step Instructions
- Proof the yeast: In a large bowl, whisk warm milk with sugar. Sprinkle yeast on top and let it sit 5–10 minutes until foamy. If it doesn’t foam, start over with fresh yeast and check the milk temperature.
- Mix the wet ingredients: Whisk in the melted butter and egg until combined.
- Add dry ingredients: Stir in 3 1/2 cups of flour and the salt with a wooden spoon or spatula until a shaggy dough forms.
If it’s very sticky, add more flour 1 tablespoon at a time.
- Knead the dough: Turn the dough onto a lightly floured surface. Knead 6–8 minutes until smooth, elastic, and slightly tacky but not sticky. If using a stand mixer with a dough hook, mix on medium-low for about 5 minutes.
- First rise: Shape the dough into a ball.
Place in a lightly oiled bowl, turning once to coat. Cover with a clean towel or plastic wrap and let rise in a warm spot until doubled, about 60–75 minutes.
- Prepare the pan: Grease a 9×13-inch baking pan (or two 8-inch pans). This size gives you soft pull-apart sides and a golden top.
- Shape the rolls: Punch down the dough to release air.
Divide into 12 equal pieces for standard rolls (or 15 for smaller). Tuck edges under to form smooth balls. Place in the pan with a little space between each.
- Second rise: Cover and let rise again until puffy, about 30–45 minutes.
They should look plump and nearly touching.
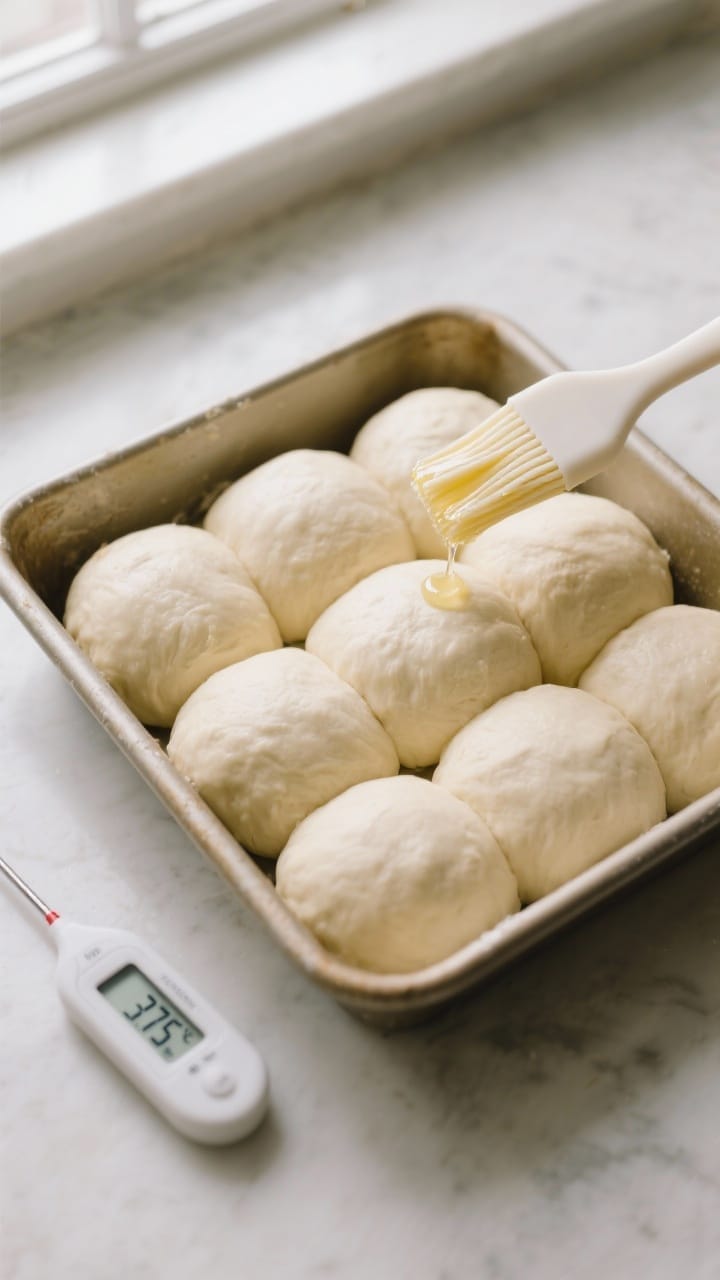
- Preheat and bake: Preheat the oven to 375°F (190°C). Brush the tops with melted butter. Bake 15–18 minutes, until the tops are golden and the center of a roll registers about 195°F (or sounds hollow when tapped).
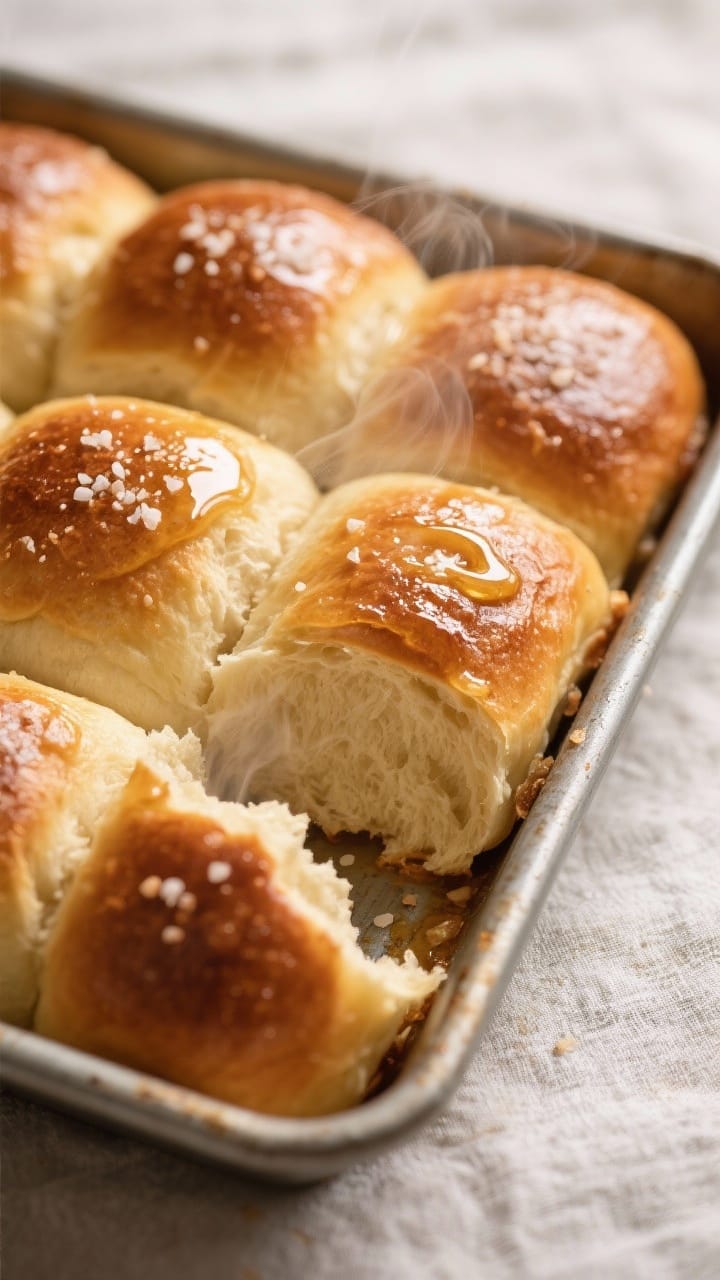
- Finish and serve: Brush with more melted butter right out of the oven.
Sprinkle flaky salt if you like. Let cool 10 minutes, then serve warm.
How to Store
- Room temperature: Keep rolls in an airtight container for up to 2 days. Rewarm in the oven at 300°F for 5–8 minutes.
- Freeze: Cool completely, then freeze in a zip-top bag for up to 2 months.
Thaw at room temp and rewarm as above.
- Make-ahead: After shaping, cover and refrigerate overnight. Let them sit at room temp 45–60 minutes before baking.
Health Benefits
- Portion control: Individual rolls make it easy to keep servings reasonable.
- Clean ingredients: You control the sugar, salt, and fat—no preservatives or additives.
- Protein and minerals: Dairy and egg add protein and small amounts of calcium and B-vitamins.
- Energy source: Carbohydrates provide quick energy, great for active days and balanced meals.
Common Mistakes to Avoid
- Milk too hot: Liquids hotter than 120°F can kill yeast. Aim for warm, not hot—about 105–115°F.
- Too much flour: Adding lots of flour makes dense rolls.
The dough should be soft and slightly tacky. Dust your hands instead of dumping in extra flour.
- Under-kneading: Not enough kneading leads to flat, heavy rolls. Look for a smooth, elastic dough that bounces back when pressed.
- Skipping the second rise: This step builds volume and softness.
Don’t rush it.
- Overbaking: Rolls bake quickly. Pull them once golden with an internal temp near 195°F.
Variations You Can Try
- Garlic herb: Mix 1 teaspoon garlic powder and 1 tablespoon chopped fresh herbs into the dough. Brush with garlic butter after baking.
- Honey butter rolls: Replace 1 tablespoon of sugar with honey.
Finish with a honey-butter glaze.
- Whole wheat blend: Swap 1 cup all-purpose flour with whole wheat flour. Add 1–2 teaspoons extra milk if needed.
- Cheddar and chive: Fold in 1 cup shredded cheddar and 2 tablespoons chopped chives before shaping.
- Parker House style: Roll dough into an oval, brush with butter, fold in half, and bake for classic buttery layers.
- Slider buns: Make 12 larger rolls in a 9×13 pan and slice horizontally after baking for party sliders.
FAQ
Can I use instant yeast instead of active dry?
Yes. Use the same amount and skip the proofing step.
Mix instant yeast with the flour and salt, then add warm milk, sugar, egg, and butter.
How do I know the dough has been kneaded enough?
It should feel smooth and elastic and spring back when gently pressed. You can also do a windowpane test: stretch a small piece—if it forms a thin, translucent sheet without tearing, you’re there.
Why didn’t my rolls rise?
Common reasons include old yeast, liquid that was too hot or cold, or a chilly room. Make sure your yeast foams, keep the dough warm, and give it enough time to double.
Can I make these dairy-free?
Yes.
Use a non-dairy milk (like oat or almond) and swap the butter for a neutral oil or dairy-free butter. Texture will still be soft, though flavor changes slightly.
What if I don’t have a 9×13 pan?
Use two 8- or 9-inch round pans, a sheet pan (space them 2 inches apart), or even a cast-iron skillet. Baking time may vary by a few minutes.
How do I get extra shiny tops?
Brush the rolls with melted butter right after baking, or use a light egg wash before baking (1 egg beaten with 1 tablespoon water).
In Conclusion
These fluffy dinner rolls are simple, reliable, and downright delicious.
With a few pantry staples and an hour or two, you’ll have soft, buttery rolls that upgrade any meal. Follow the steps, avoid the common pitfalls, and enjoy the kind of homemade bread that makes everyone reach for seconds. Once you master this base recipe, the variations are endless—and every batch will feel like a warm win.