

Crispy Homemade Baked Chicken Tenders That Beat Takeout
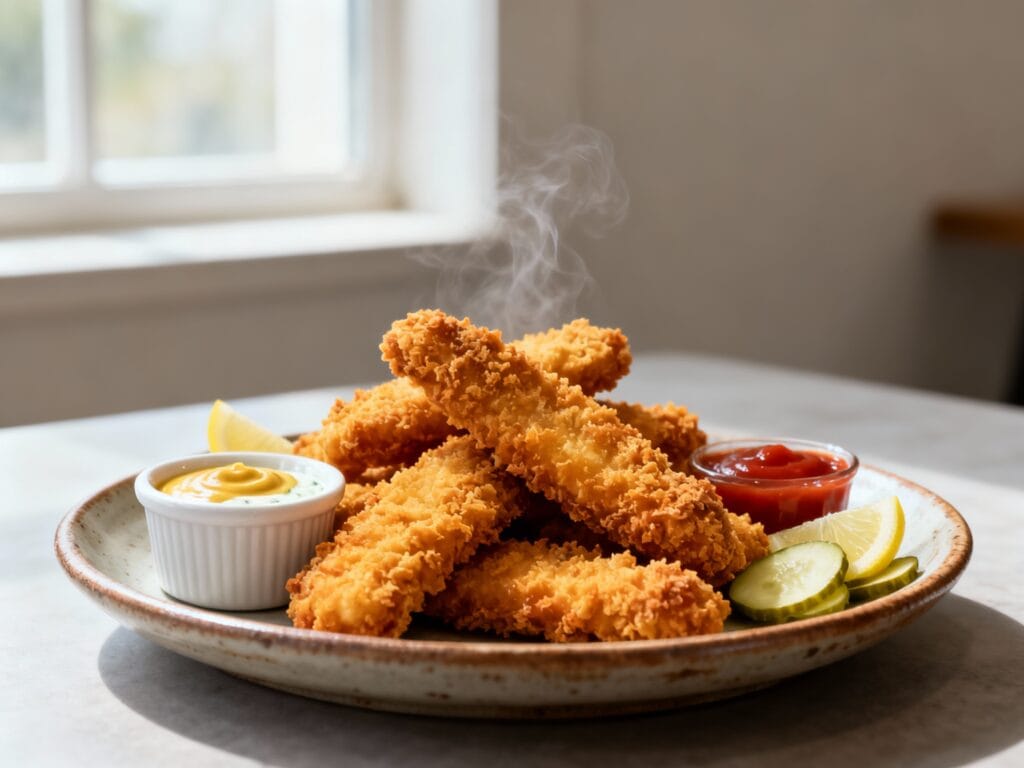
These baked chicken tenders are the kind of dinner that makes you feel like you have your life together: golden, crunchy, super juicy, and ready for dipping. No deep fryer, no mystery ingredients, no soggy breading situation.
The secret is a few small moves that make a big difference (hello, toasted breadcrumbs and a wire rack). The result: crispy homemade baked chicken tenders that honestly beat takeout—especially when you dunk them in your favorite sauce.
Why You’ll Love This
They’re crunchy on the outside, tender on the inside, and way less greasy than fried. Plus, they’re easy to prep, kid-friendly, and they reheat shockingly well—so you can make a batch and live your best “leftovers that don’t feel sad” life.
Ingredients
- 1 1/2 lb chicken tenders (or 2 large chicken breasts cut into 1-inch strips)
- 1 1/2 tsp kosher salt, divided
- 1/2 tsp black pepper
- 1 tsp garlic powder
- 1 tsp smoked paprika (or regular paprika)
- 1/2 cup all-purpose flour
- 2 large eggs
- 2 tbsp Dijon mustard (optional but very good)
- 1 3/4 cups panko breadcrumbs
- 1/3 cup grated Parmesan (optional for extra savory crunch)
- 2 tbsp olive oil (for toasting panko)
- Cooking spray or a little extra oil for the rack
How to Make It
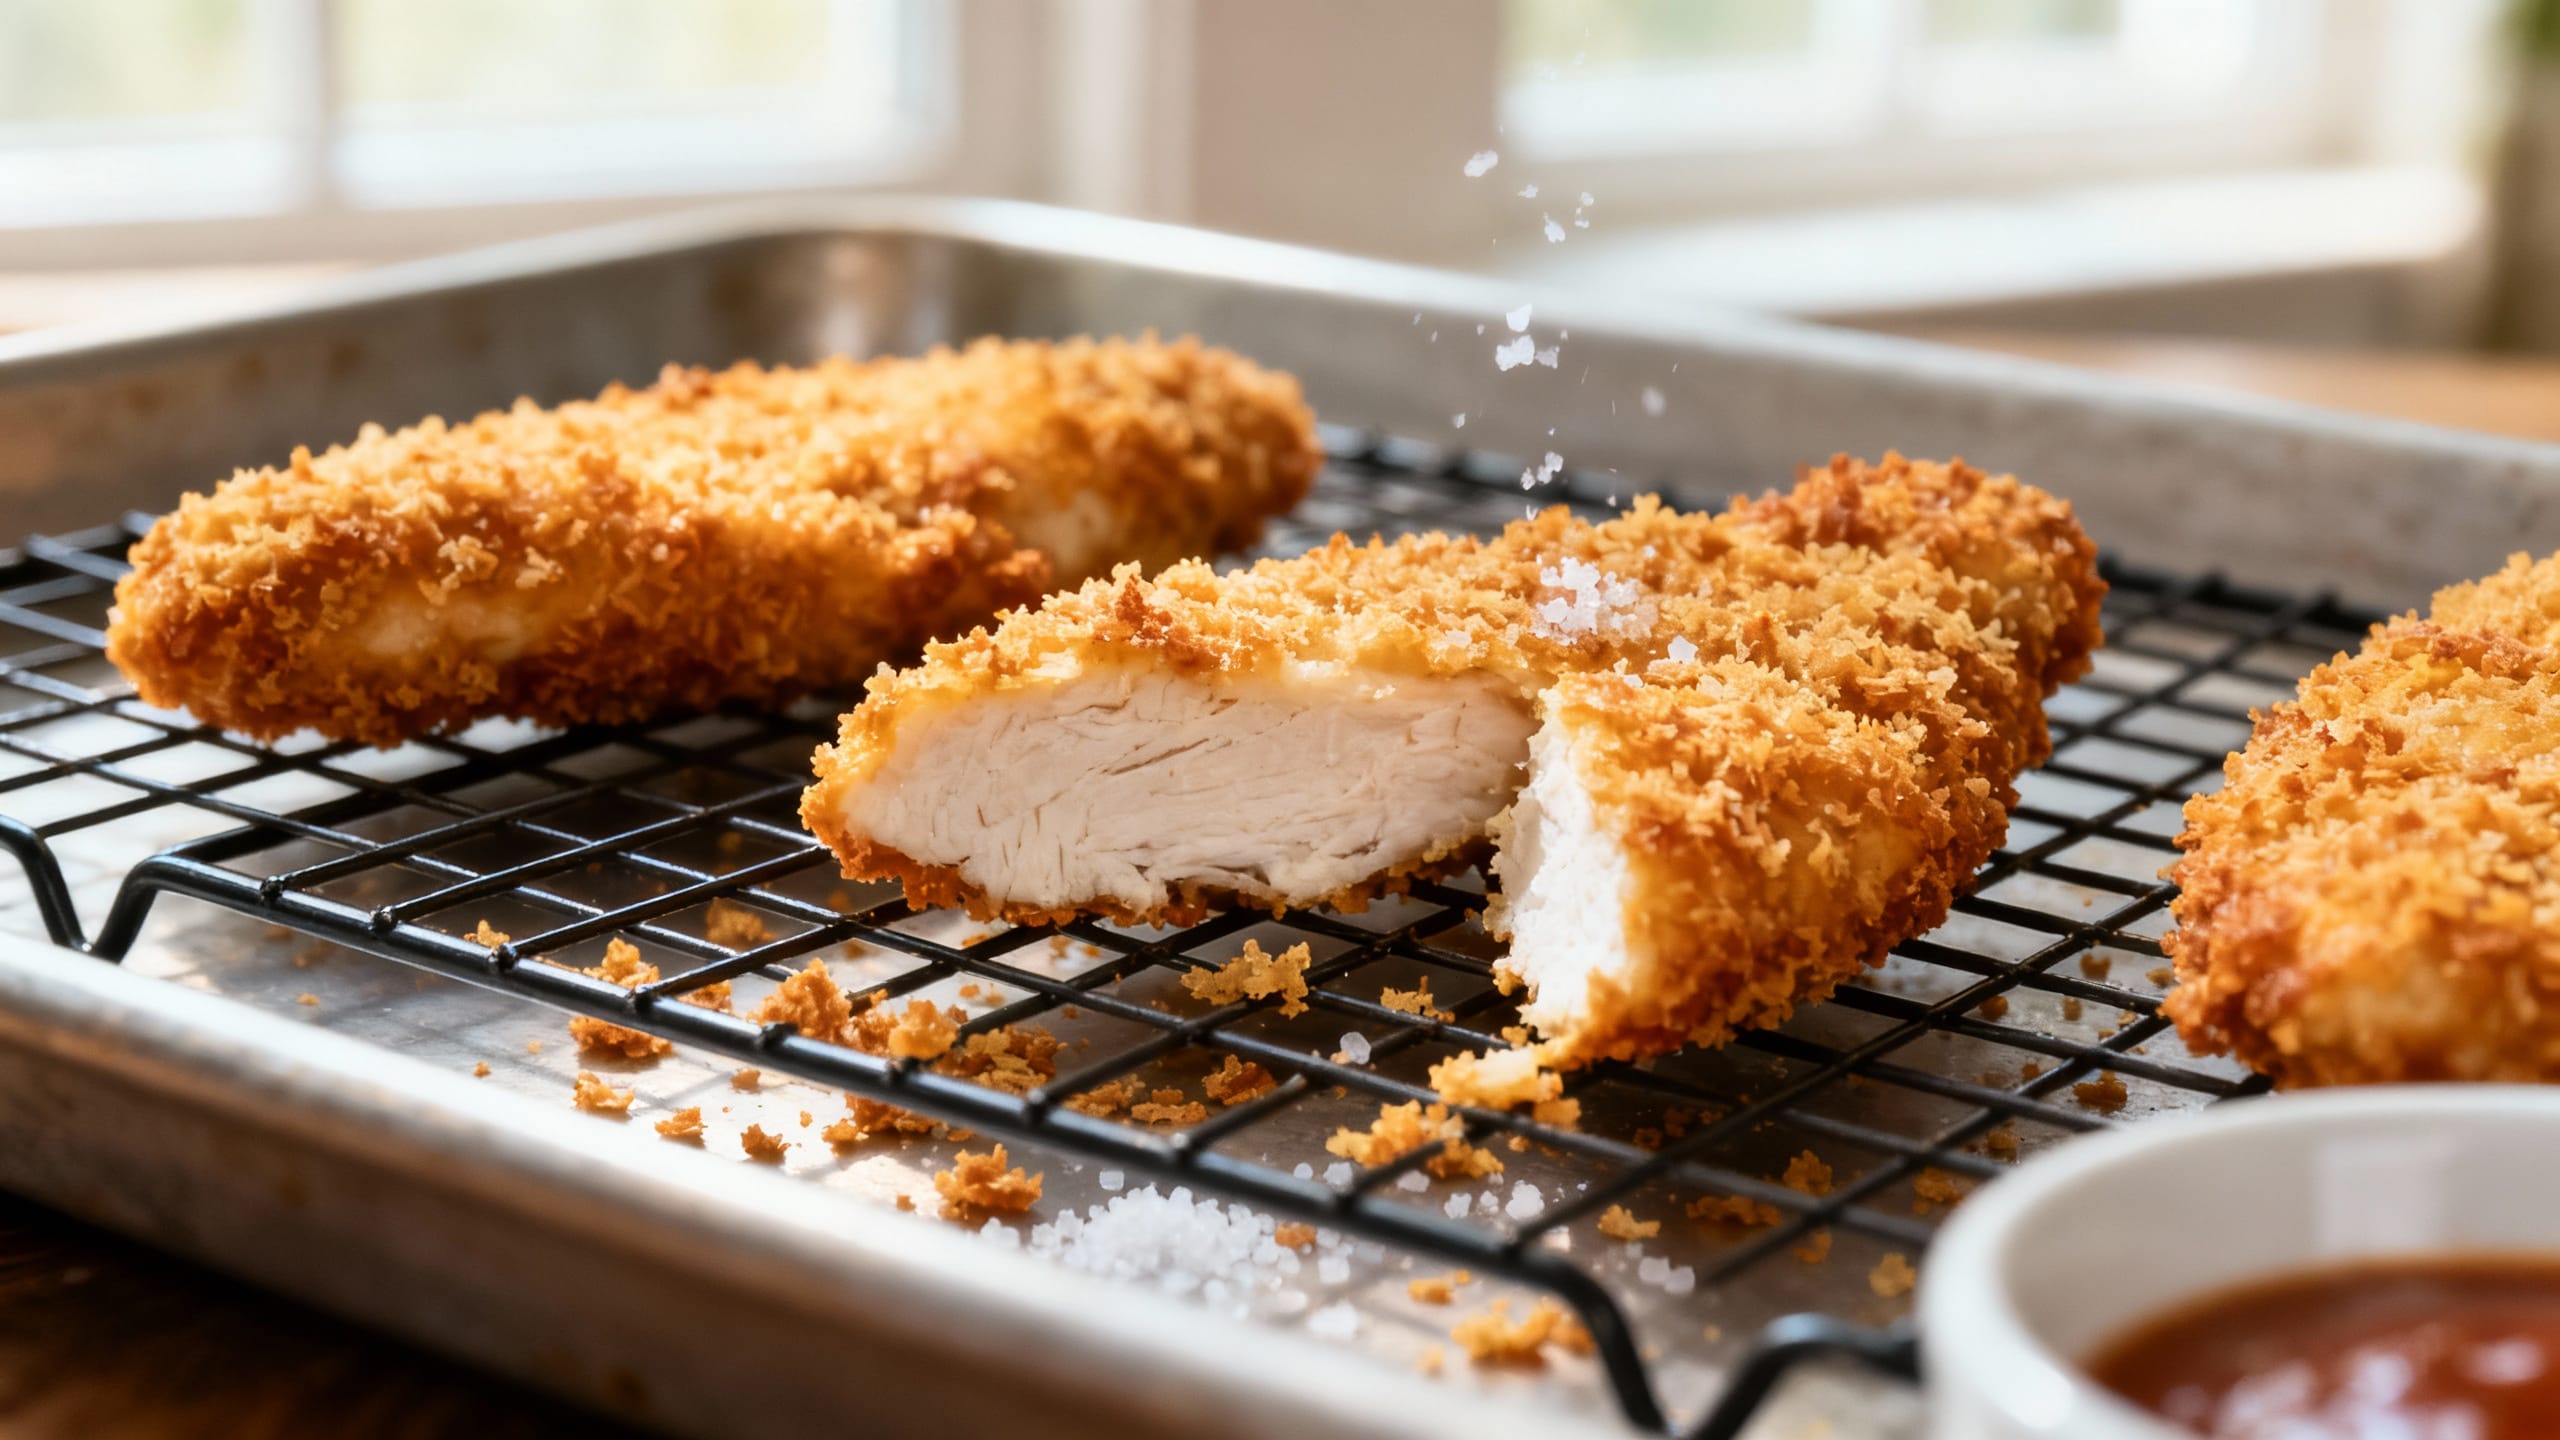
- Preheat the oven to 425°F. Set a wire rack on a rimmed baking sheet (this is how you get crispy all around). Lightly coat the rack with cooking spray or rub with a little oil.
- Toast the panko: heat olive oil in a skillet over medium heat, add panko, and stir for 3–5 minutes until golden. Remove from heat and let it cool slightly, then stir in Parmesan (if using).
- Season the chicken: pat tenders dry with paper towels. Season with 1 tsp salt, pepper, garlic powder, and paprika.
- Set up a breading station: place flour in one shallow bowl. In a second bowl, whisk eggs with Dijon and the remaining 1/2 tsp salt. Put toasted panko mixture in a third bowl.
- Bread the tenders: dredge each piece in flour (shake off excess), dip in egg mixture, then press firmly into the panko so it really sticks. Place on the prepared wire rack with a little space between each tender.
- Optional but elite: lightly spray the tops of the tenders with cooking spray (or drizzle a tiny bit of oil). This helps them brown like they mean it.
- Bake for 14–18 minutes, flipping once halfway through, until crisp and cooked through. Chicken should reach 165°F in the thickest part.
- Rest for 3 minutes, then serve immediately with your favorite dipping sauces.
Tips for the Best Results
- Use a wire rack: It keeps hot air circulating so the bottoms don’t steam (a.k.a. goodbye soggy).
- Toast the panko: This is the cheat code for baked crispiness and golden color.
- Pat the chicken dry: Moisture is the enemy of crunchy breading.
- Press the crumbs on: Don’t just roll—press. You want the panko to cling like it pays rent.
- Don’t overcrowd: Space between tenders = crispier edges.
- Check temperature: Pull at 165°F so they stay juicy, not overbaked.
- Season every layer: A little salt in the egg and chicken keeps the flavor from feeling “just breading.”
Variations
- Spicy: Add 1/2 tsp cayenne to the flour and a few dashes of hot sauce to the egg mixture.
- Everything bagel: Mix 1–2 tbsp everything bagel seasoning into the panko (skip Parmesan or keep it—both work).
- Gluten-free: Use gluten-free flour and gluten-free panko. Same method, same crunch vibes.
- Extra herby: Add 1 tsp dried Italian seasoning to the panko mixture.
- Air fryer option: Air fry at 400°F for 10–12 minutes, flipping halfway, until 165°F. Work in batches so they crisp up.
Storage & Reheating
Store leftover chicken tenders in an airtight container in the fridge for up to 3 days. Reheat on a wire rack in a 400°F oven for 8–10 minutes (or in an air fryer at 380–400°F for 4–6 minutes) until hot and crisp again. Microwaving works in a pinch, but the crunch will soften.
FAQ
How do I make sure baked chicken tenders get truly crispy?
Use a wire rack, toast the panko first, and give the tops a light spray of oil. Those three together mimic the browning you usually only get from frying.
Can I use chicken breasts instead of tenderloins?
Yes. Slice two large chicken breasts into even 1-inch strips so they cook at the same speed. If some pieces are thicker, they’ll need a couple extra minutes—use a thermometer and pull at 165°F.
Why is my breading falling off?
Usually it’s one of three things: the chicken was too wet, you skipped the flour step, or you didn’t press the panko on firmly. Pat dry, flour first, then press the crumbs on and let the breaded tenders sit on the rack for 5 minutes before baking if you have time.
Can I prep these ahead for an easy dinner?
Totally. Bread the tenders and refrigerate them on a tray (covered) for up to 8 hours. Bake straight from the fridge, adding 1–2 minutes if needed.
What dipping sauces go best with these?
Classic ranch and honey mustard are always a win. For a “better than takeout” vibe, try BBQ, buffalo sauce, spicy mayo, or a quick mix of ketchup + a little sriracha + a squeeze of lime.