

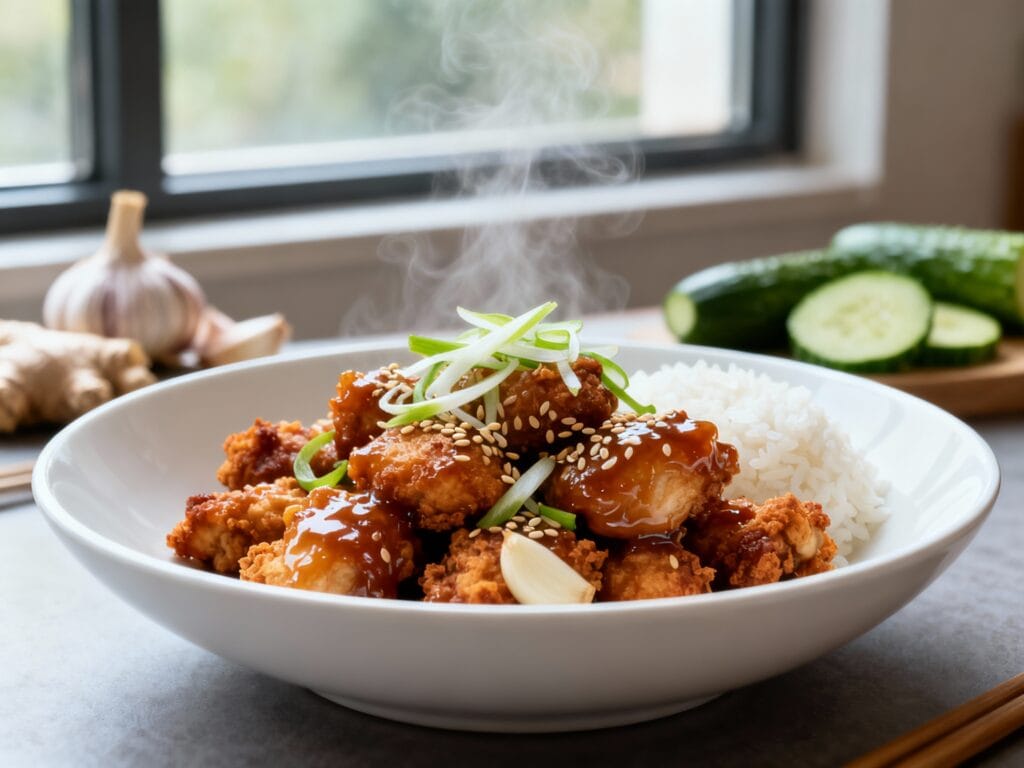
Crispy Garlic Chicken is the kind of dinner that makes everyone suddenly wander into the kitchen “just to check what smells so good.” It’s crunchy, golden, and coated in a glossy garlic sauce that hits savory, slightly sweet, and deeply cozy.
It’s weeknight-friendly but still gives restaurant vibes—especially when you pile it over rice or tuck it into lettuce wraps. Let’s get into it.
Why You’ll Love This
You get the best of both worlds: ultra-crispy chicken with a sticky, garlicky glaze that clings to every bite. It’s straightforward, uses pantry staples, and tastes like you put in way more effort than you actually did.
Ingredients
- 1 1/2 lb boneless, skinless chicken thighs (or chicken breast), cut into 1-inch pieces
- 1 tsp kosher salt
- 1/2 tsp black pepper
- 1/2 tsp garlic powder
- 1/2 tsp smoked paprika (optional but good)
- 1/2 cup cornstarch
- 2 large eggs, beaten
- 1/2 cup all-purpose flour
- Neutral oil for frying (canola, vegetable, or avocado)
- 6 cloves garlic, finely minced
- 2 tbsp unsalted butter
- 1/3 cup low-sodium soy sauce
- 2 tbsp honey (or brown sugar)
- 1 tbsp rice vinegar (or apple cider vinegar)
- 1 tbsp ketchup (adds color and balance, don’t skip if you can)
- 1/2 cup chicken broth or water
- 1 tsp toasted sesame oil (optional)
- 1 tbsp cornstarch + 2 tbsp water (slurry, for thickening)
- Sliced green onions and sesame seeds, for serving (optional)
How to Make It
- Season the chicken. Pat chicken dry (key for crispiness). Toss with salt, pepper, garlic powder, and smoked paprika.
- Set up a simple coating station. Put cornstarch in one bowl, beaten eggs in a second, and flour in a third. This combo gives you that crackly, crispy shell.
- Coat the pieces. Dip chicken into cornstarch, then egg, then flour. Press lightly so the coating sticks. Place on a plate while your oil heats.
- Heat the oil. Add about 1/2 inch of oil to a large skillet or Dutch oven. Heat to 350°F (or test by dropping in a pinch of flour—if it sizzles right away, you’re good).
- Fry in batches. Cook chicken 3–4 minutes per side, until golden brown and cooked through (165°F internal). Don’t crowd the pan—crowding = steaming = not crispy. Transfer to a wire rack or paper towel-lined plate.
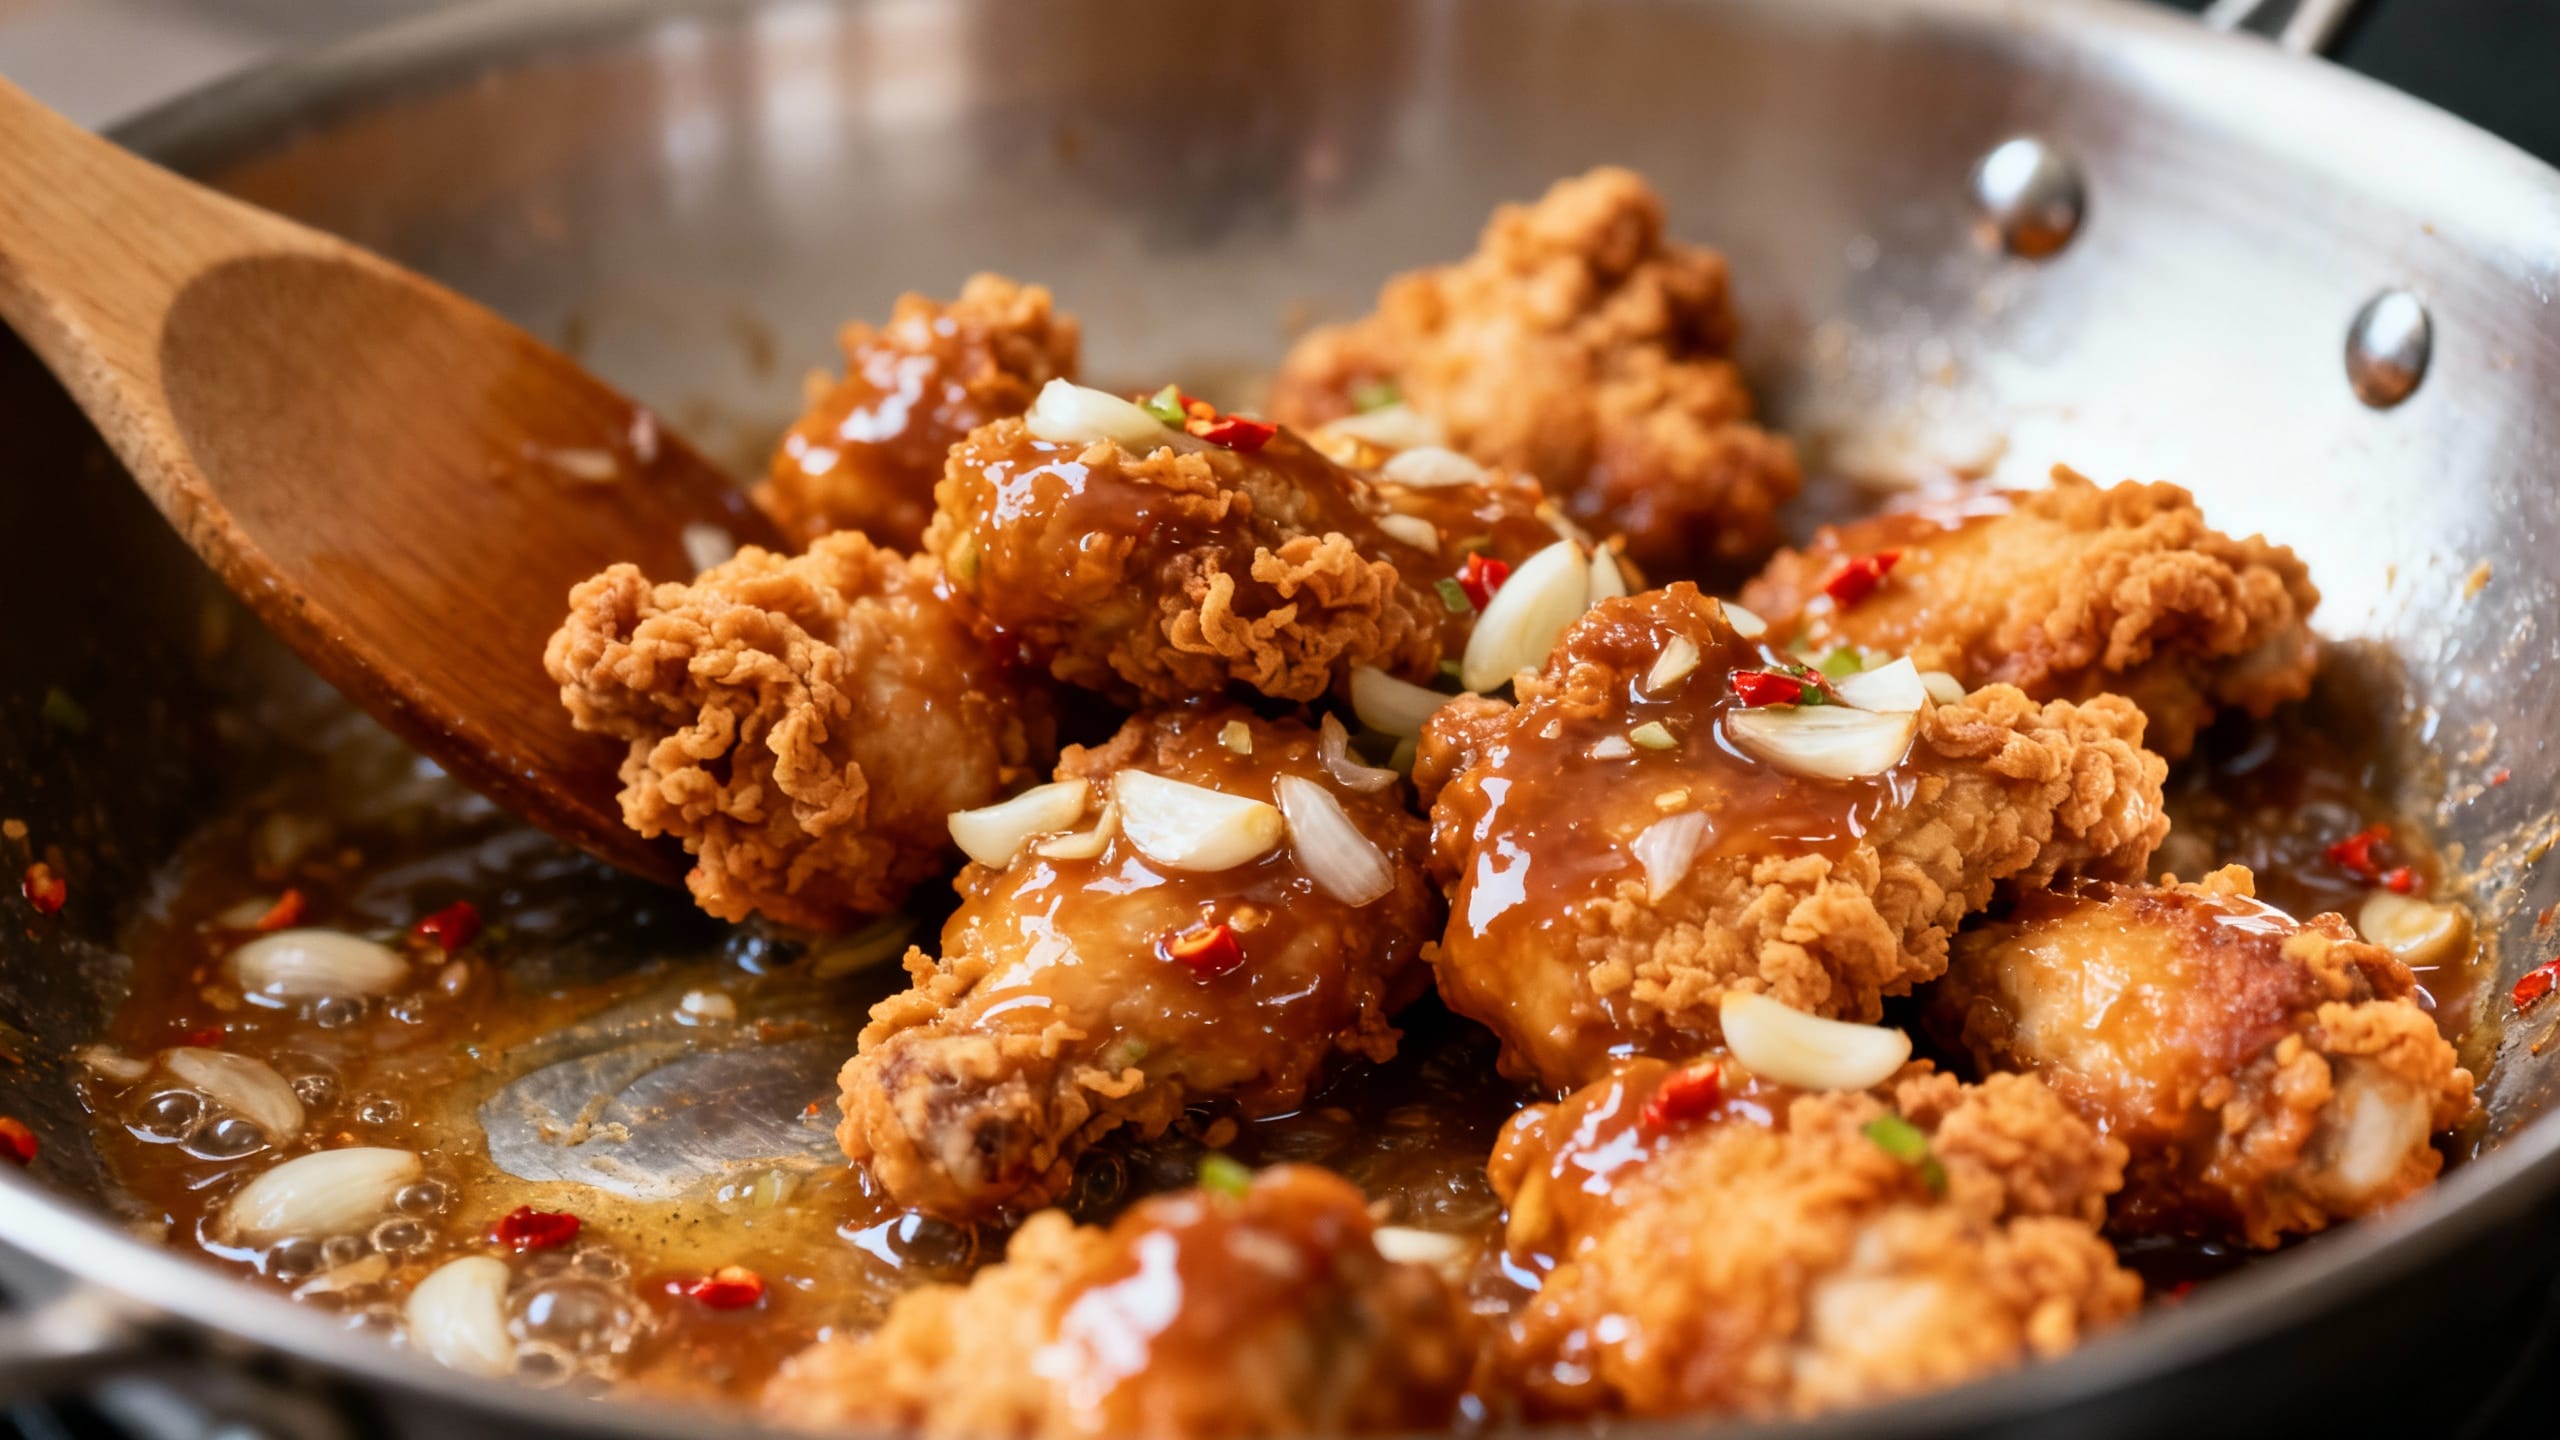
- Make the garlic sauce. Carefully pour off excess oil, leaving about 1 tbsp in the pan. Add butter and minced garlic. Stir for 30–45 seconds until fragrant (don’t let it brown too much).
- Build the glaze. Stir in soy sauce, honey, vinegar, ketchup, and broth. Simmer 2–3 minutes to meld the flavors.
- Thicken. Stir in the cornstarch slurry and simmer 30–60 seconds until glossy and slightly thickened. Turn off heat and add sesame oil if using.
- Toss and serve. Add fried chicken back to the pan and toss to coat. Serve immediately with green onions and sesame seeds if you’re feeling extra.
Tips for the Best Results
- Dry chicken = crispier chicken. Pat it down with paper towels before seasoning and coating.
- Use thighs for maximum juiciness. Breast works too, just don’t overcook it.
- Don’t skip the cornstarch step. Cornstarch helps create that light, crunchy texture that stays crispy longer.
- Fry in batches. If the oil temp drops, the coating absorbs oil and goes soft.
- Wire rack over paper towels when possible. Airflow keeps the crust from steaming itself soggy.
- Sauce timing matters. Toss right before serving for the best crisp-to-saucy balance.
- Want extra crunch? Double-fry: fry once until pale golden, rest 5 minutes, then fry again 1–2 minutes.
Variations
- Spicy Garlic Chicken: Add 1–2 tsp chili garlic sauce or sriracha to the glaze, or sprinkle in crushed red pepper.
- Lemon Garlic Twist: Add 1 tsp lemon zest and 1–2 tbsp lemon juice to the sauce at the end.
- Air Fryer Option: Spray coated chicken generously with oil and air fry at 400°F for 10–14 minutes, flipping halfway, until crisp and 165°F inside. Toss with warm sauce.
- Gluten-Free: Swap flour for a gluten-free all-purpose blend and use tamari instead of soy sauce.
- Veggie Swap: Use the same sauce on crispy cauliflower or tofu for a meatless moment.
Storage & Reheating
Store leftovers in an airtight container in the fridge for up to 3 days. For best texture, reheat chicken in the oven or air fryer at 375°F until hot and re-crisped, then toss with warmed sauce (or keep sauce separate when storing if you’re planning ahead).
FAQ
How do I keep Crispy Garlic Chicken from getting soggy?
For the crispiest results, rest the fried chicken on a wire rack (not a plate) and toss with sauce right before serving. If you’re meal prepping, store sauce separately and combine after reheating.
Can I use chicken breast instead of thighs?
Yes. Chicken breast works great—just cut it into even pieces and watch the cook time closely. Pull it as soon as it hits 165°F so it stays juicy.
What oil is best for frying?
Use a neutral, high-heat oil like canola, vegetable, or avocado oil. Olive oil isn’t ideal here because it has a lower smoke point and can taste a bit strong once heated.
Can I make the garlic sauce ahead of time?
Absolutely. Make the sauce up to 3 days ahead and refrigerate it. Reheat gently on the stove with a splash of broth or water to loosen it, then toss with freshly cooked (or reheated) chicken.
What should I serve with Crispy Garlic Chicken?
It’s perfect over steamed rice, fried rice, or noodles. For something fresh, add a crunchy cucumber salad, quick pickled carrots, or sautéed green beans to balance the rich, garlicky glaze.