

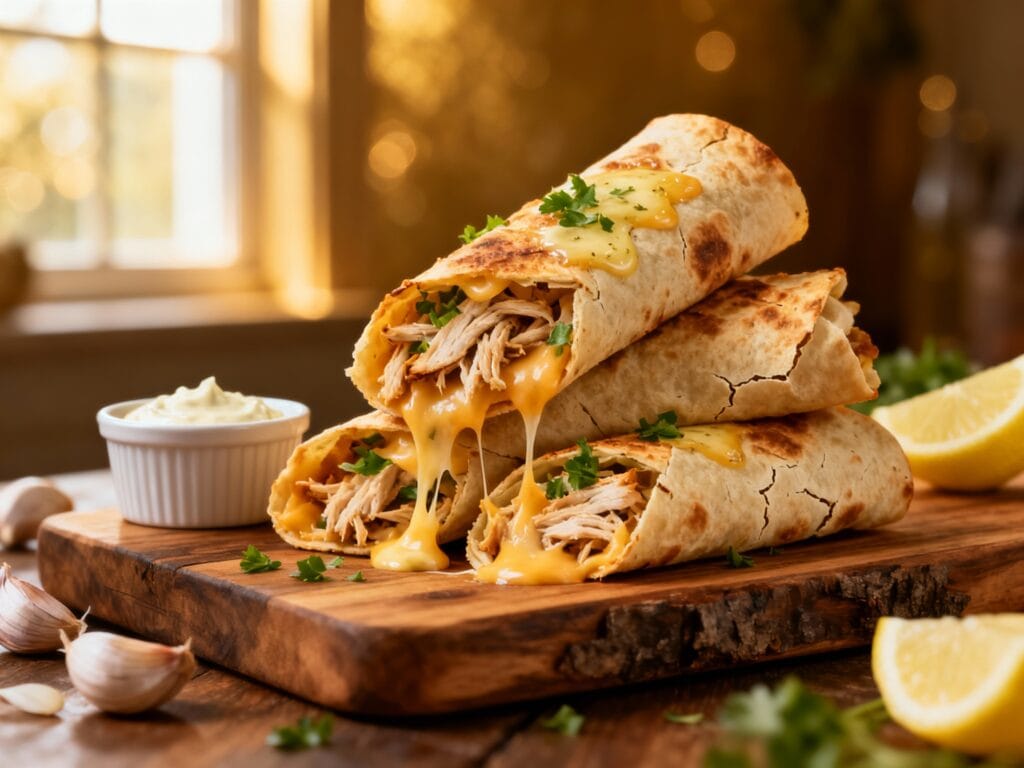
If a chicken wrap and garlic bread had a baby, this would be it. These Crispy Cheesy Garlic Chicken Wraps are fast, golden, and borderline addictive—in the best way. Think juicy chicken, melty cheese, and a garlicky butter finish that makes the outside crackly and restaurant-level.
And yes, you can pull this off in 20 minutes without a sink full of dishes. It’s the kind of weeknight win that also feels snacky enough for game day.
Why You’ll Love This
You get big flavor with minimal effort: warm, gooey cheese inside, seasoned chicken for protein, and a crispy garlic-butter wrap exterior that tastes like you tried harder than you did.
Ingredients
- 2 cups cooked chicken, chopped or shredded (rotisserie is perfect)
- 1 cup shredded mozzarella
- 1 cup shredded cheddar (or Monterey Jack)
- 1/2 cup sour cream or plain Greek yogurt
- 1 teaspoon garlic powder
- 1/2 teaspoon onion powder
- 1/2 teaspoon smoked paprika (optional but so good)
- 1/2 teaspoon salt, plus more to taste
- 1/4 teaspoon black pepper
- 1/3 cup chopped green onions (optional)
- 4 large flour tortillas (burrito-size)
- 2 tablespoons butter, melted
- 2 teaspoons minced garlic (or 1 teaspoon garlic paste)
- 1 tablespoon chopped parsley (optional)
- 1–2 teaspoons olive oil for the pan (as needed)
How to Make It
- Make the filling. In a medium bowl, mix the chicken, mozzarella, cheddar, sour cream (or Greek yogurt), garlic powder, onion powder, paprika, salt, pepper, and green onions (if using). Stir until creamy and evenly combined.
- Prep the garlic butter. In a small bowl, combine the melted butter with minced garlic and parsley. Set aside so the garlic can infuse while you build the wraps.
- Assemble. Lay tortillas flat. Add the filling to the lower center of each tortilla (about 1/4 of the mixture per wrap) and spread into a short, wide log. Don’t overfill—this is how we avoid blowouts.
- Roll tight. Fold in the sides, then roll up from the bottom into a snug wrap. Place seam-side down so it stays closed.
- Heat the pan. Warm a large skillet over medium heat. Add a light drizzle of olive oil if your pan needs it (especially if it’s not nonstick).
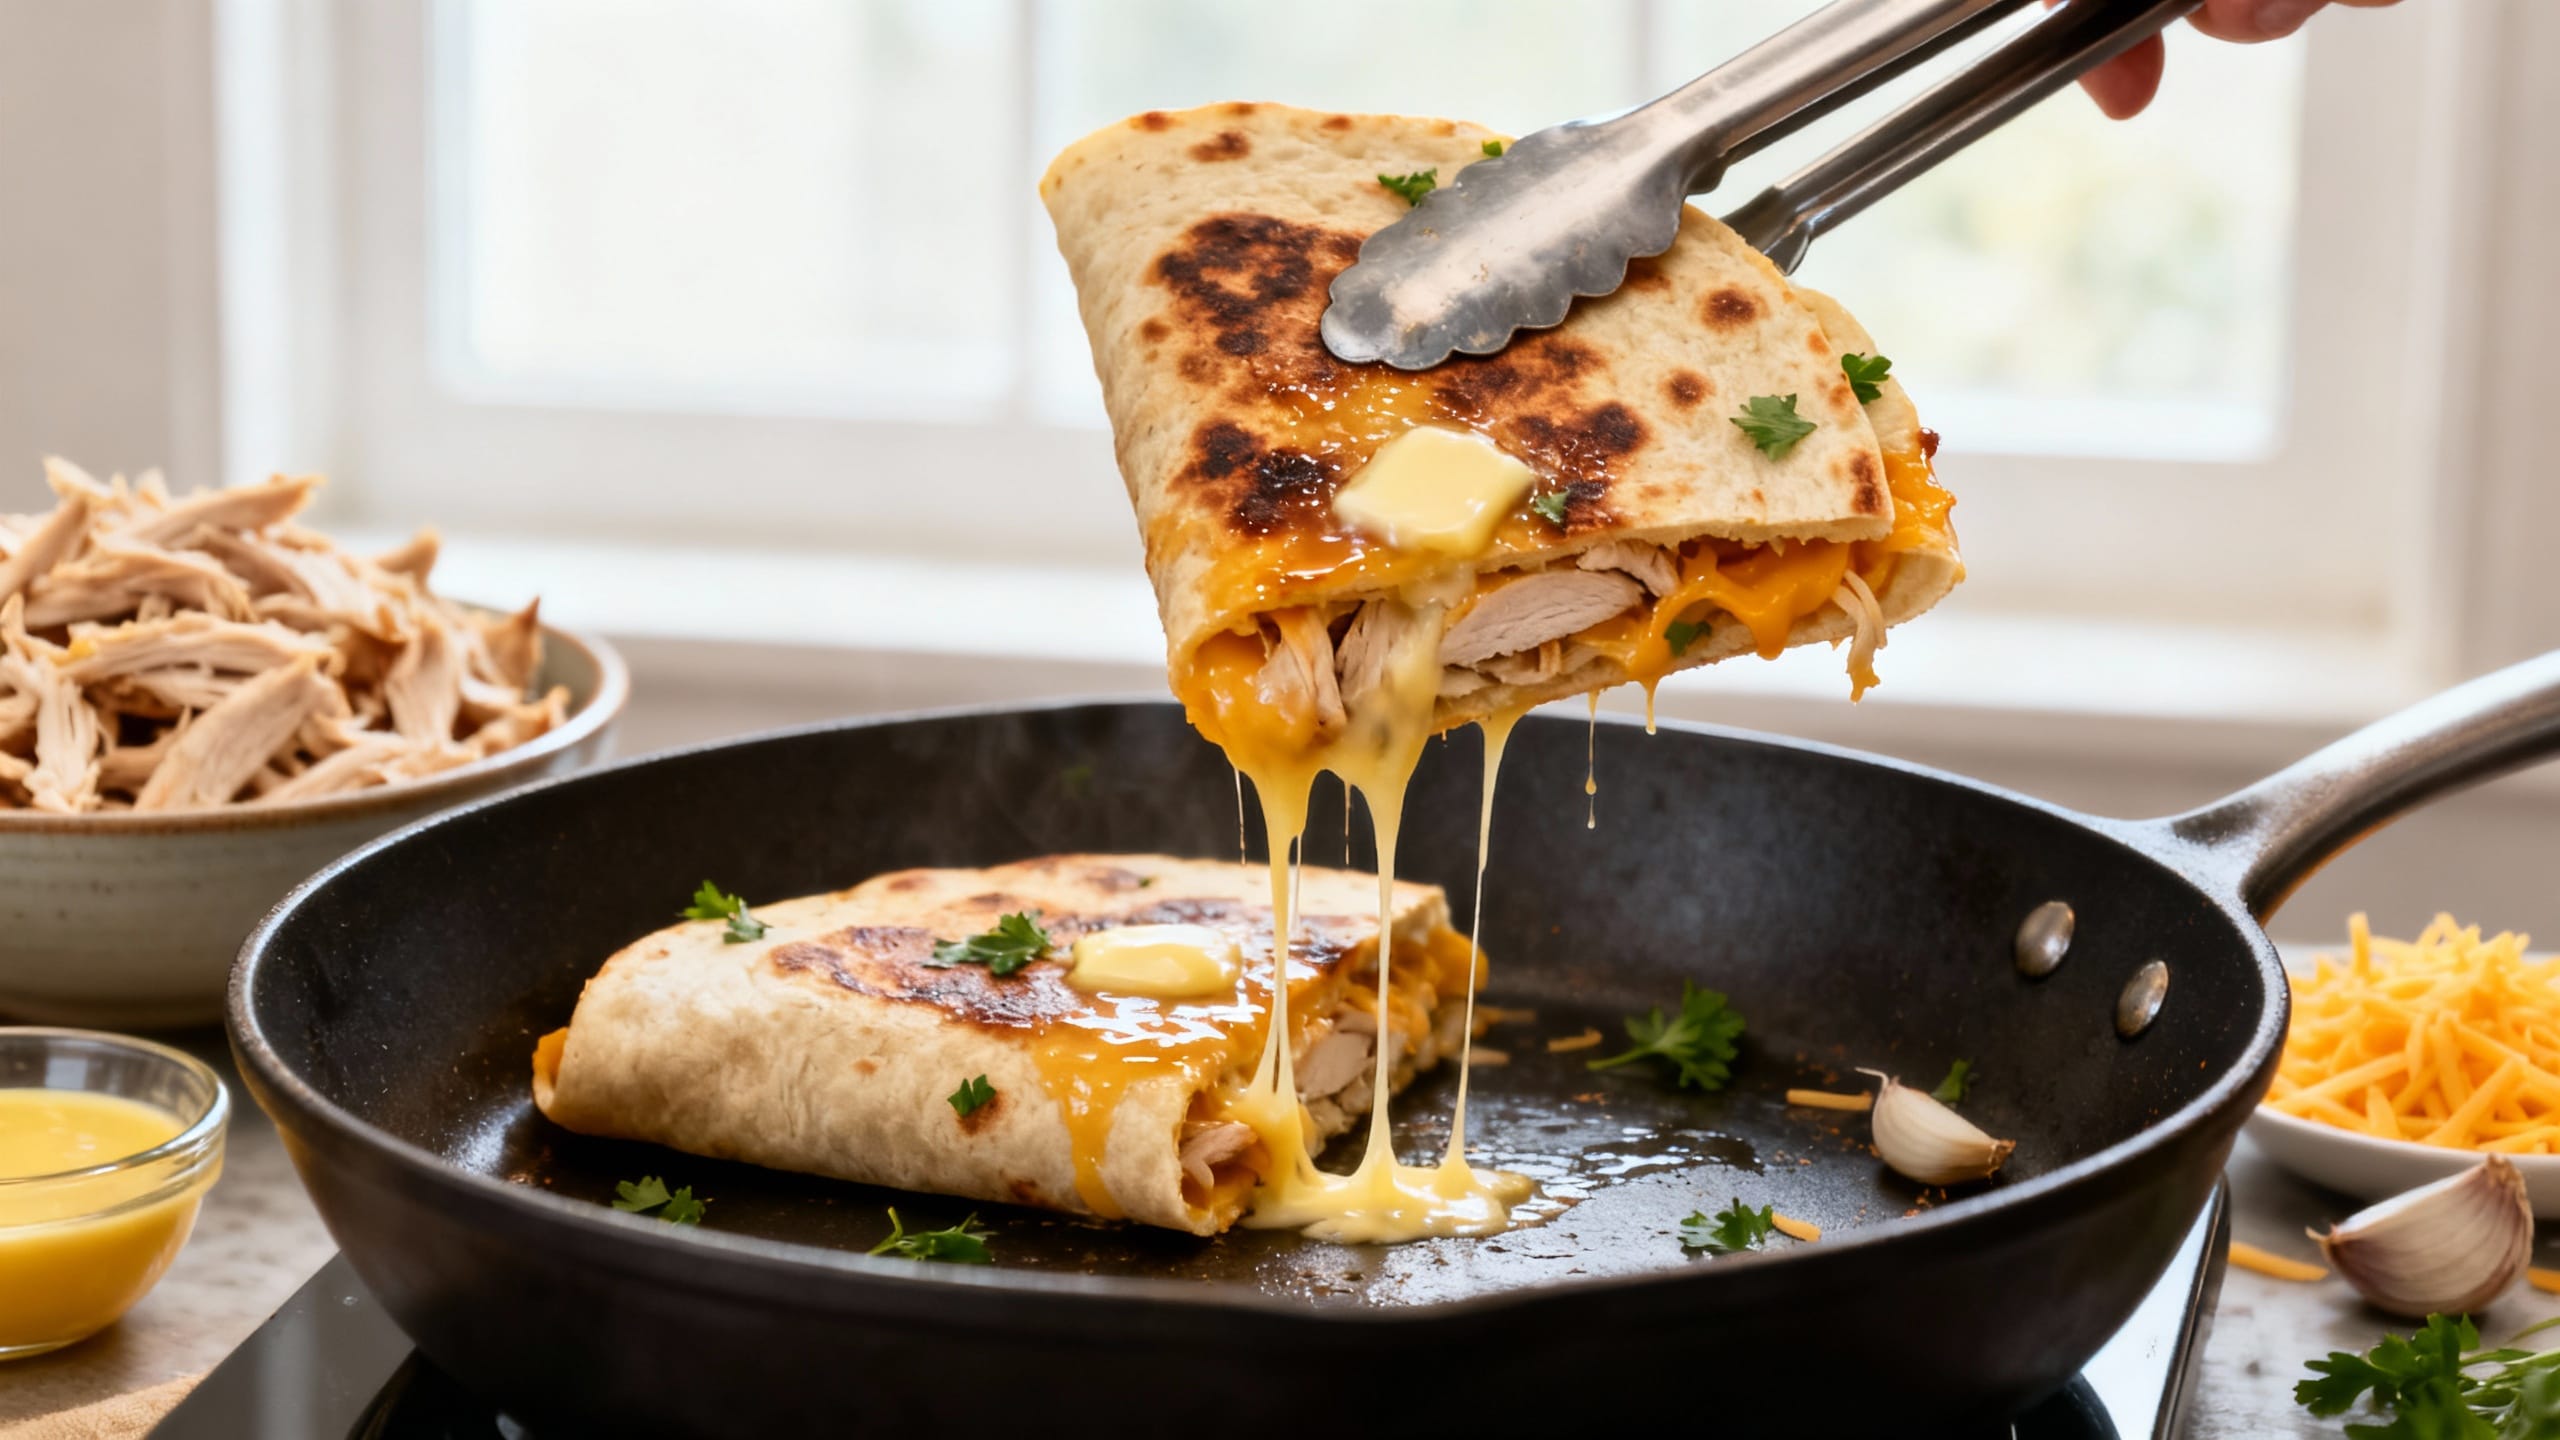
- Brush + toast, first side. Brush the top of the wraps with garlic butter, then place them butter-side down in the skillet (seam-side down if possible). Cook 2–3 minutes until deeply golden and crisp.
- Brush + toast, second side. While the first side cooks, brush the exposed side with more garlic butter. Flip and cook another 2–3 minutes until crisp and the cheese is melty.
- Finish and serve. Let the wraps rest for 1 minute (this helps the cheese set so it doesn’t all escape). Slice on a diagonal and serve warm. Extra garlic butter for dipping is very much encouraged.
Tips for the Best Results
- Use warm chicken. If your chicken is fridge-cold, microwave it for 20–30 seconds first so the cheese melts by the time the outside crisps.
- Don’t overstuff. Too much filling = tearing tortillas and cheese leakage. Aim for a tight, secure roll.
- Seal with seam-side down. Starting seam-side down helps the wrap “glue” itself shut as it toasts.
- Medium heat is the sweet spot. High heat browns the tortilla before the inside gets properly melty.
- Shred your own cheese if you can. Pre-shredded cheese works, but freshly shredded melts smoother because it has fewer anti-caking additives.
- Let the garlic butter sit for a minute. Even 60 seconds helps the butter pick up more garlic flavor.
- Keep it crispy. Serve immediately, or hold finished wraps on a wire rack (not a plate) so steam doesn’t soften the tortilla.
Variations
- Spicy garlic buffalo: Add 2–3 tablespoons buffalo sauce to the filling and swap sour cream for ranch or blue cheese dressing.
- BBQ chicken: Mix 2 tablespoons BBQ sauce into the chicken. Use cheddar + Monterey Jack for that classic BBQ melt.
- Spinach artichoke vibe: Stir in 1/2 cup chopped spinach and 1/3 cup chopped artichokes; use mozzarella + parmesan.
- Protein swap: Use cooked turkey, shredded pork, or even sautéed mushrooms for a meatless option.
- Air fryer method: Air fry at 380°F for 6–8 minutes, flipping halfway, and brush garlic butter on both sides before cooking.
Storage & Reheating
Store leftover wraps in an airtight container in the fridge for up to 3 days. Reheat for best crispiness in a skillet over medium heat for 2–3 minutes per side or in an air fryer at 370°F for 4–6 minutes; the microwave works in a pinch, but the tortilla will be softer.
FAQ
Can I make these wraps in advance?
Yes—assemble the wraps up to 24 hours ahead and keep them tightly wrapped in the fridge. Wait to brush on the garlic butter until right before cooking so the tortillas don’t get soggy.
What’s the best chicken to use for “20 minutes”?
Rotisserie chicken is the fastest. Leftover grilled or baked chicken also works. If you only have raw chicken, thinly slice it and pan-cook it first (about 6–8 minutes), then proceed with the recipe.
How do I keep the wraps from falling apart when flipping?
Roll them tight, avoid overfilling, and start cooking seam-side down so it seals. A wide spatula helps, and letting the first side get properly golden before flipping makes them sturdier.
Can I use corn tortillas or low-carb wraps?
Corn tortillas tend to crack and are smaller, so they’re harder to roll for this style of wrap. Low-carb or high-fiber wraps usually work, but they can brown faster—use slightly lower heat and watch closely.
What dips go best with cheesy garlic chicken wraps?
Ranch, garlic aioli, marinara, honey mustard, or a simple sour cream + hot sauce combo are all great. If you want a “full meal” moment, serve with a side salad, tomato soup, or crispy fries.