

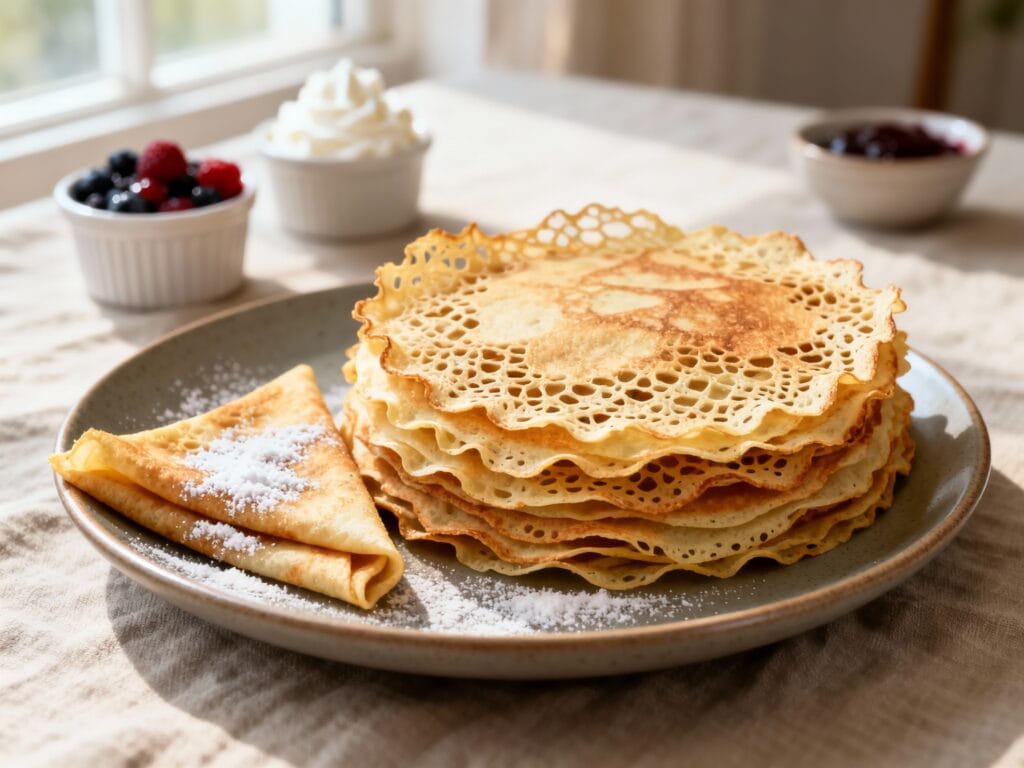
If you’ve ever tried making crepes and ended up with thick pancakes, torn edges, or a pan that somehow glued itself to your batter… welcome. This crepes recipe for beginners is here to make thin, lacy crepes feel totally doable.
These are the kind of crepes that look fancy but are secretly low-drama: soft in the middle, delicate at the edges, and flexible enough to roll around your favorite fillings. Once you learn the swirl, you’ll be making them on autopilot.
Why You’ll Love This
This is a simple, reliable crepe batter that blends fast, cooks in minutes, and gives you that thin, lightly crisp “lace” around the edges—without special tools or restaurant-level skills.
Ingredients
- 1 cup (125g) all-purpose flour
- 2 large eggs
- 1 1/4 cups (300ml) milk (any kind works)
- 2 tablespoons melted butter (plus more for the pan)
- 1 tablespoon sugar (optional, but great for sweet crepes)
- 1/4 teaspoon fine salt
- 1 teaspoon vanilla extract (optional, for sweet crepes)
How to Make It
- Mix the batter. In a blender, combine flour, eggs, milk, melted butter, sugar (if using), salt, and vanilla (if using). Blend 15–20 seconds until smooth. No blender? Whisk in a bowl until very smooth.
- Rest the batter. Let it sit for 20–30 minutes at room temp (or cover and refrigerate up to overnight). This relaxes the gluten and helps the crepes turn out tender and lacy.
- Heat the pan. Warm a nonstick skillet or crepe pan over medium heat. You want it hot, but not smoking.
- Butter lightly. Add a tiny swipe of butter (or a drop of oil) and wipe with a paper towel so the pan is just lightly coated. Too much fat can make the batter slip instead of spreading thinly.
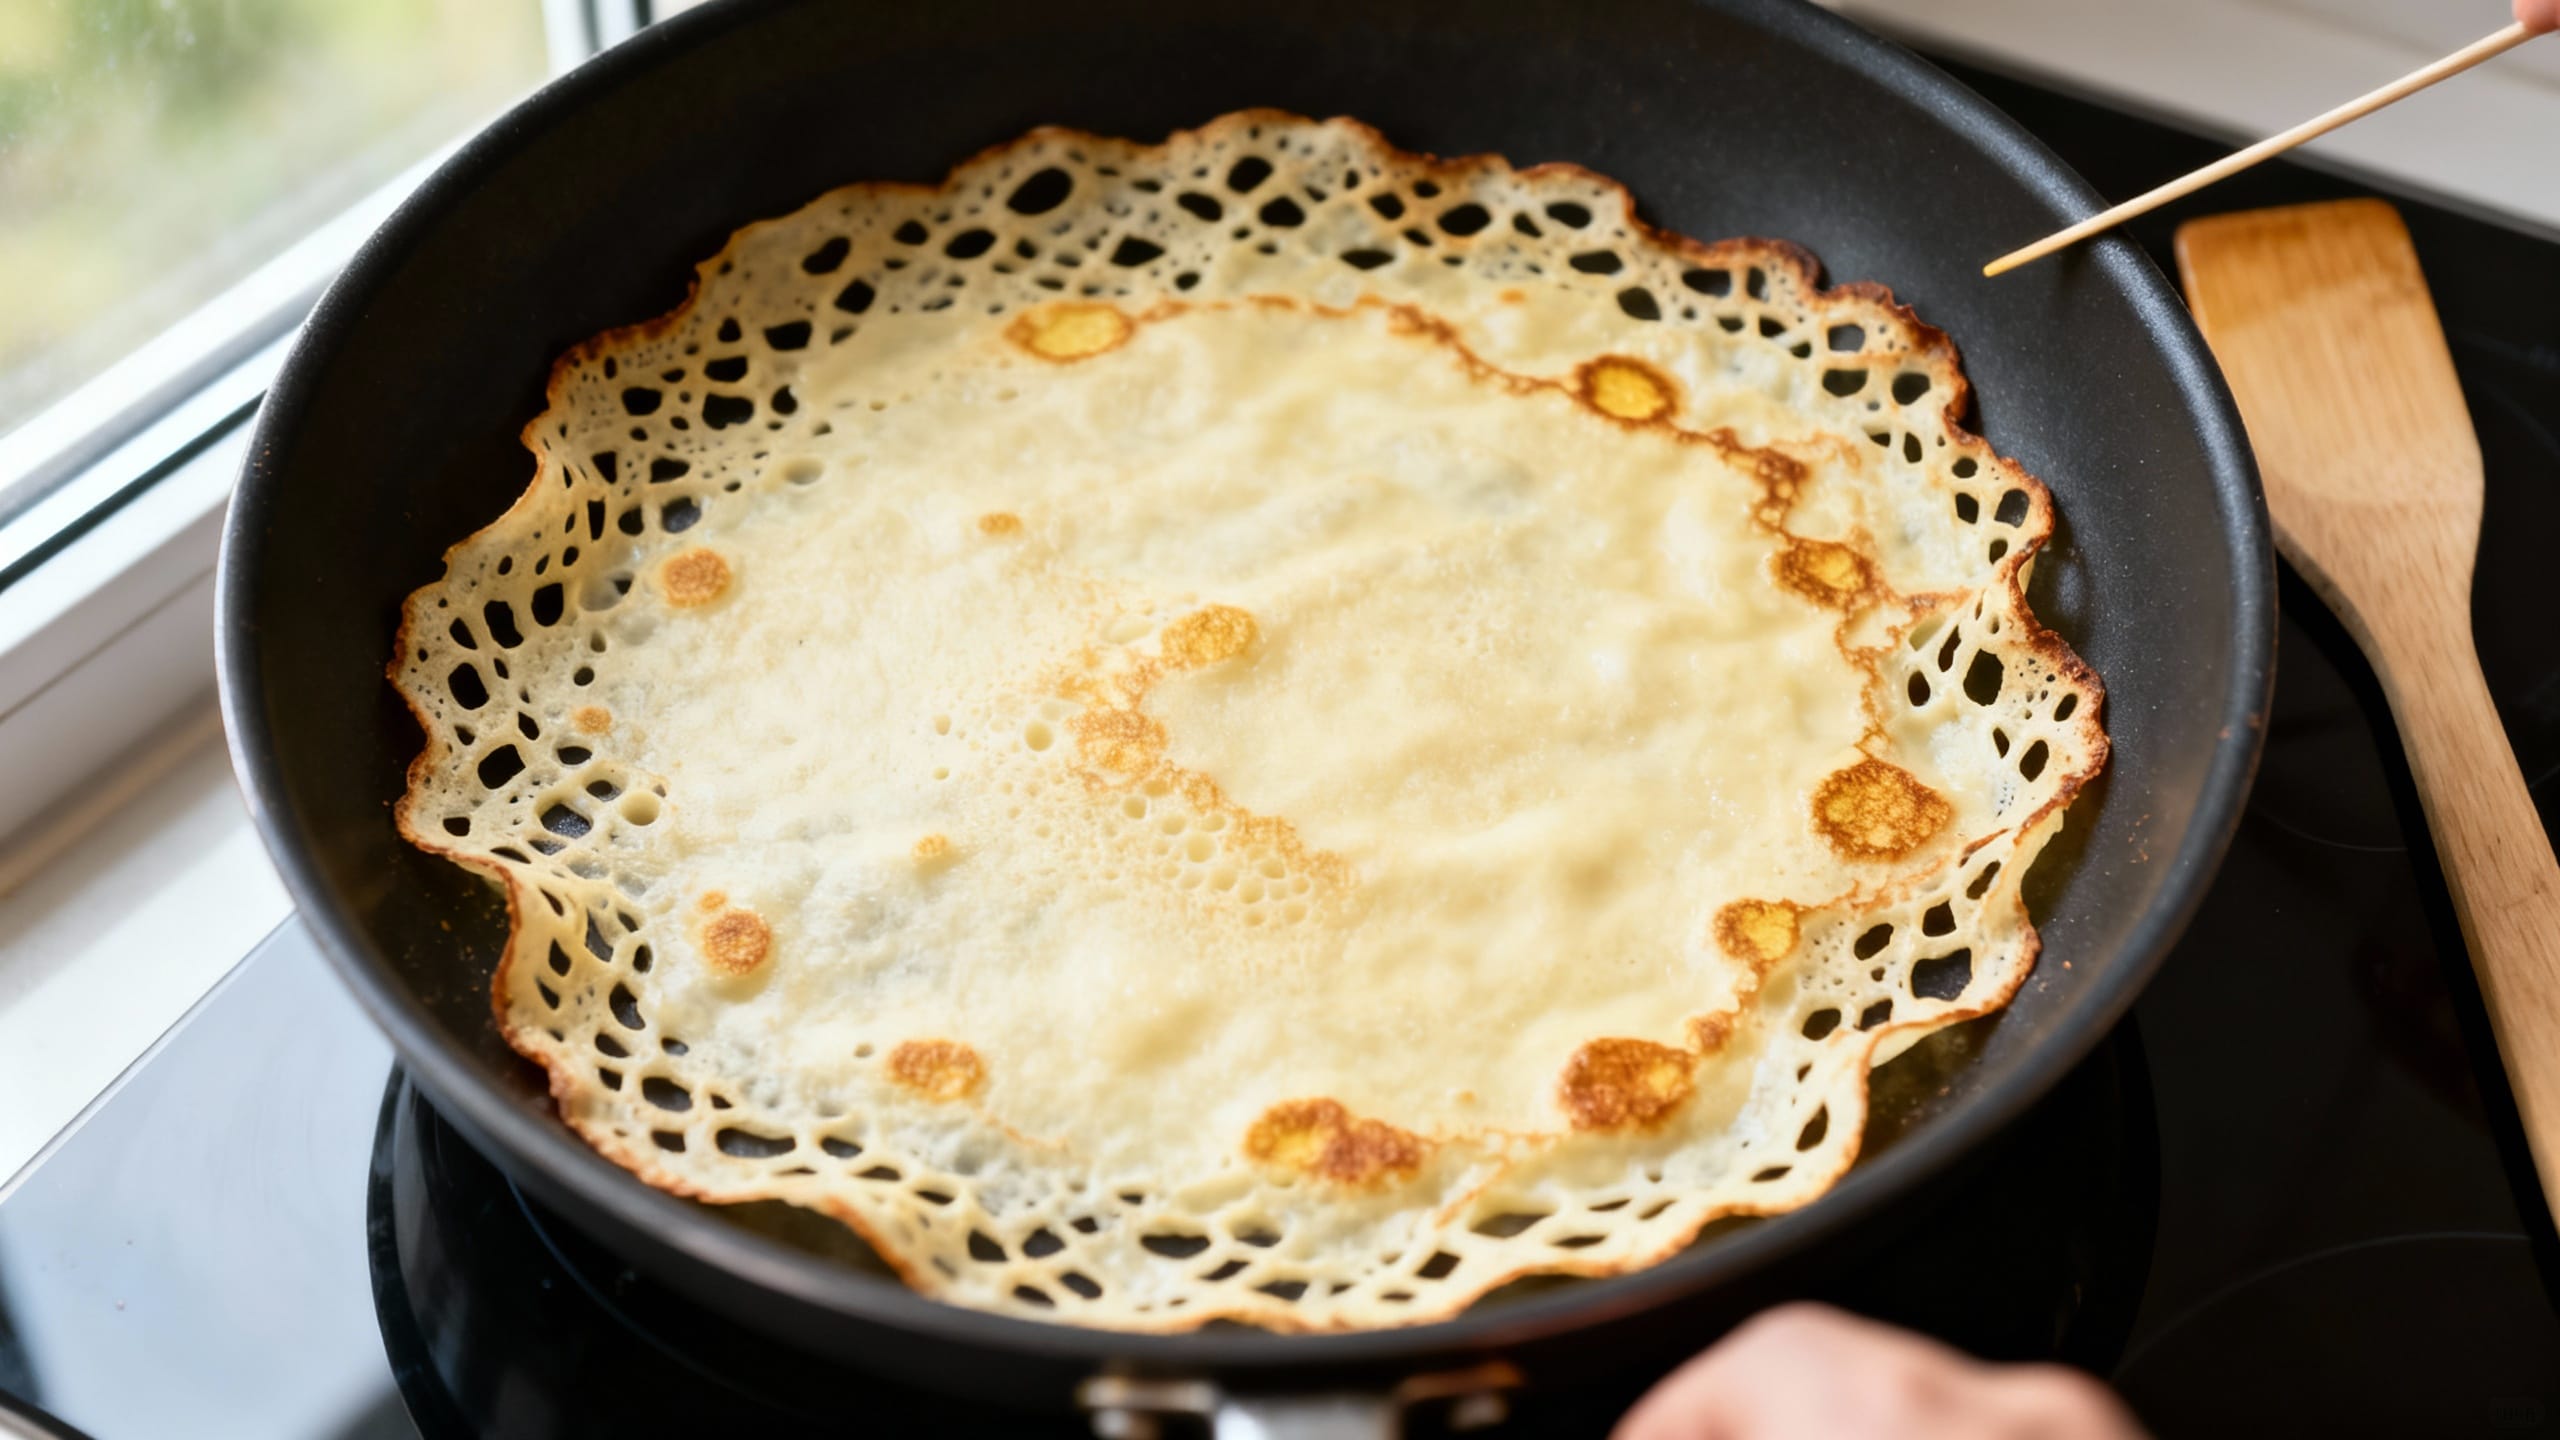
- Pour and swirl. Pour about 1/4 cup batter into the center, then immediately lift and tilt the pan in a circle to spread it into a thin layer. If it doesn’t reach the edges, you can add a teaspoon more batter and swirl again quickly.
- Cook the first side. Cook 45–75 seconds until the edges look dry and lightly golden and the center is set. You should be able to slide a spatula underneath easily.
- Flip. Flip carefully (spatula or fingers, you’re brave now). Cook the second side 15–30 seconds—this side goes fast.
- Stack and repeat. Slide onto a plate and stack. Continue with remaining batter, lightly re-buttering the pan as needed. If the crepes start cooking too fast or browning hard, lower the heat a bit.
Tips for the Best Results
- Resting matters. Even 20 minutes makes the batter smoother, the crepes more tender, and the edges more delicate.
- A blender is beginner-friendly. It removes lumps instantly and gives you a consistently thin batter.
- Dial in your heat. Medium is the sweet spot. If your crepes are pale and rubbery, the pan is too cool. If they’re browning before they spread, it’s too hot.
- Use the right amount of batter. For an 8–10 inch pan, start with about 1/4 cup. Adjust: thinner pan coverage = more lace.
- Swirl immediately. The batter sets fast. Pour, lift, tilt—no scrolling your phone in between.
- Wipe the pan, don’t grease it. A thin film of butter helps browning and release without turning the edges greasy.
- Expect the first crepe to be a tester. It’s normal. The first one tells you if your pan is the right temp and if your batter needs a splash more milk.
- For extra-lacy edges: Keep the batter on the thinner side and let the pan preheat properly before pouring.
Variations
- Savory crepes: Skip the sugar and vanilla. Add 1–2 teaspoons Dijon mustard to the batter (sounds wild, tastes amazing) or a pinch of herbs.
- Whole wheat: Replace up to half the flour with whole wheat flour. Add an extra tablespoon of milk if it thickens.
- Chocolate crepes: Replace 2 tablespoons flour with unsweetened cocoa powder and keep the sugar in.
- Orange-scented: Add 1 teaspoon orange zest and swap vanilla for 1/2 teaspoon orange extract.
- Dairy-free: Use oat milk or almond milk and swap melted butter for melted coconut oil or a neutral oil.
- Filling ideas: Nut butter + sliced banana, berries + whipped cream, lemon + sugar, ham + cheese, sautéed mushrooms + spinach.
Storage & Reheating
Let crepes cool, then stack with parchment or wax paper between them. Store in an airtight container in the fridge for up to 3 days, or freeze up to 2 months. Reheat in a dry skillet over medium-low for about 20–30 seconds per side, or microwave covered with a damp paper towel for 10–15 seconds (just until warm and flexible).
FAQ
Why are my crepes tearing when I flip them?
Usually the first side isn’t cooked enough yet, or the pan isn’t nonstick-friendly. Wait until the edges look dry and lift easily. Also make sure your batter rested—resting helps structure without toughness.
How do I get thin, lacy edges like café crepes?
Use a properly preheated pan, keep the batter slightly thin (add 1–2 tablespoons milk if needed), and swirl immediately after pouring. Also avoid over-greasing the pan; a wiped-thin butter layer helps the batter grip and spread.
My batter is too thick—what should it look like?
It should be thinner than pancake batter, closer to heavy cream. If it pours in ribbons instead of flowing quickly, whisk in milk 1 tablespoon at a time until it spreads easily with a quick swirl.
Do I really need a blender or special crepe pan?
Nope. A whisk and a regular nonstick skillet work great. A blender just makes it faster and smoother, and a crepe pan gives a little more surface control, but neither is required for thin crepes.
Can I make the crepe batter ahead of time?
Yes, and it’s honestly a pro move. Make it up to 24 hours ahead, cover, and refrigerate. Before cooking, stir or blend briefly since the flour can settle, and add a splash of milk if it thickened overnight.