

Cheesy Garlic Chicken Wraps That Make Lunch Feel Indulgent
If your usual lunch rotation is giving “meh,” these cheesy garlic chicken wraps are your reset. They’re melty, garlicky, and just rich enough to feel like a treat—without turning your kitchen into a full-blown dinner service.
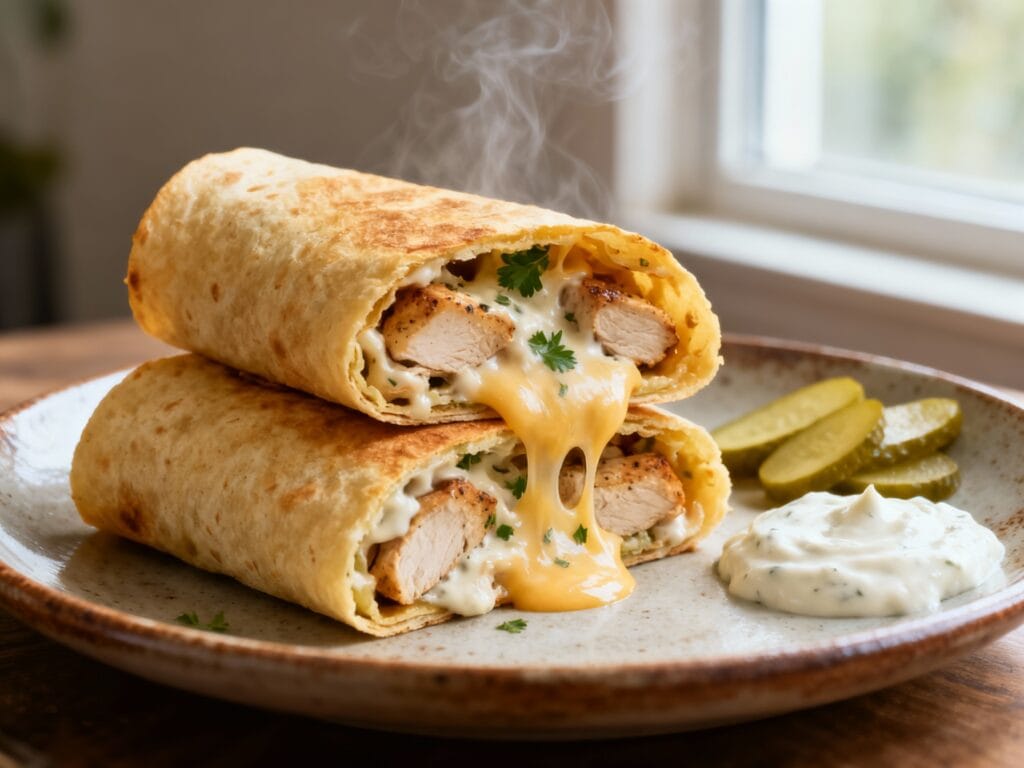
Think: juicy chicken, a creamy garlic-cheese situation, and a toasted tortilla that crunches a little when you bite in. It’s the kind of lunch that makes you stop scrolling for a second.
Why You’ll Love This
These wraps hit all the best comfort-food notes—cheese pull, garlic flavor, warm toasted edges—while still being totally doable on a weekday. Plus, they’re easy to prep ahead and customize with whatever’s in your fridge.
Ingredients
- 2 cups cooked chicken, shredded or chopped (rotisserie chicken works perfectly)
- 1 cup shredded mozzarella cheese
- 1/2 cup shredded cheddar cheese
- 4 oz cream cheese, softened
- 2 tbsp mayonnaise (or Greek yogurt for a lighter swap)
- 2–3 cloves garlic, finely minced (or 1 1/2 tsp garlic paste)
- 1 tbsp chopped parsley (optional, but cute and fresh)
- 1/2 tsp Italian seasoning
- 1/2 tsp smoked paprika
- 1/2 tsp salt (adjust to taste)
- 1/4 tsp black pepper
- 1 tbsp lemon juice (optional, for brightness)
- 4 large flour tortillas (burrito-size)
- 1 tbsp butter, melted
- 1 tbsp olive oil (for toasting)
How to Make It
- In a medium bowl, mix the softened cream cheese and mayonnaise until smooth and spreadable.
- Stir in the minced garlic, parsley (if using), Italian seasoning, smoked paprika, salt, pepper, and lemon juice.
- Add the cooked chicken and toss until every piece is coated. You want it creamy, not soupy—if it seems too thick, add 1–2 tsp water or a tiny extra spoon of mayo.
- Fold in about 3/4 of the mozzarella and cheddar (save the rest for sealing and extra melt).
- Warm the tortillas for 10–15 seconds in the microwave or a dry skillet so they’re flexible. Divide the filling among tortillas, placing it slightly off-center like you’re building a burrito.
- Sprinkle a little of the remaining cheese over the filling, then fold in the sides and roll tightly into wraps. Don’t overstuff—tight rolling is the secret to no-filling-escape.
- Brush the outside of each wrap lightly with melted butter for flavor and golden color.
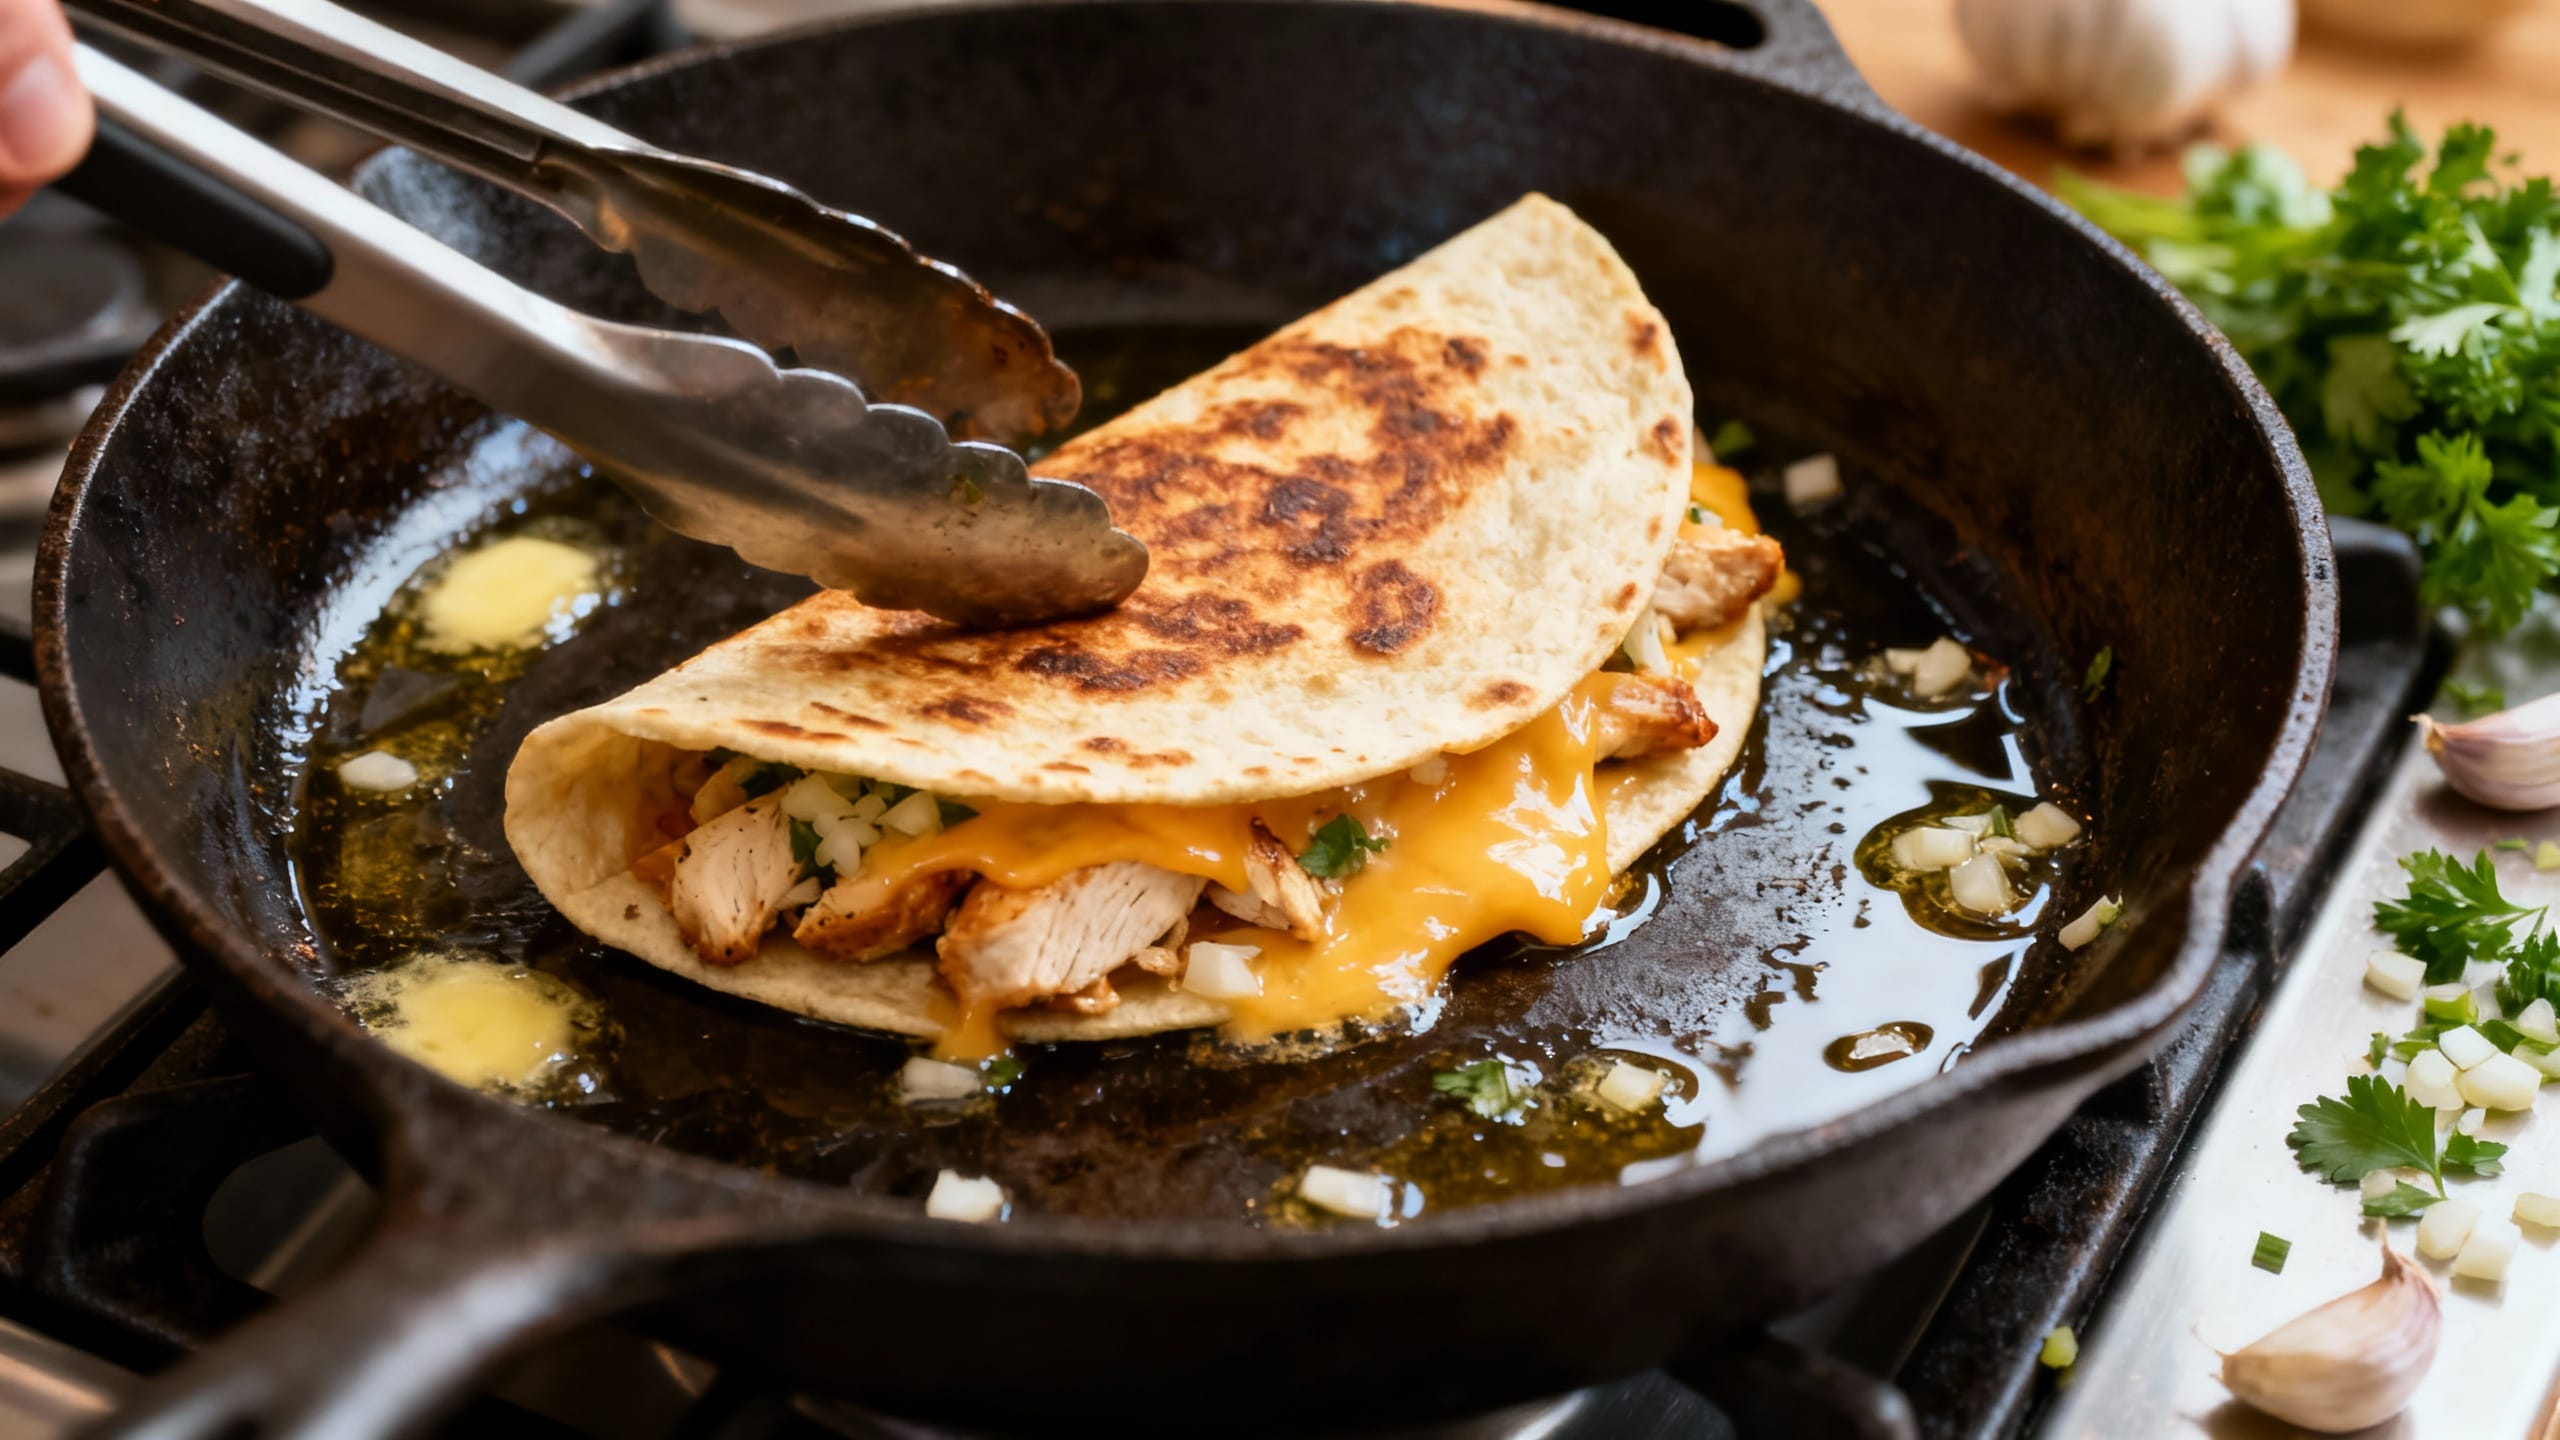
- Heat a large skillet over medium heat with the olive oil. Toast wraps seam-side down first for 2–3 minutes, then flip and toast another 2–3 minutes until deeply golden and the cheese is melted.
- Rest for 1 minute, then slice in half (diagonal, obviously) and serve warm.
Tips for the Best Results
- Use warm chicken (or bring it to room temp). Cold filling takes longer to melt and can make the tortilla over-toast before the inside gets gooey.
- Soften the cream cheese. If it’s too firm, you’ll end up with lumps instead of a smooth, creamy bind.
- Don’t skip seam-side down first. It “glues” the wrap shut and keeps everything tidy.
- Medium heat is your friend. High heat browns fast but won’t give the inside time to melt and warm through.
- Shred your own cheese if you can. Pre-shredded works, but fresh-shredded melts smoother because it doesn’t have anti-caking agents.
- Balance the garlic. If your garlic is extra strong, start with 2 cloves, taste the mixture, and add more if you want it louder.
Variations
- Spicy garlic chicken wraps: Add 1–2 tsp hot sauce or 1/4 tsp cayenne to the filling, and toss in sliced jalapeños.
- Buffalo-cheesy moment: Swap the smoked paprika for ranch seasoning and stir 2 tbsp buffalo sauce into the cream cheese mix.
- Veggie boost: Add a handful of baby spinach, thin-sliced red onion, or sautéed bell peppers. (Just avoid watery veggies unless cooked first.)
- Extra crunchy: Add cooked crumbled bacon or crispy onions inside right before rolling.
- Lower-carb-ish: Use a high-fiber or low-carb tortilla, and go heavier on chicken and lighter on the creamy binder.
- Air fryer finish: Brush with butter and air fry at 380°F for 6–8 minutes, flipping halfway, until crisp and melted.
Storage & Reheating
Store leftover wraps in an airtight container in the fridge for up to 3 days. Reheat in a skillet over medium-low heat for 3–5 minutes per side for the best crisp-tender texture, or air fry at 360°F for 5–7 minutes. The microwave works in a pinch (about 45–75 seconds), but the tortilla will be softer rather than toasted.
FAQ
Can I make these cheesy garlic chicken wraps ahead for meal prep?
Yes—prep the filling up to 3 days ahead and keep it chilled. For the best texture, assemble and toast the wraps right before eating. If you fully assemble ahead, wrap each one tightly in foil or parchment so the tortillas don’t dry out.
What’s the best chicken to use for this recipe?
Rotisserie chicken is the easiest and stays juicy. Leftover roasted chicken or poached chicken works too. If you’re cooking from raw, season simply (salt, pepper, paprika), then chop or shred once cooked so it mixes evenly with the cheesy garlic filling.
How do I keep the wraps from getting soggy?
Make sure any add-ins (like peppers or mushrooms) are cooked down so they aren’t watery, and don’t overload with sauce. Toasting in a skillet also helps create a barrier that keeps the tortilla sturdy. If you’re packing for later, keep the wrap un-toasted until you’re ready to eat.
Can I bake these instead of pan-toasting?
Totally. Place wraps seam-side down on a baking sheet, brush with butter, and bake at 400°F for 10–14 minutes, flipping halfway, until golden and melty. If you want more color, broil for the last 1–2 minutes—just keep a close eye.
What should I serve with cheesy garlic chicken wraps for lunch?
Keep it simple: a crunchy side salad, kettle chips, or sliced cucumbers with a little lemon and salt. For dip energy, try marinara (pizza vibes), ranch, or a quick garlic yogurt sauce (Greek yogurt + lemon + pinch of salt).