

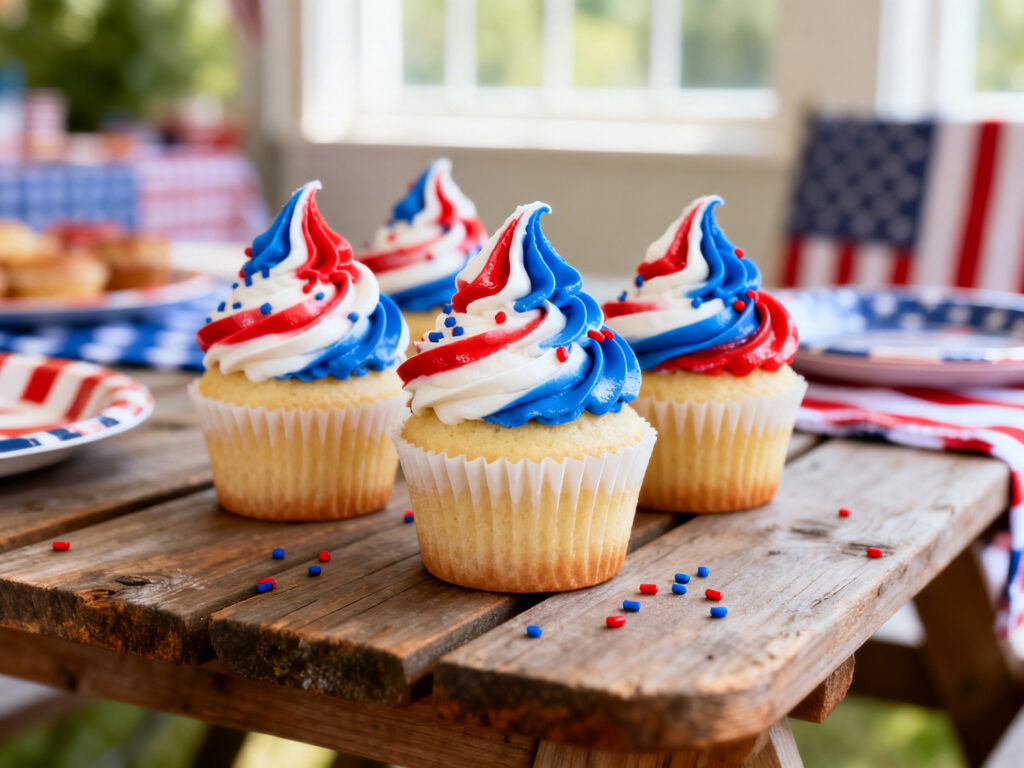
These festive 4th of July cupcakes are basically a party on a plate: fluffy vanilla cupcakes topped with dreamy red, white, and blue frosting that looks like fireworks in swirl form. They’re bright, classic, and the kind of dessert that disappears fast at BBQs, pool days, and family cookouts.
No complicated baking tricks here—just a solid cupcake base and a simple buttercream you can tint and pipe like a pro. Bonus: you can make them ahead, transport them easily, and they photograph beautifully for your holiday spread.
Why You’ll Love This
They’re easy, festive, and customizable: one batch of vanilla cupcakes plus a three-color frosting swirl gives you maximum 4th of July vibes with minimal extra effort (and yes, they taste as good as they look).
Ingredients
- For the cupcakes: 1 1/2 cups all-purpose flour
- 1 1/2 tsp baking powder
- 1/4 tsp fine salt
- 1/2 cup unsalted butter, softened
- 1 cup granulated sugar
- 2 large eggs, room temperature
- 2 tsp vanilla extract
- 1/2 cup sour cream (or plain Greek yogurt)
- 1/2 cup milk (whole or 2%)
- For the red, white, and blue frosting: 1 cup unsalted butter, softened
- 3 1/2 to 4 cups powdered sugar, sifted if lumpy
- 2 tsp vanilla extract (or 1 tsp vanilla + 1/2 tsp almond extract)
- 2–3 tbsp heavy cream or milk, as needed
- Pinch of salt
- Red gel food coloring
- Blue gel food coloring
- Optional garnish: red/blue/white sprinkles, sanding sugar, or star sprinkles
How to Make It
- Prep. Preheat your oven to 350°F (175°C). Line a 12-cup muffin tin with cupcake liners.
- Mix dry ingredients. In a medium bowl, whisk together flour, baking powder, and salt.
- Cream butter + sugar. In a large bowl, beat softened butter and sugar until light and fluffy, about 2–3 minutes. Add eggs one at a time, beating after each. Mix in vanilla.
- Add sour cream, then alternate. Beat in sour cream until smooth. Add the dry ingredients in 2 additions, alternating with milk, mixing just until combined. Don’t overmix—stop as soon as the batter looks smooth.
- Fill and bake. Divide batter evenly among liners (about 2/3 full). Bake 18–22 minutes, or until a toothpick comes out clean. Cool in the pan 5 minutes, then move cupcakes to a rack to cool completely.
- Make buttercream. Beat butter for 2 minutes until creamy. Add powdered sugar gradually, then add vanilla and a pinch of salt. Beat until fluffy. Add cream/milk 1 tsp at a time until it’s smooth and pipeable.
- Color the frosting. Divide frosting into three bowls. Leave one white. Tint one red and one blue using gel color (a little goes a long way). Mix well so there are no streaks.
- Create the 3-color swirl. Line a piping bag with your favorite large tip (like a 1M or 2D). Spoon the red, white, and blue frosting side-by-side into the bag (or place each color in plastic wrap “logs” and insert them together for cleaner stripes).
- Frost and decorate. Pipe swirls onto cooled cupcakes. Finish with sprinkles if you want extra festive sparkle.
Tips for the Best Results
- Room temp ingredients matter. Room temp eggs, butter, and dairy blend smoother and give you a fluffier crumb.
- Don’t overmix after adding flour. Overmixing can make cupcakes dense instead of tender.
- Use gel food coloring. It gives bold red/blue without watering down the frosting like liquid coloring can.
- Cool completely before frosting. Even slightly warm cupcakes will melt your buttercream (and then your stripes turn into tie-dye).
- Adjust frosting texture. Too thick? Add 1 tsp cream. Too soft? Add a bit more powdered sugar, 2 tbsp at a time.
- Clean stripes hack. The plastic wrap “log” method makes crisp red/white/blue swirls with less mess in the piping bag.
Variations
- Chocolate cupcakes: Swap in your favorite chocolate cupcake base and keep the red/white/blue frosting for a fun contrast.
- Strawberry + blueberry flavor: Add 2 tbsp strawberry powder to the red bowl and 2 tbsp blueberry powder to the blue bowl (reduce powdered sugar slightly if needed).
- Lemon vanilla: Add 1 tbsp lemon zest to the cupcake batter and 1–2 tsp lemon juice to the frosting for a bright summer twist.
- Filled cupcakes: Core the cupcakes and fill with strawberry jam, blueberry preserves, or vanilla pudding before frosting.
- Mini cupcakes: Bake in mini tins for 10–12 minutes and pipe smaller swirls—perfect for a dessert table.
Storage & Reheating
Store frosted cupcakes in an airtight container at cool room temperature for up to 1 day, or refrigerate for up to 4 days. Let refrigerated cupcakes sit at room temp for 30–45 minutes before serving so the cake softens and the frosting gets creamy again (no reheating needed).

FAQ
How do I get clean red, white, and blue frosting swirls?
Use gel colors and keep the frosting fairly thick. For the cleanest stripes, spoon each color onto its own strip of plastic wrap, roll into three “logs,” twist the ends, and place all three logs into the piping bag together.
Can I make these cupcakes the day before?
Yes. Bake the cupcakes a day ahead, cool completely, and store airtight at room temperature. Frost the next day for the freshest look, or frost ahead and refrigerate—just bring to room temp before serving.
Why did my buttercream turn out too soft?
Most often it’s from butter that’s overly warm or too much liquid. Chill the frosting for 10–15 minutes, then beat again. If it’s still soft, add powdered sugar a little at a time until it holds its shape when piped.
How do I make the “red” actually look red and not pink?
Start with gel coloring, not liquid. Add a tiny bit at a time and let the frosting sit for 10 minutes—colors deepen as they rest. If it’s still reading pink, add one more small dab of gel and mix thoroughly.
Can I use store-bought frosting and still do the tricolor look?
Absolutely. Buy a big tub (or two) of vanilla frosting, divide into three bowls, tint red and blue, then load into a piping bag the same way. If it feels too soft to hold a swirl, mix in 1/2 cup powdered sugar to thicken it.