

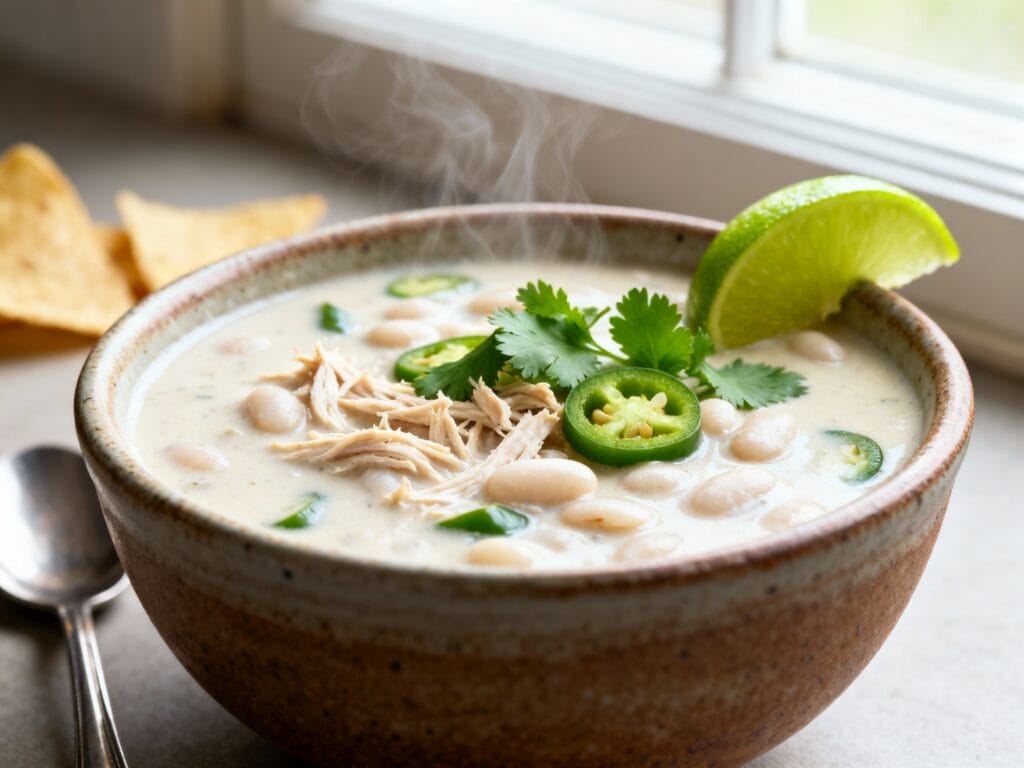
This is the white chicken chili for people who want “creaminess” without the cream cheese brick. It’s cozy, velvety, and bright at the same time—thanks to a smart combo of blended beans, a little half-and-half, and a quick lime finish.
It’s weeknight-easy, meal-prep friendly, and somehow tastes even better the next day (the flavors really get to know each other).
Why You’ll Love This
It’s rich and creamy without feeling heavy, made with simple pantry staples, and you can dial the heat up or down depending on your vibe—plus it comes together in one pot with minimal fuss.
Ingredients
- 1 tablespoon olive oil
- 1 medium yellow onion, diced
- 3 cloves garlic, minced
- 1 (4 oz) can diced green chiles
- 1 teaspoon ground cumin
- 1 teaspoon dried oregano
- 1/2 teaspoon ground coriander (optional but delicious)
- 1/4 to 1/2 teaspoon cayenne pepper (optional, to taste)
- 1 teaspoon kosher salt, plus more to taste
- 1/2 teaspoon black pepper
- 4 cups low-sodium chicken broth
- 2 (15 oz) cans cannellini beans or great northern beans, drained and rinsed
- 2 cups cooked shredded chicken (rotisserie works great)
- 1 cup frozen corn
- 1/2 cup half-and-half (or whole milk)
- 1 tablespoon fresh lime juice (about 1/2 lime), plus more to taste
- 1/4 cup chopped cilantro (optional)
- Optional toppings: sliced jalapeños, shredded Monterey Jack or pepper jack, crushed tortilla chips, sour cream, avocado, extra cilantro
How to Make It
- Heat the olive oil in a large pot or Dutch oven over medium heat. Add the onion and cook for 4–5 minutes, stirring occasionally, until softened and lightly golden.
- Add the garlic and cook for 30 seconds, just until fragrant. Stir in the green chiles, cumin, oregano, coriander (if using), cayenne (if using), salt, and pepper. Let the spices toast for about 30 seconds to wake them up.
- Pour in the chicken broth and bring everything to a gentle simmer. Add 1 can of beans (keep the second can aside for now). Simmer for 8–10 minutes so the flavors start to build.
- Carefully blend the chili base to make it creamy: use an immersion blender right in the pot until mostly smooth, or transfer to a blender in batches (vent the lid). This is the no-cream-cheese magic step.
- Stir in the remaining can of beans, the shredded chicken, and the frozen corn. Simmer for 10 minutes, stirring occasionally, until everything is hot and the chili thickens slightly.
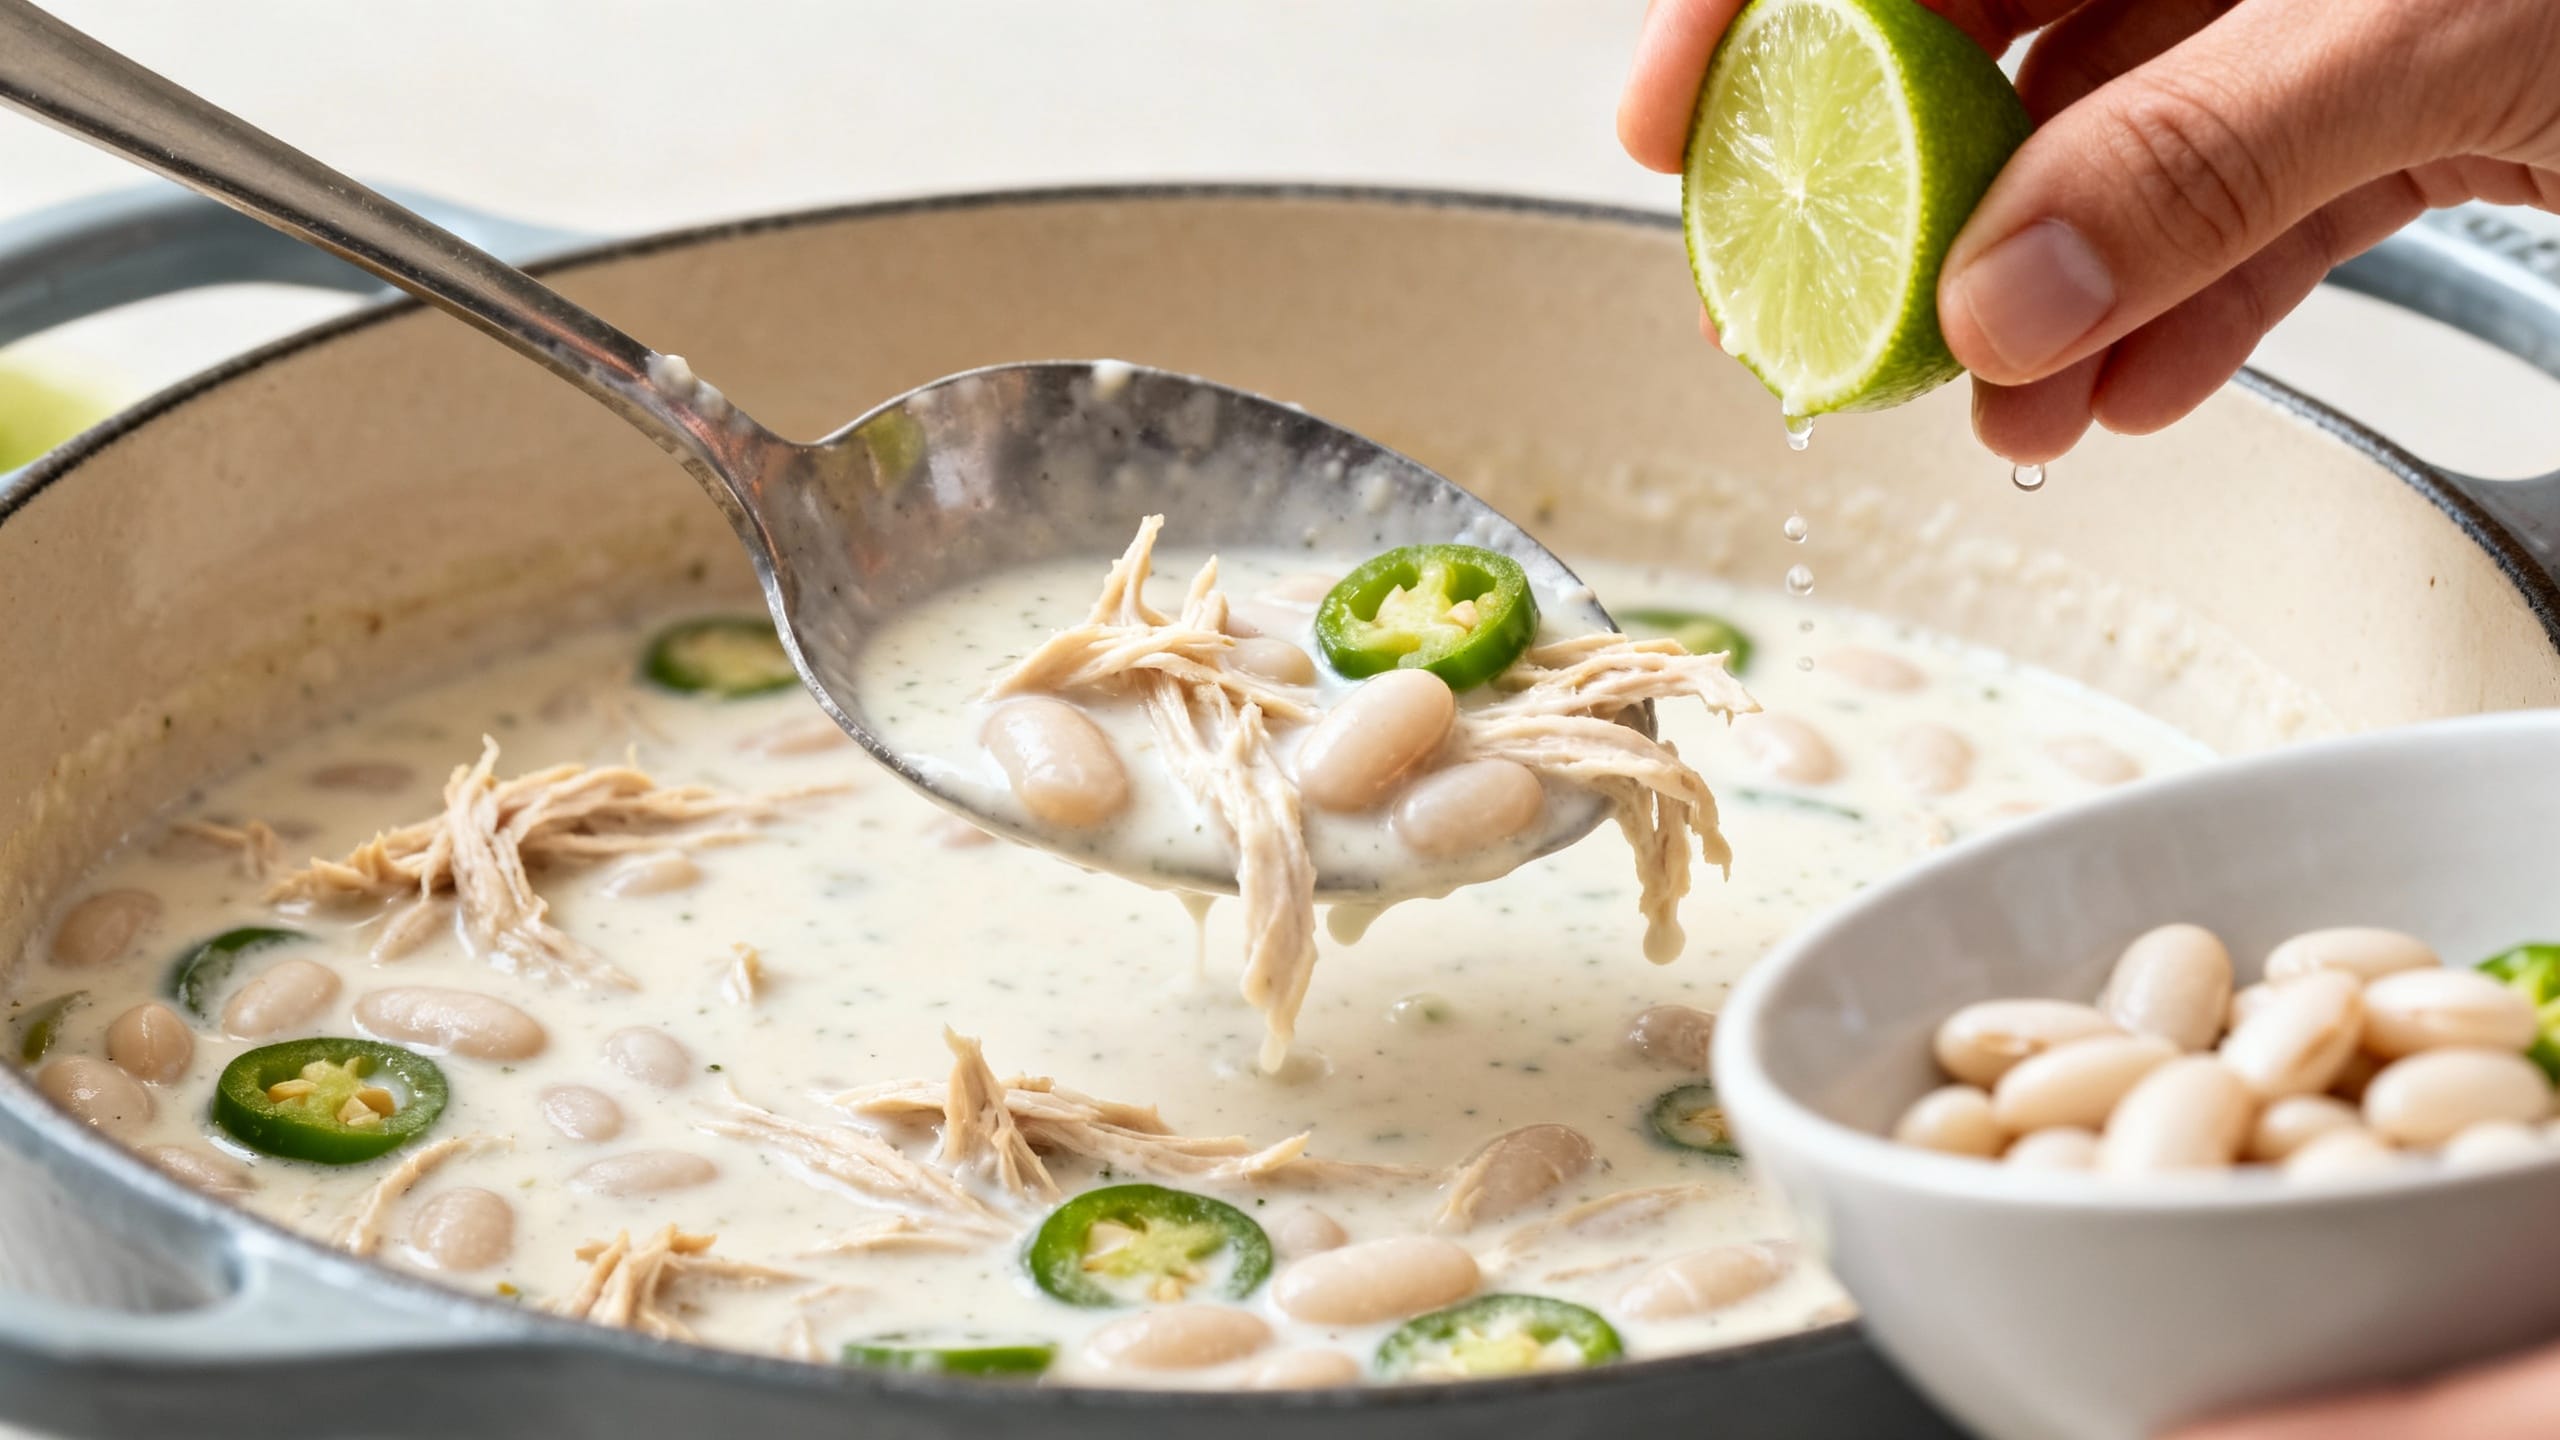
- Lower the heat and stir in the half-and-half. Don’t let it boil hard—keep it at a gentle simmer so it stays silky.
- Turn off the heat and add lime juice and cilantro (if using). Taste and adjust: more salt for overall flavor, more lime for brightness, more cayenne for heat, or a splash more broth if you want it thinner.
- Serve hot with your favorite toppings. Highly recommend crushed tortilla chips for crunch and a little cheese moment.
Tips for the Best Results
- Blend for creaminess, not milk. The blended beans create that thick, velvety texture without needing cream cheese.
- Use low-sodium broth. This lets you control the salt, especially since beans and rotisserie chicken can vary a lot.
- Keep dairy gentle. Once the half-and-half goes in, avoid a rapid boil to prevent curdling.
- Rotisserie chicken = weeknight cheat code. Or use leftover baked chicken—anything cooked and shred-friendly works.
- Let it sit for 10 minutes. The chili thickens as it cools slightly, and the flavor gets even better.
- Lime at the end only. It tastes brighter and fresher when it isn’t simmered for a long time.
Variations
- Spicier: Add a diced jalapeño with the onion, or stir in chipotle powder for smoky heat.
- Extra creamy (still no cream cheese): Swap half-and-half for heavy cream, or blend in 1/2 cup of the corn with the beans.
- Dairy-free: Use full-fat canned coconut milk (the “unsweetened” kind) or an unsweetened oat creamer. Add lime slowly and taste as you go.
- Slow cooker: Cook onion/garlic/spices quickly on the stove first for best flavor, then add everything except dairy, lime, and cilantro. Cook on low 4–6 hours, blend part, then stir in dairy and lime at the end.
- Make it heartier: Add a diced bell pepper with the onion, or toss in a cup of cooked rice near the end.
Storage & Reheating
Store cooled chili in an airtight container in the fridge for up to 4 days. Reheat gently on the stove over medium-low heat, stirring often, adding a splash of broth if it thickened too much. You can also microwave in 45-second bursts, stirring between rounds. For freezing, skip adding the half-and-half until reheating; freeze up to 3 months, thaw overnight, warm, then stir in dairy and lime at the end.
FAQ
How is this chili creamy if there’s no cream cheese?
The creaminess comes from blending part of the beans with broth and aromatics, which naturally thickens the chili into a velvety base. A small amount of half-and-half adds a smooth finish without needing a whole block of cream cheese.
Can I make it with raw chicken instead of cooked shredded chicken?
Yes. Add 1 to 1 1/2 pounds boneless, skinless chicken breasts or thighs when you add the broth. Simmer gently for about 15–20 minutes (until cooked through), remove to shred, then return it to the pot and continue with the recipe.
What beans work best for white chicken chili?
Cannellini beans and great northern beans are ideal because they’re mild and blend super smoothly. Navy beans also work, but they can thicken the chili a bit more, so you may want an extra splash of broth.
My chili isn’t thick enough—how do I fix it?
Simmer it uncovered for 5–10 more minutes to reduce, or blend a bit more of the beans. If you already blended the base, you can mash some beans with a spoon or stir in a cornstarch slurry (1 tablespoon cornstarch + 1 tablespoon water) and simmer until thickened.
How do I keep the dairy from curdling?
Use half-and-half or whole milk (lower-fat milk curdles more easily), and add it over low heat. Avoid boiling after it’s added, and stir frequently. Also, add lime juice after turning off the heat so the acidity doesn’t fight with the dairy.