

No-Bake Genius Salted Caramel Dessert Recipe for Entertaining
If you love hosting but don’t love turning your kitchen into a sauna, this no-bake salted caramel dessert is your new secret weapon. It’s creamy, crunchy, sweet-salty, and looks like you absolutely had your life together all day.
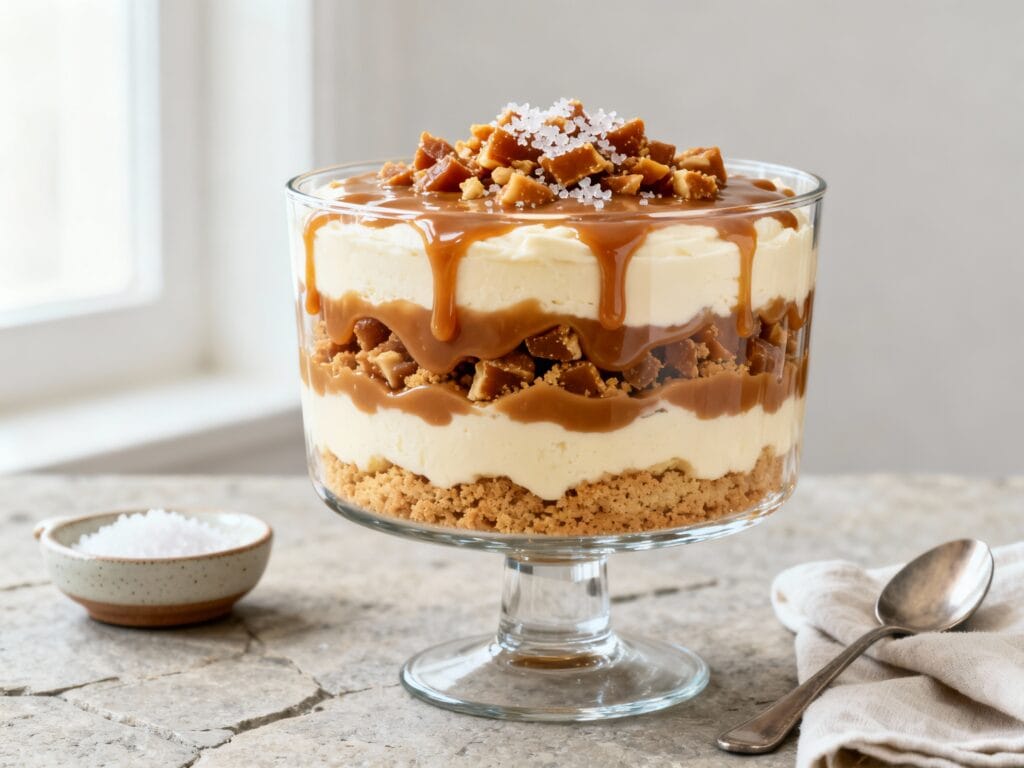
This is a chilled layered “icebox-style” dessert you can assemble ahead, park in the fridge, and pull out when your guests are ready for something a little extra. Bonus: it slices clean and travels well if you’re bringing dessert to someone else’s place.
Why You’ll Love This
It’s no-bake, make-ahead, and totally entertaining-friendly: think buttery cookie crust, cloud-like caramel cream, and a glossy salted caramel top that makes it look bakery-level with basically zero stress.
Ingredients
- 2 1/2 cups graham cracker crumbs (about 2 sleeves)
- 1/2 cup unsalted butter, melted
- 2 tablespoons light brown sugar
- 1 (8 oz) block cream cheese, softened
- 1 (3.4 oz) box instant vanilla pudding mix
- 1 1/2 cups cold whole milk
- 1/2 cup thick caramel sauce, plus more for drizzling (store-bought is perfect)
- 1 1/2 cups heavy whipping cream, cold
- 1/3 cup powdered sugar
- 1 teaspoon vanilla extract
- 1/2 to 3/4 teaspoon flaky sea salt (plus extra for finishing)
- Optional garnish: crushed toffee bits, chopped toasted pecans, or chocolate shavings
How to Make It
- Prep the pan: Lightly grease a 9×13-inch dish (or line with parchment for extra-clean slices).
- Make the crust: In a bowl, mix graham crumbs, melted butter, and brown sugar until it looks like wet sand. Press firmly into the bottom of the dish (use a flat-bottomed glass to really pack it in). Chill while you make the filling.
- Whip the cream: In a cold bowl, beat heavy cream, powdered sugar, and vanilla to stiff peaks. Set aside in the fridge.
- Mix the base: In a separate large bowl, beat softened cream cheese until smooth. Add instant pudding mix and beat again (it’ll look thick and a little weird at first—normal).
- Add milk + caramel: Slowly pour in cold milk while mixing until smooth and thickened, about 1–2 minutes. Stir in 1/2 cup caramel sauce and flaky sea salt.
- Fold in whipped cream: Gently fold the whipped cream into the caramel mixture in two additions until fluffy and evenly combined. Don’t overmix—you want that airy texture.
- Assemble: Spread the caramel cream over the chilled crust and smooth the top.
- Finish with caramel: Warm a few tablespoons of caramel sauce for 10–15 seconds so it’s drizzle-friendly, then spoon and swirl over the top. Sprinkle a pinch of flaky sea salt and any optional garnish.
- Chill: Refrigerate at least 6 hours, ideally overnight, to set for clean slices.
Tips for the Best Results
- Use instant pudding mix, not cook-and-serve. It’s the structure that helps this dessert slice like a dream.
- Cold milk matters. Warm milk won’t thicken properly and you’ll lose that “set” texture.
- Soften cream cheese fully to avoid lumps. If you forgot, microwave it (unwrapped) in 10-second bursts until soft, not melted.
- Fold, don’t beat, once the whipped cream goes in. Keeping the air = keeping it light.
- Press the crust firmly. A packed crust won’t crumble when you serve.
- Flaky sea salt is the vibe. Table salt can taste harsh—use flaky salt for that clean pop of salty-sweet.
- Chill overnight if you can. It tastes better and slices cleaner, which is huge for entertaining.
Variations
- Chocolate-caramel: Swap graham crackers for chocolate cookie crumbs (like chocolate wafers) and add chocolate shavings on top.
- Apple pie energy: Add a thin layer of cinnamon-sautéed apples over the crust before the caramel cream.
- Nutty crunch: Fold 1/2 cup chopped toasted pecans into the filling or sprinkle them on top right before serving.
- Espresso caramel: Add 1–2 teaspoons instant espresso powder to the milk before mixing to give it that coffee-shop depth.
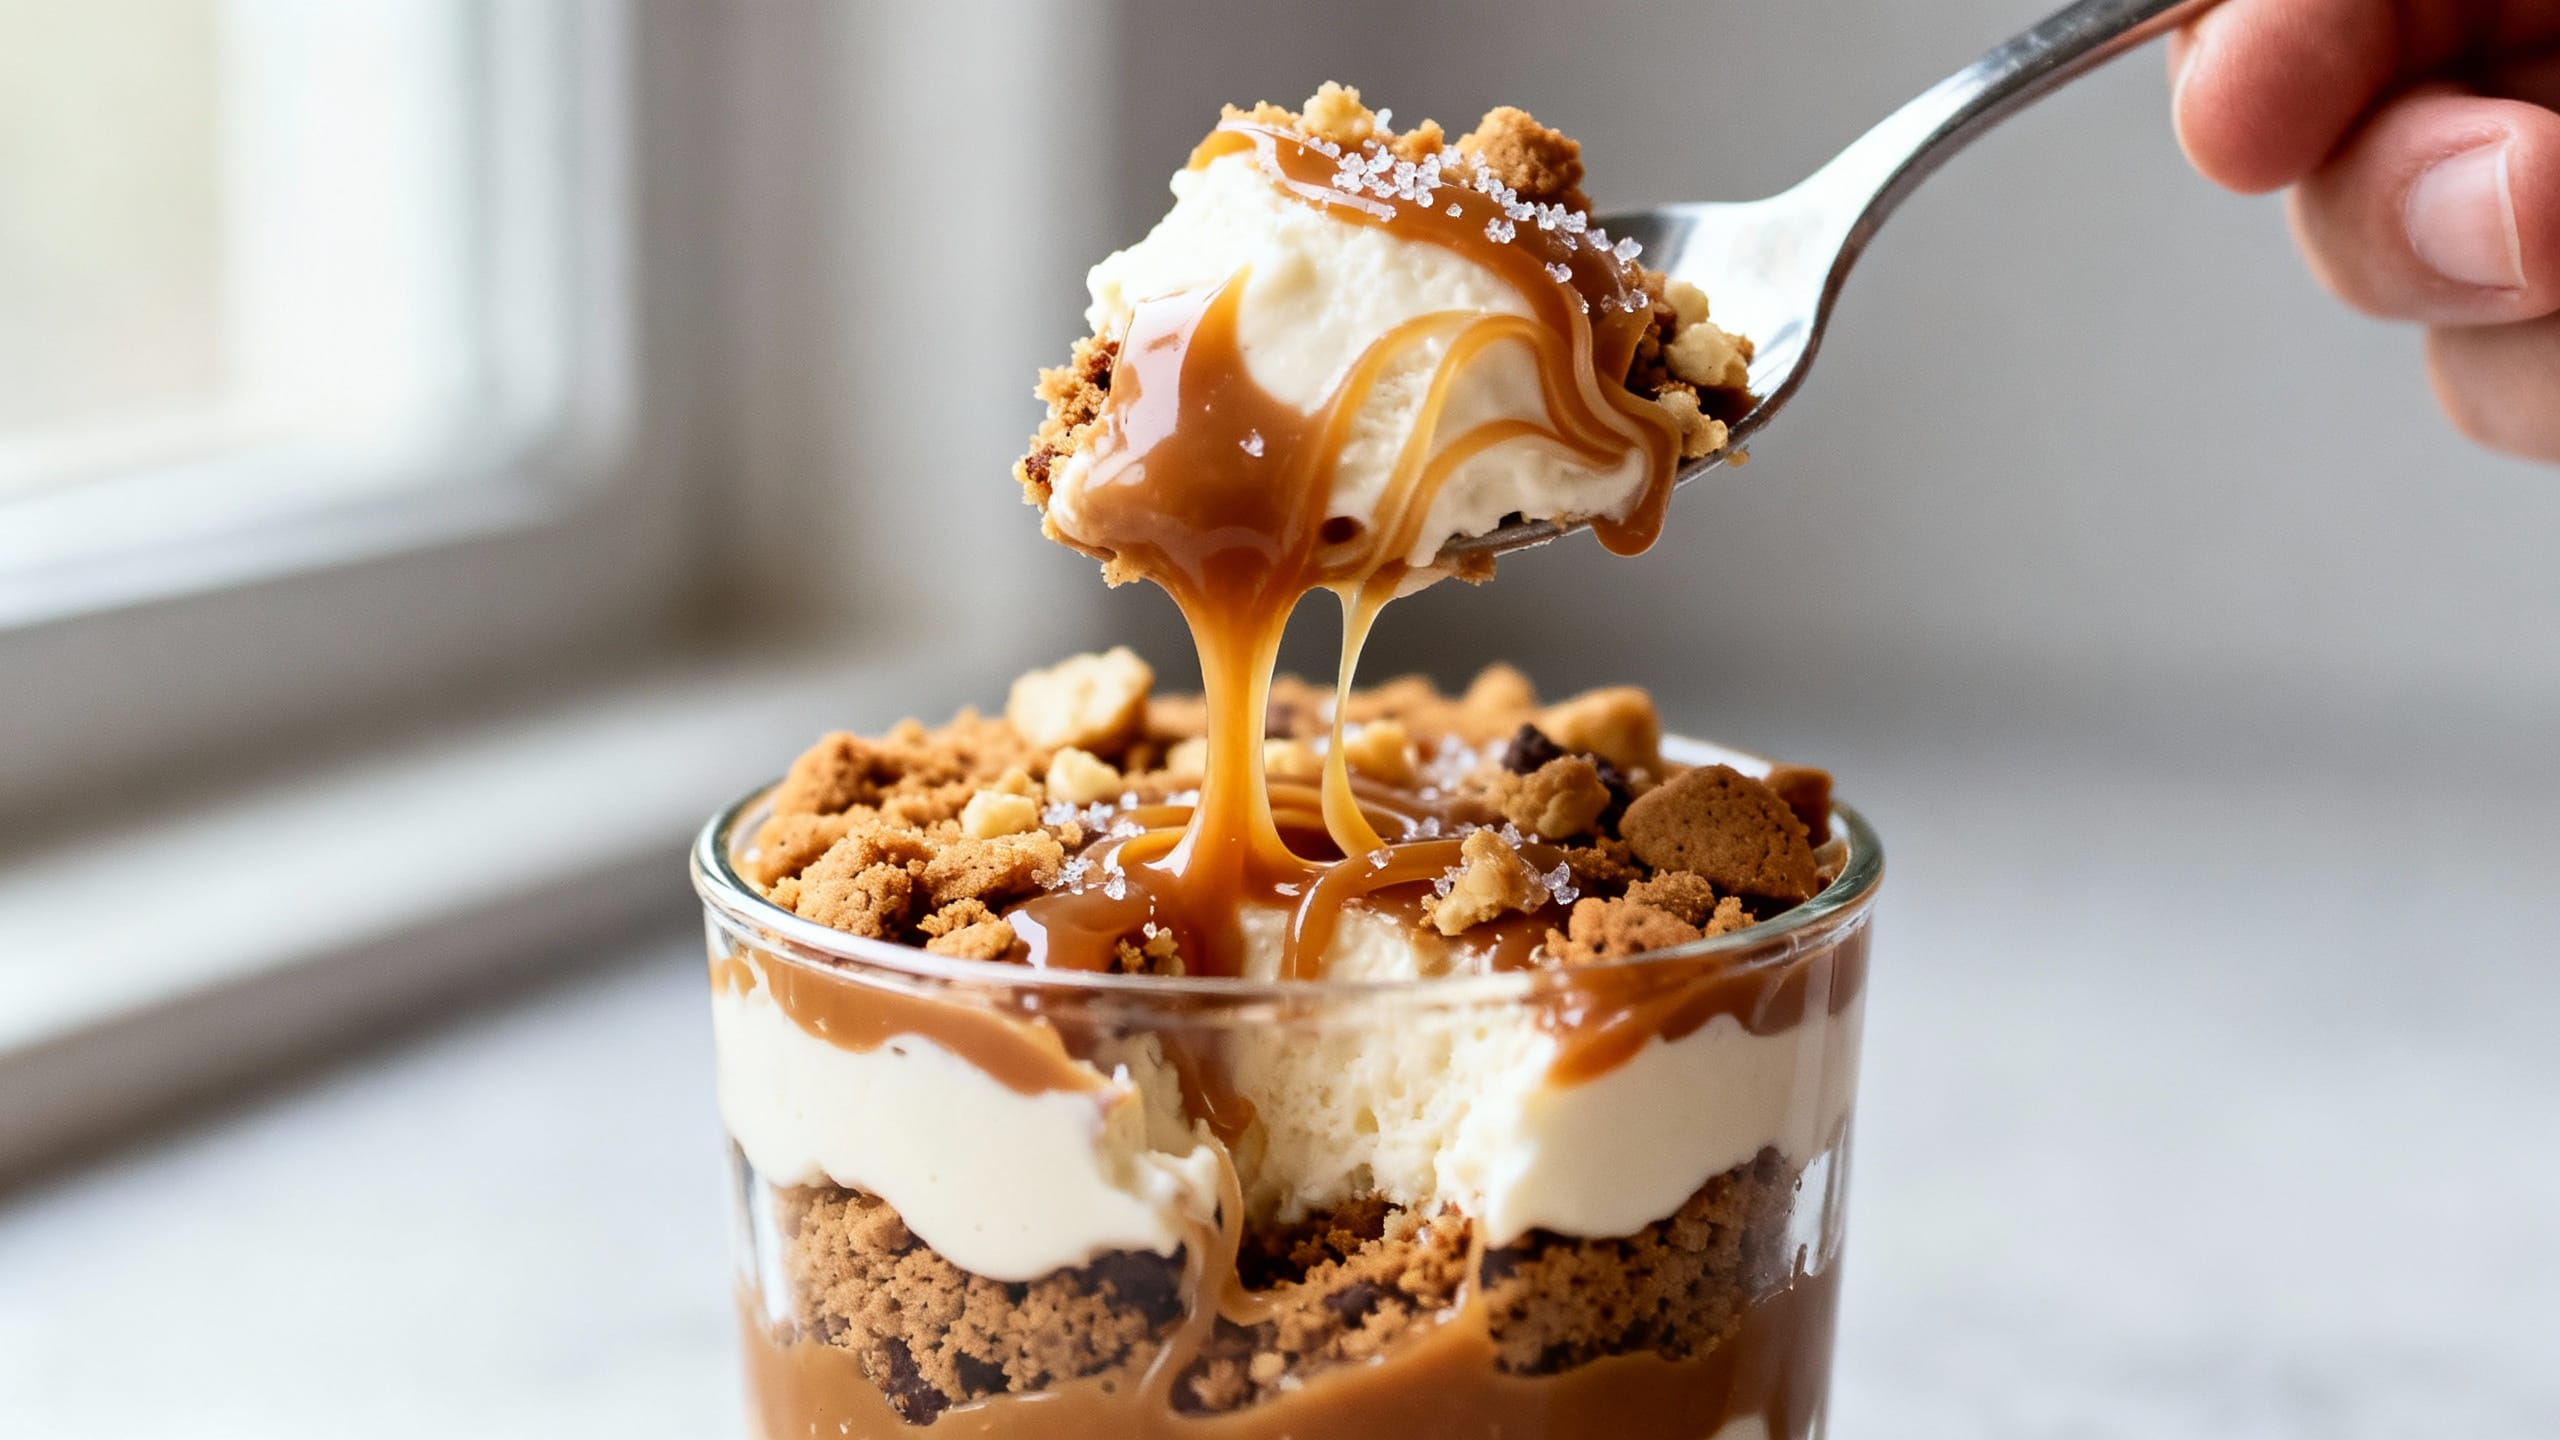
- Individual cups: Layer everything into small glasses or jars for grab-and-go party servings (and zero slicing pressure).
Storage & Reheating
Store covered in the refrigerator for up to 4 days. This dessert is meant to be served chilled, so no reheating needed. For best texture, add any crunchy garnish (toffee bits, nuts) right before serving so it stays crisp.
FAQ
Can I make this no-bake salted caramel dessert the day before my party?
Yes—please do. Overnight chilling gives the filling time to set and the flavors time to blend, so it tastes richer and slices neatly for serving.
What kind of caramel sauce works best?
Use a thick caramel sauce (often labeled “caramel topping” or “dessert caramel”), not a super runny syrup. If your caramel is very thick, warm it for a few seconds before drizzling so you get that pretty swirl.
How do I keep the crust from falling apart when I slice?
Press the crust firmly and chill it before adding the filling. Also, let the fully assembled dessert chill at least 6 hours. When slicing, use a sharp knife wiped clean between cuts for the cleanest edges.
Can I freeze it for later?
You can freeze it (wrapped well) for up to 1 month. Thaw overnight in the fridge. The texture may be slightly less fluffy after freezing, but it’s still very good—especially if you’re making it ahead for a busy week.
How do I make it look extra fancy for entertaining?
Do a caramel swirl on top, then finish with flaky sea salt and one “texture” garnish (toffee bits, toasted nuts, or chocolate shavings). Serve on a platter with a small spoon or offset spatula—presentation instantly levels up.