

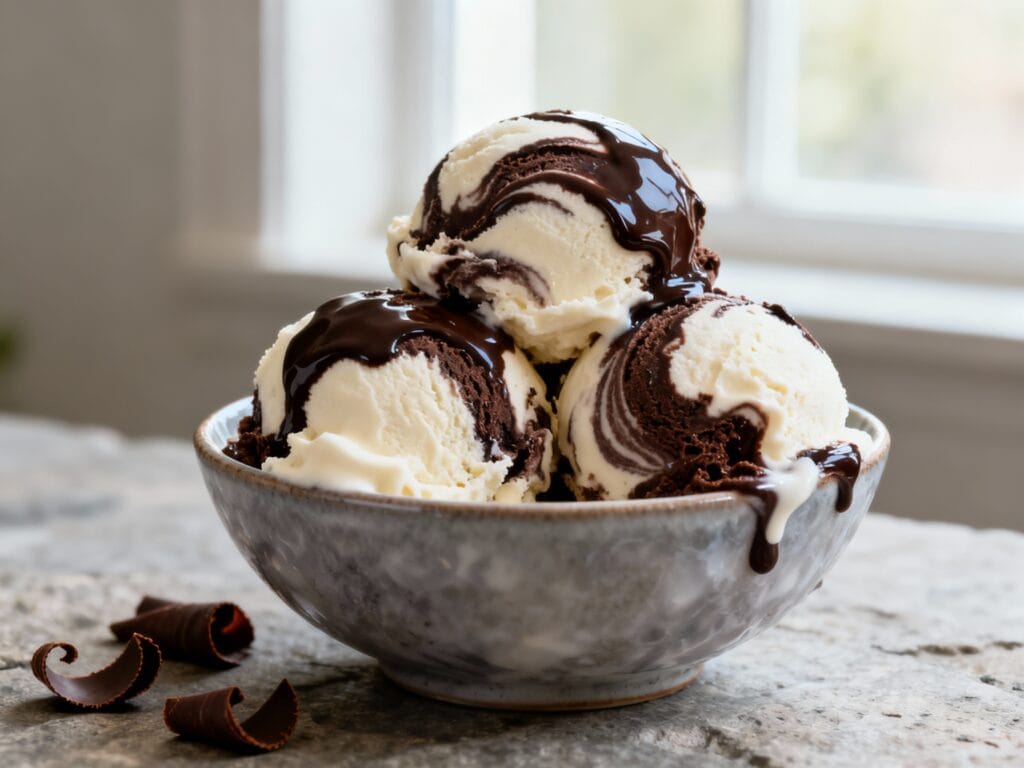
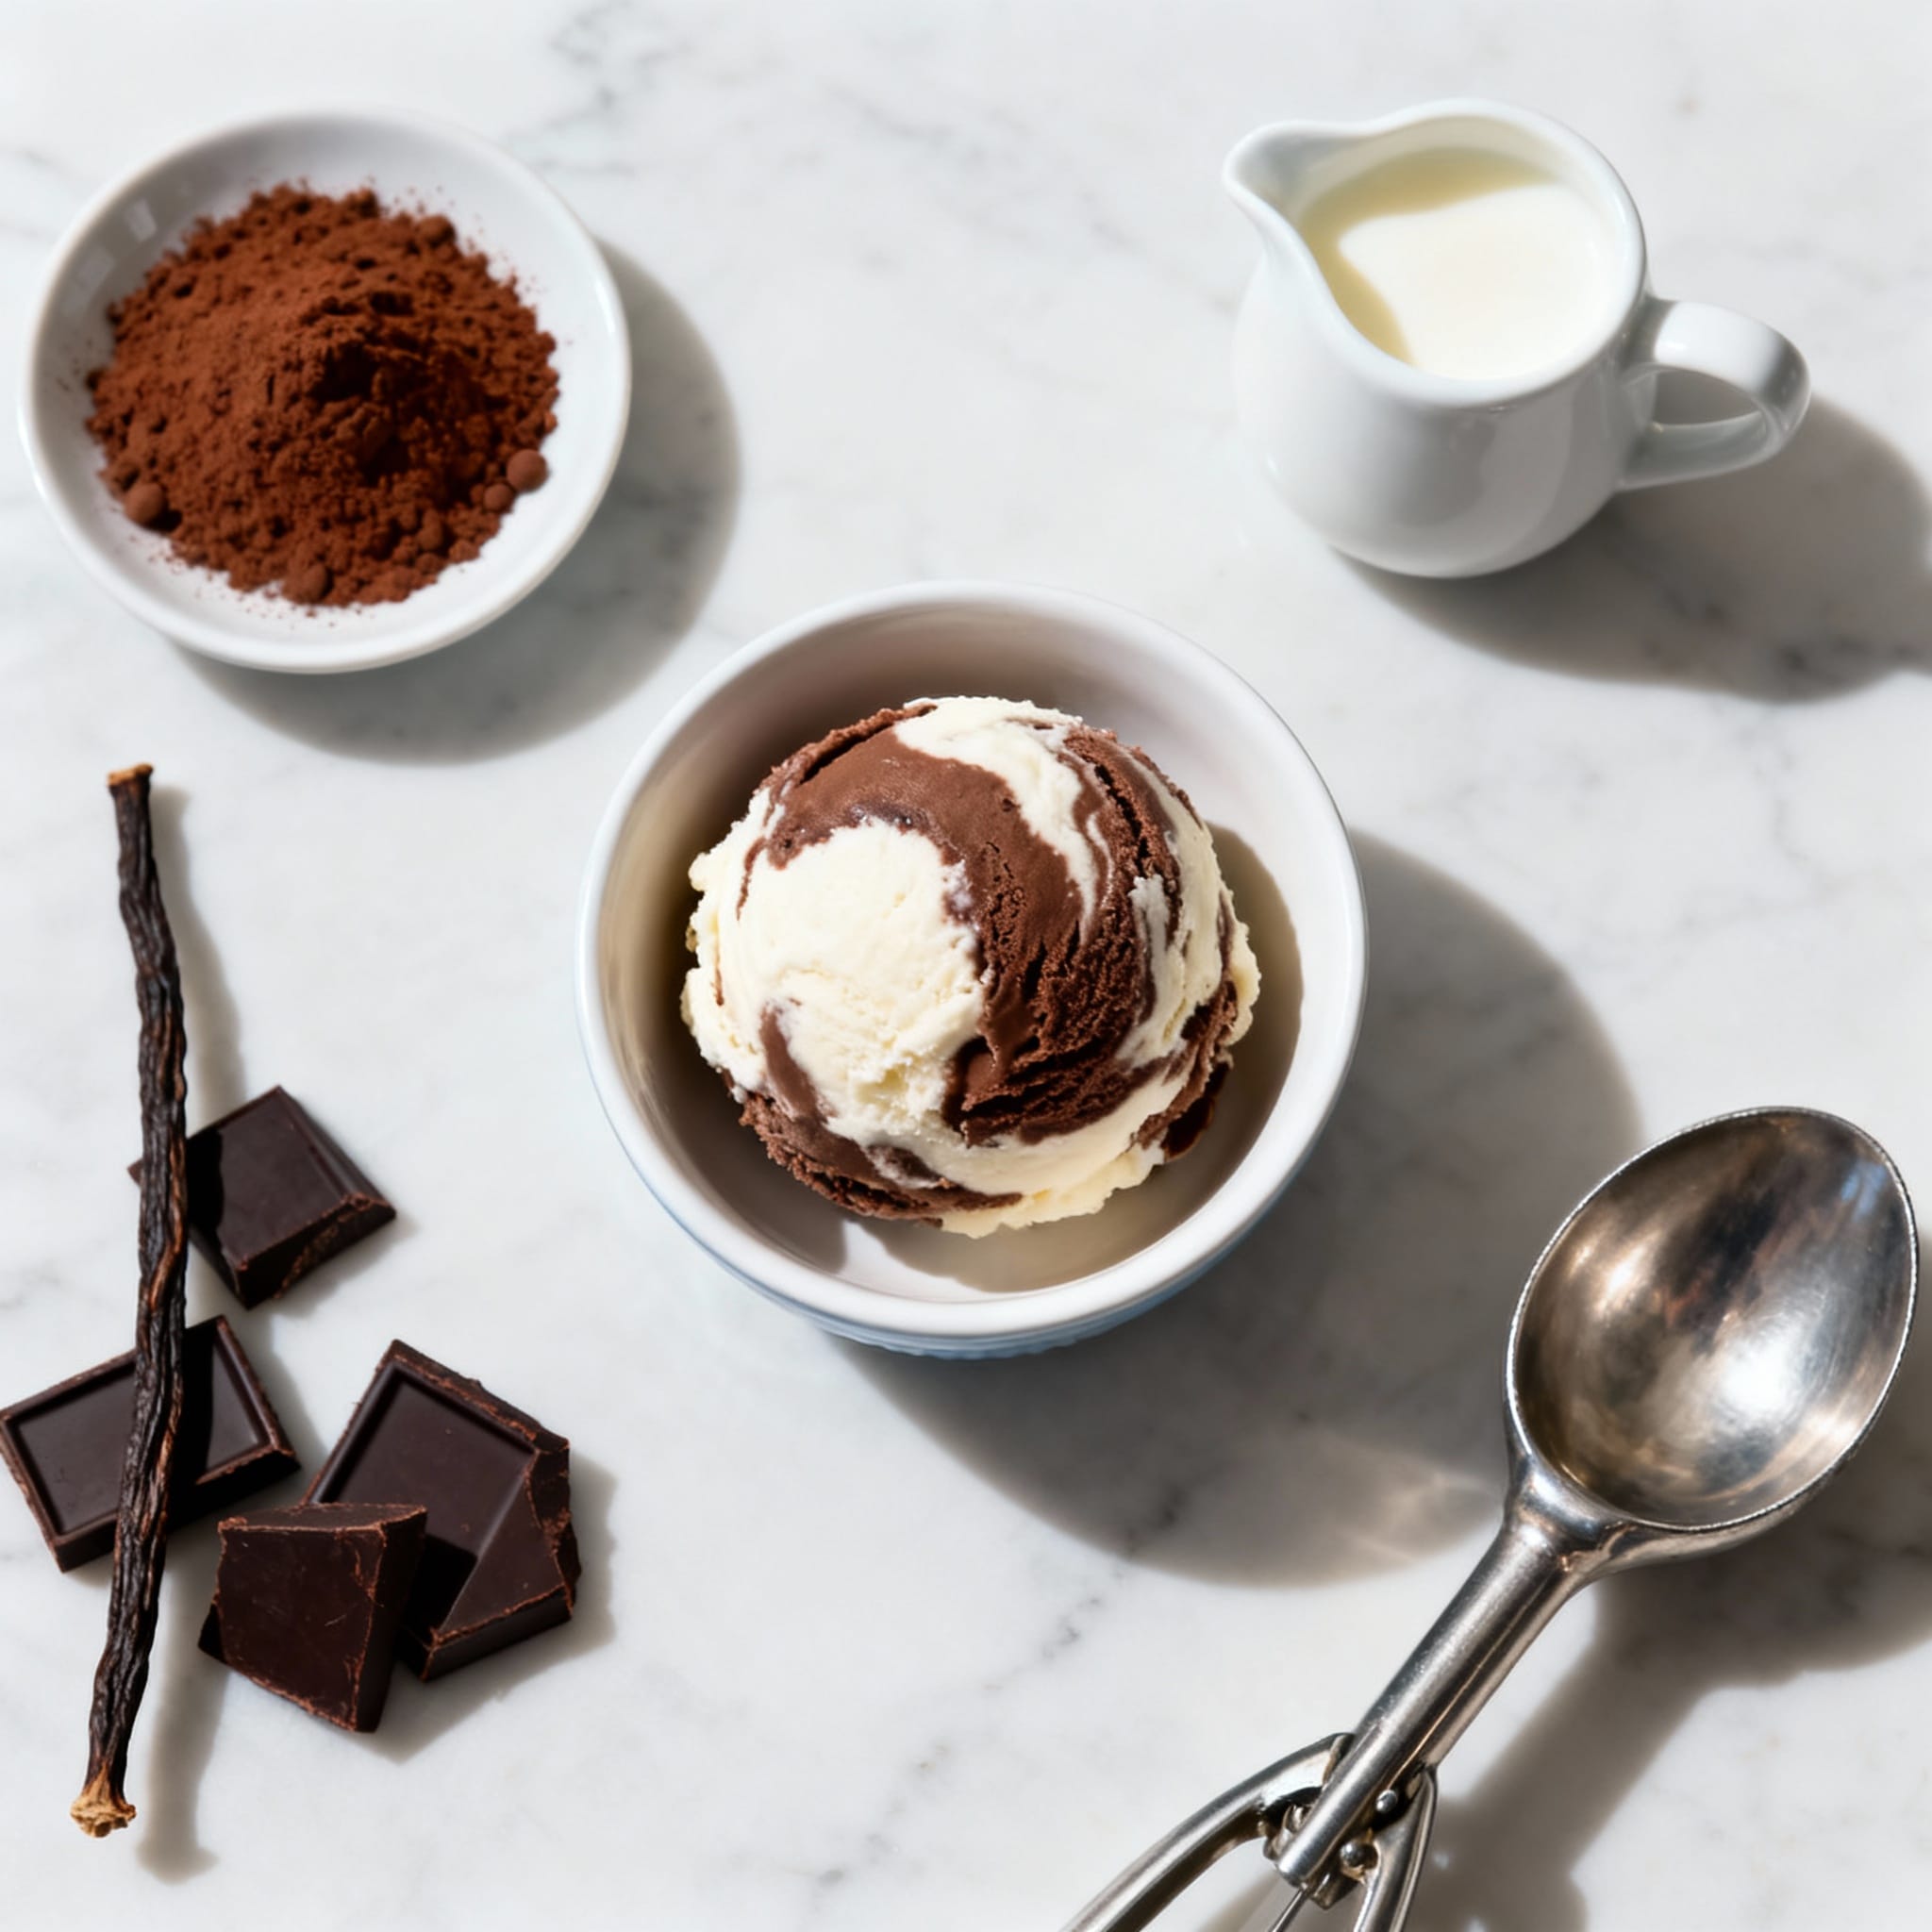
choco vanilla ice cream
This choco vanilla ice cream is the best of both worlds: rich chocolate ripple moments and dreamy vanilla creaminess in every scoop. It’s the kind of freezer treat that feels like a throwback (hello, classic swirl vibes) but tastes extra luxe because you made it at home.
No weird additives, no mystery “natural flavors”—just a smooth custard-style base, a glossy chocolate ribbon, and that perfect scoopable texture that makes you go back for “one more bite” five times.
Why You’ll Love This
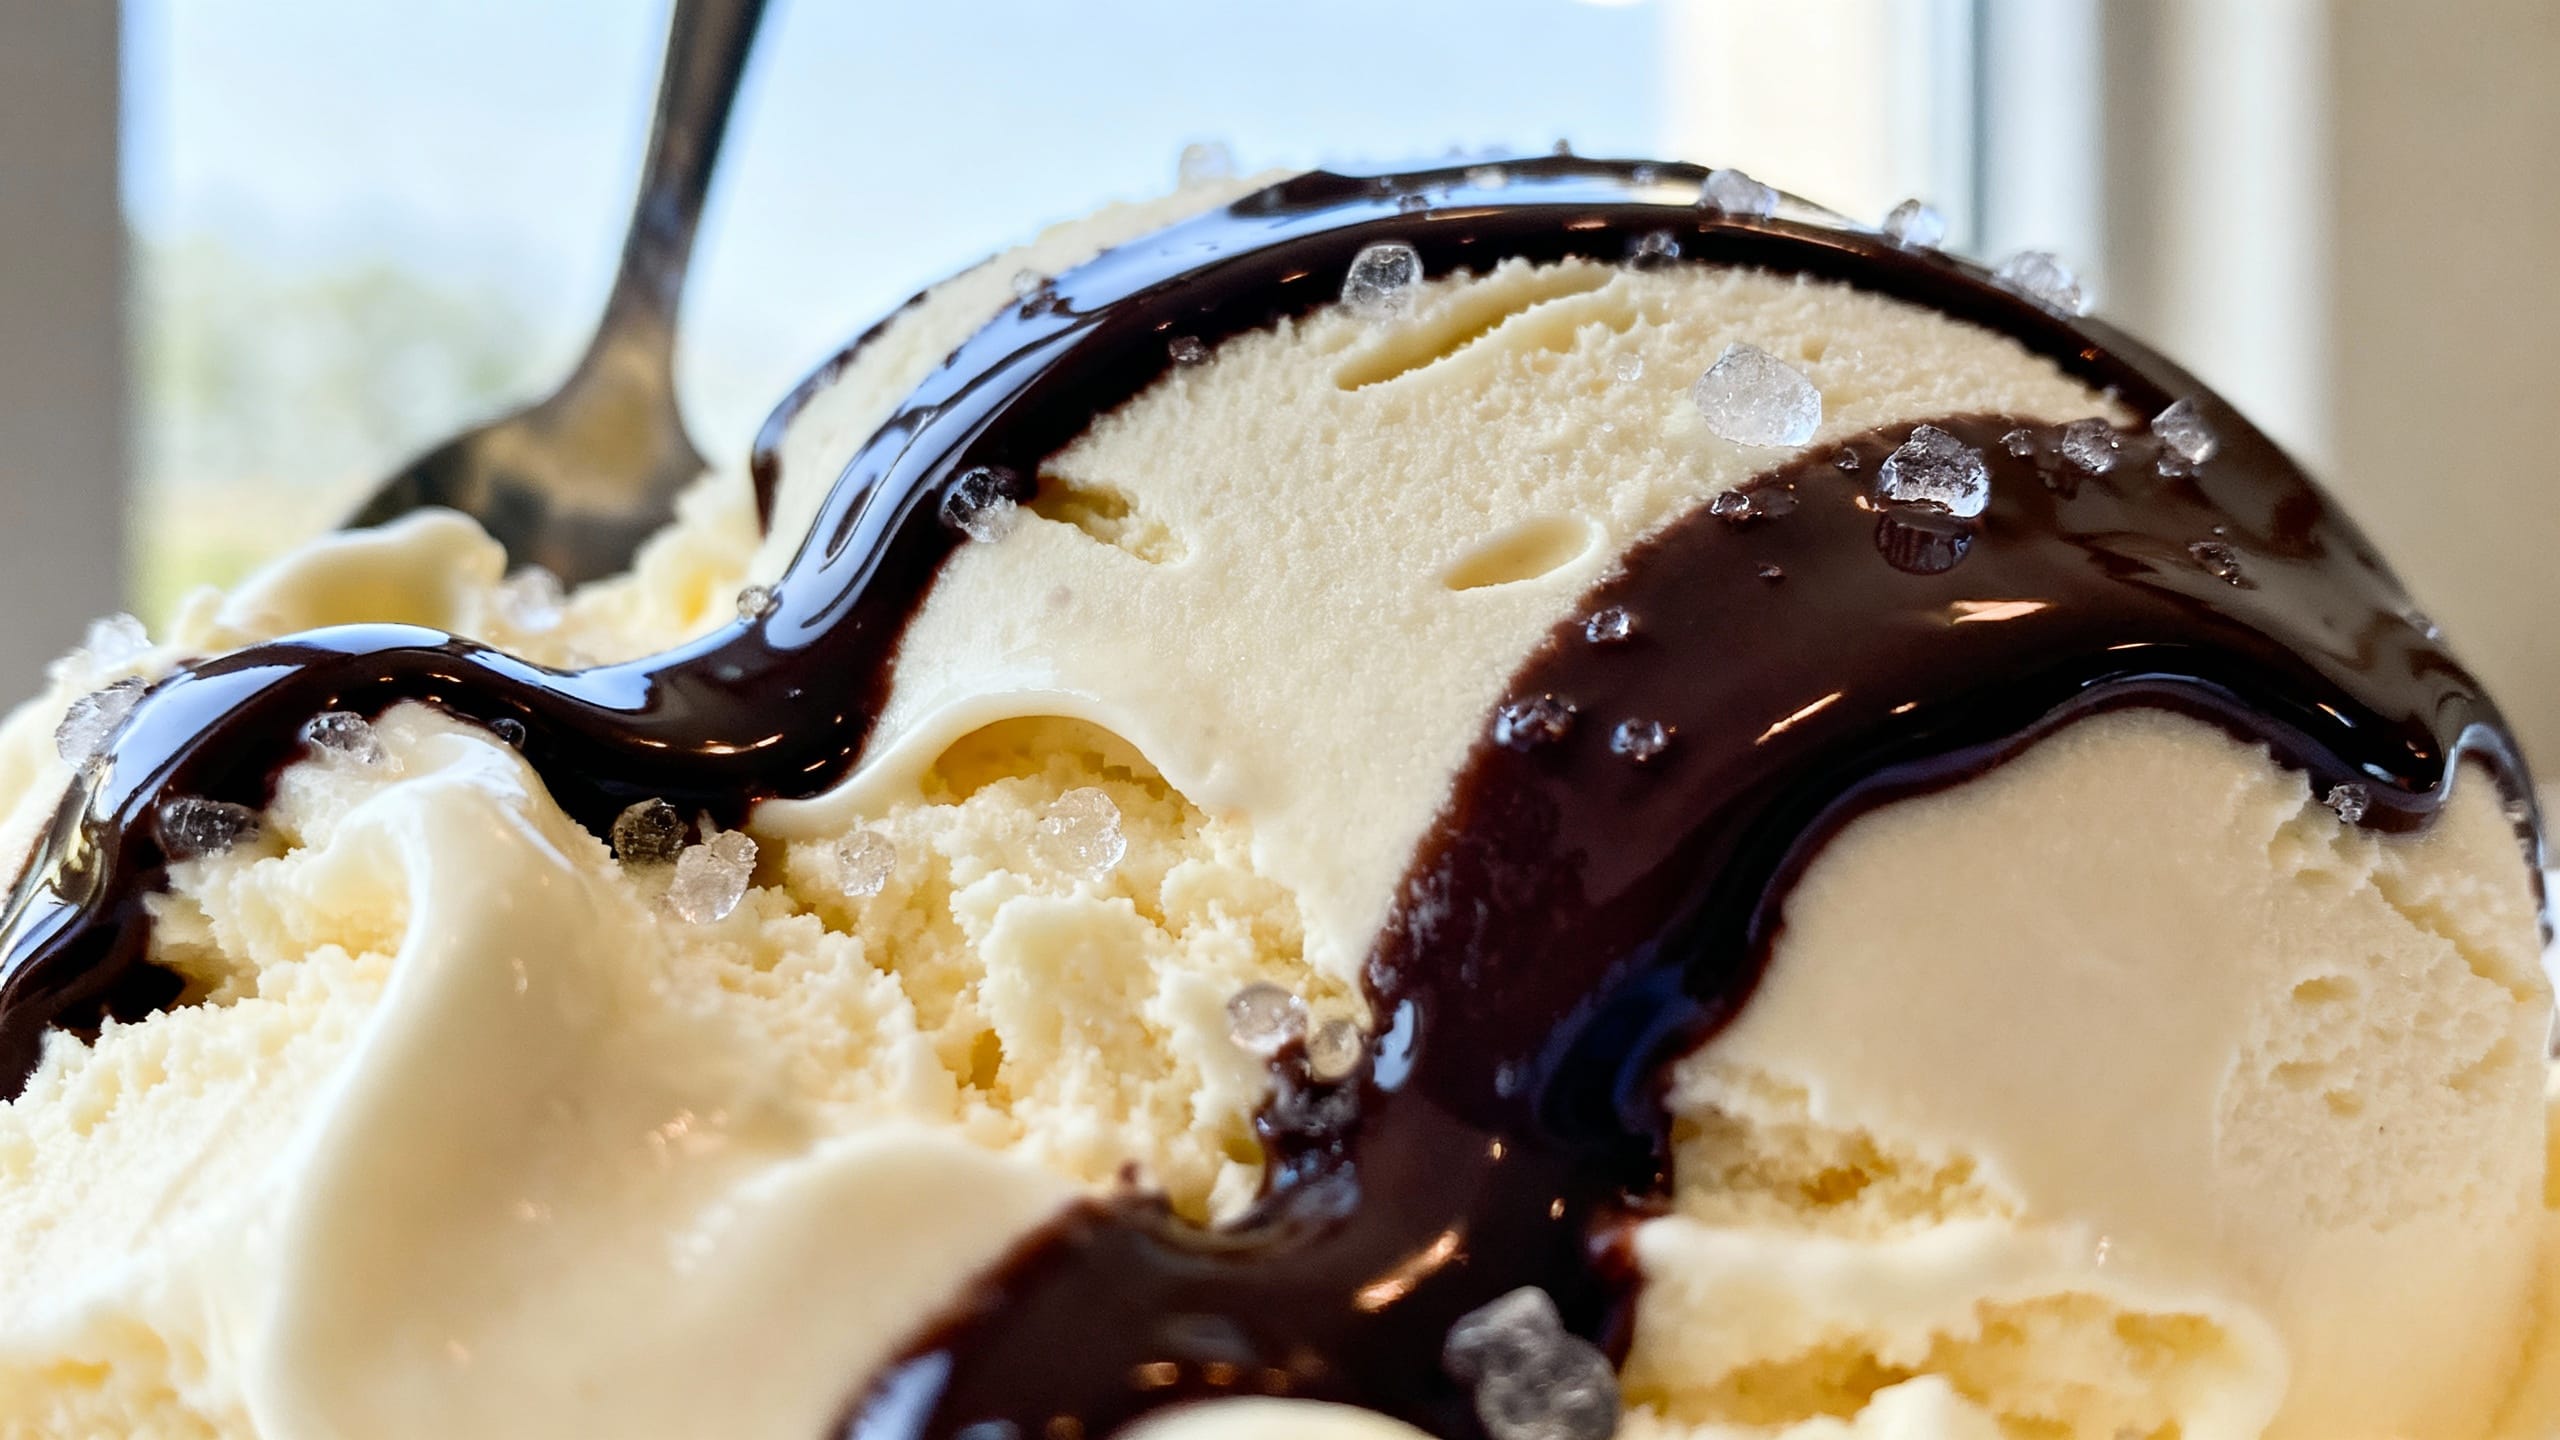
It’s ultra-creamy, deeply vanilla, and marbled with a fudgy chocolate ribbon that stays soft-ish even when frozen—so you get dramatic swirls without biting into a rock-solid chunk of chocolate.
Ingredients
- 2 cups heavy cream, divided
- 1 cup whole milk
- 3/4 cup granulated sugar
- 5 large egg yolks
- 1 tablespoon pure vanilla extract
- 1/4 teaspoon fine salt
- 1/2 cup semi-sweet chocolate chips (or chopped chocolate)
- 2 tablespoons unsweetened cocoa powder
- 2 tablespoons light corn syrup (helps keep the ripple smooth)
- 2 tablespoons water
How to Make It
- Set up your chill station. Place a fine-mesh strainer over a medium bowl. Add 1 cup of the heavy cream to the bowl. Set aside. (This cool cream helps the custard cool faster.)
- Warm the dairy. In a saucepan over medium heat, combine the remaining 1 cup heavy cream, the whole milk, and the sugar. Heat until steaming and the sugar dissolves, but don’t let it boil.
- Temper the yolks. In a separate bowl, whisk egg yolks. Slowly pour in about 1/2 cup of the hot milk mixture while whisking nonstop. Then whisk the warmed yolks back into the saucepan.
- Cook the custard. Stir constantly over medium-low heat until the custard thickens slightly and coats the back of a spoon (about 170–175°F if you have a thermometer). Don’t rush this—slow and steady keeps it silky.
- Strain + flavor. Pour the custard through the strainer into the bowl with the cold cream. Stir in vanilla and salt. Cool to room temp, then cover and chill until very cold (at least 4 hours, ideally overnight).
- Make the chocolate ripple. In a small saucepan, whisk together chocolate, cocoa powder, corn syrup, and water over low heat until smooth and glossy. Cool it until it’s thick but still pourable, like hot fudge that’s been sitting for a minute.
- Churn. Churn the chilled vanilla base in your ice cream maker according to the manufacturer’s instructions until it looks like soft serve.
- Swirl time. Spoon a layer of ice cream into a loaf pan or airtight container, drizzle a little chocolate ripple, and repeat 3–4 times. Use a butter knife to gently swirl—one or two figure-eights per layer is enough. Over-swirling turns it chocolate vanilla “muddy,” which is still tasty, but not the vibe.
- Freeze to set. Press parchment or plastic wrap directly on the surface, cover, and freeze 4–6 hours for scoopable perfection (overnight is even better).
Tips for the Best Results
- Chill the base all the way. The colder your custard is before churning, the smoother and faster it freezes.
- Don’t boil the custard. Boiling can scramble the yolks and leave you with a grainy base. Keep it gentle.
- Strain like you mean it. Even if you’re careful, straining catches any tiny cooked bits and guarantees that “fancy scoop shop” texture.
- Cool the chocolate ripple. If it’s too warm, it melts into the ice cream. If it’s too cold, it won’t ribbon—aim for thick and pourable.
- Use whole milk + real cream. This isn’t the time for low-fat swaps. Fat equals creaminess and softer scoops.
- Cover the surface. Pressing wrap onto the ice cream prevents icy crystals and freezer smells from crashing the party.
Variations
- Extra choco: Add 1/2 cup mini chocolate chips during the last minute of churning for texture plus swirl.
- Brownie batter energy: Fold in small brownie bites right before layering with the ripple.
- Mocha swirl: Stir 1 teaspoon instant espresso powder into the chocolate ripple for a deeper, café-style chocolate note.
- Cookies & cream twist: Replace half the chocolate ripple with crushed chocolate sandwich cookies layered in.
- Vanilla bean flex: Swap vanilla extract for 1 tablespoon vanilla bean paste (or steep 1 split vanilla bean in the warm dairy, then remove before tempering).
Storage & Serving
Store choco vanilla ice cream in an airtight container with parchment or plastic wrap pressed directly on top for up to 2 weeks for best flavor and texture. For the cleanest scoops, let it sit at room temperature for 5–10 minutes before serving—just enough to soften the edges without melting the swirls.

FAQ
Why is my homemade ice cream icy instead of creamy?
Icy texture usually comes from not enough fat, not chilling the base long enough, or freezing too slowly. Use heavy cream + whole milk, chill the custard until truly cold, and freeze in a shallow container with the surface covered to reduce ice crystals.
Can I make choco vanilla ice cream without an ice cream maker?
Yes, but the texture will be a little less airy. Chill the custard, pour into a shallow pan, freeze 45 minutes, then whisk vigorously. Repeat whisking every 30–45 minutes for about 3–4 rounds, then layer in the chocolate ripple and freeze until firm.
How do I keep the chocolate swirl from freezing rock-hard?
The corn syrup in the ripple is the trick—it helps keep the ribbon softer and more fudgy in the freezer. Also, don’t use plain melted chocolate alone; it will set hard. A little water plus syrup makes it swirl-friendly.
When should I add the chocolate ripple—during churning or after?
After. Adding ripple during churning usually breaks it up and blends it in too much. For defined swirls, layer the churned soft-serve ice cream with the cooled ripple in your container, then gently swirl and freeze to set.
How long does it need to freeze before it’s scoopable?
Plan on 4–6 hours after churning for a scoopable set, and overnight for the best structure. If your freezer runs very cold, let the container sit out 5–10 minutes before scooping so the vanilla base and chocolate ribbon feel extra creamy.