

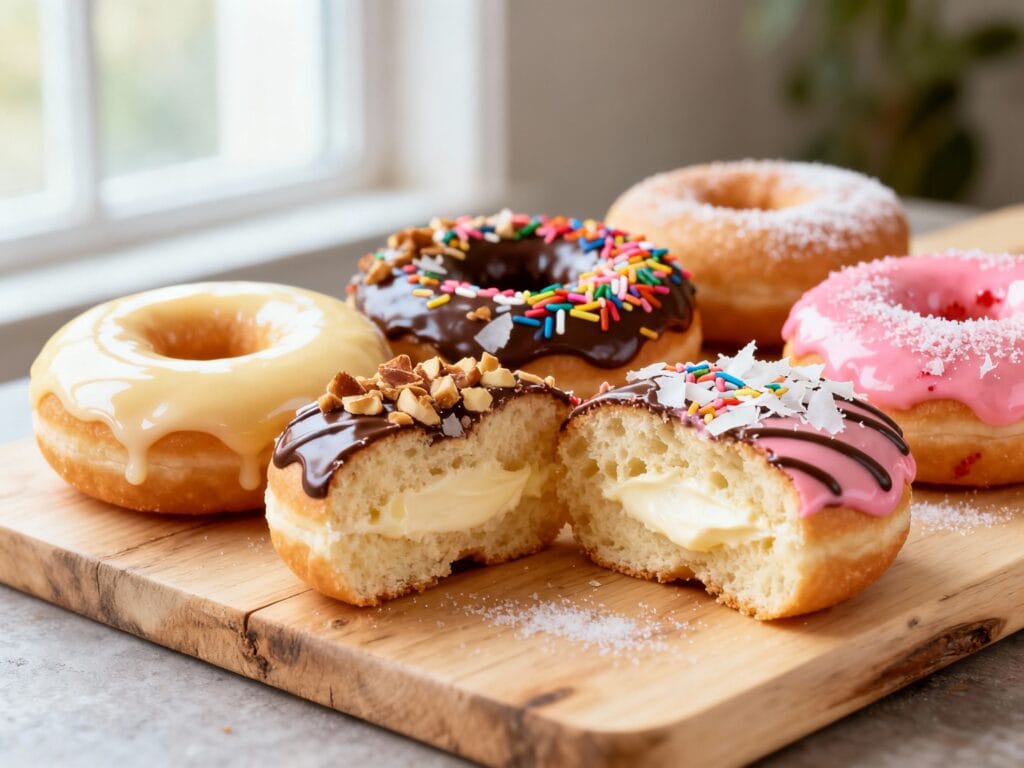
Homemade donuts are one of those “how is this my life right now?” kitchen wins. They’re warm, fluffy, and basically begging for a glossy glaze and a chaotic (but cute) topping moment.
This recipe gives you a classic yeast-raised donut base, plus options for glazes, fillings, and pro-level toppings so you can build a donut box that looks bakery-legit.
Why You’ll Love This
You get pillowy donuts with that signature tender chew, plus a choose-your-own-adventure lineup of glazes, fillings, and toppings—so every batch can be a different vibe without changing the base recipe.
Ingredients
- 3/4 cup warm milk (about 105–110°F)
- 2 1/4 tsp active dry yeast (1 packet)
- 1/4 cup granulated sugar
- 2 large eggs, room temp
- 1/4 cup unsalted butter, melted and cooled slightly
- 1 tsp vanilla extract
- 3 1/4 cups all-purpose flour, plus more for dusting
- 1 tsp fine salt
- Neutral oil for frying (canola/vegetable), enough for 2–3 inches in a pot
- Classic vanilla glaze: 2 cups powdered sugar, 3–5 tbsp milk, 1 tsp vanilla, pinch of salt
- Chocolate glaze: 1 1/2 cups powdered sugar, 1/4 cup cocoa powder, 3–5 tbsp milk, 1 tbsp melted butter
- Quick fillings (choose one): pastry cream, seedless jam, chocolate-hazelnut spread, or whipped cream
- Pro-level toppings (choose a few): sprinkles, toasted coconut, chopped nuts, crushed cookies, cocoa nibs, flaky salt, freeze-dried fruit powder
How to Make It
- Activate the yeast: In a large bowl, stir warm milk, yeast, and 1 tbsp of the sugar. Let sit 5–10 minutes until foamy. If it doesn’t foam, your yeast might be tired—restart for best results.
- Mix the dough: Whisk in remaining sugar, eggs, melted butter, and vanilla. Add flour and salt, then mix until a shaggy dough forms. Knead by hand 8–10 minutes (or stand mixer 5–6 minutes) until smooth and slightly tacky.
- First rise: Place dough in a lightly oiled bowl, cover, and let rise 60–90 minutes until doubled. Warmer kitchen = faster glow-up.
- Cut the donuts: Turn dough onto a floured surface and roll to about 1/2 inch thick. Cut with a donut cutter (or use a 3-inch round cutter plus a 1-inch cutter for holes). Place on parchment squares and cover lightly.
- Second rise: Let donuts proof 30–45 minutes until puffy. They should look airy and feel light when you pick one up carefully.
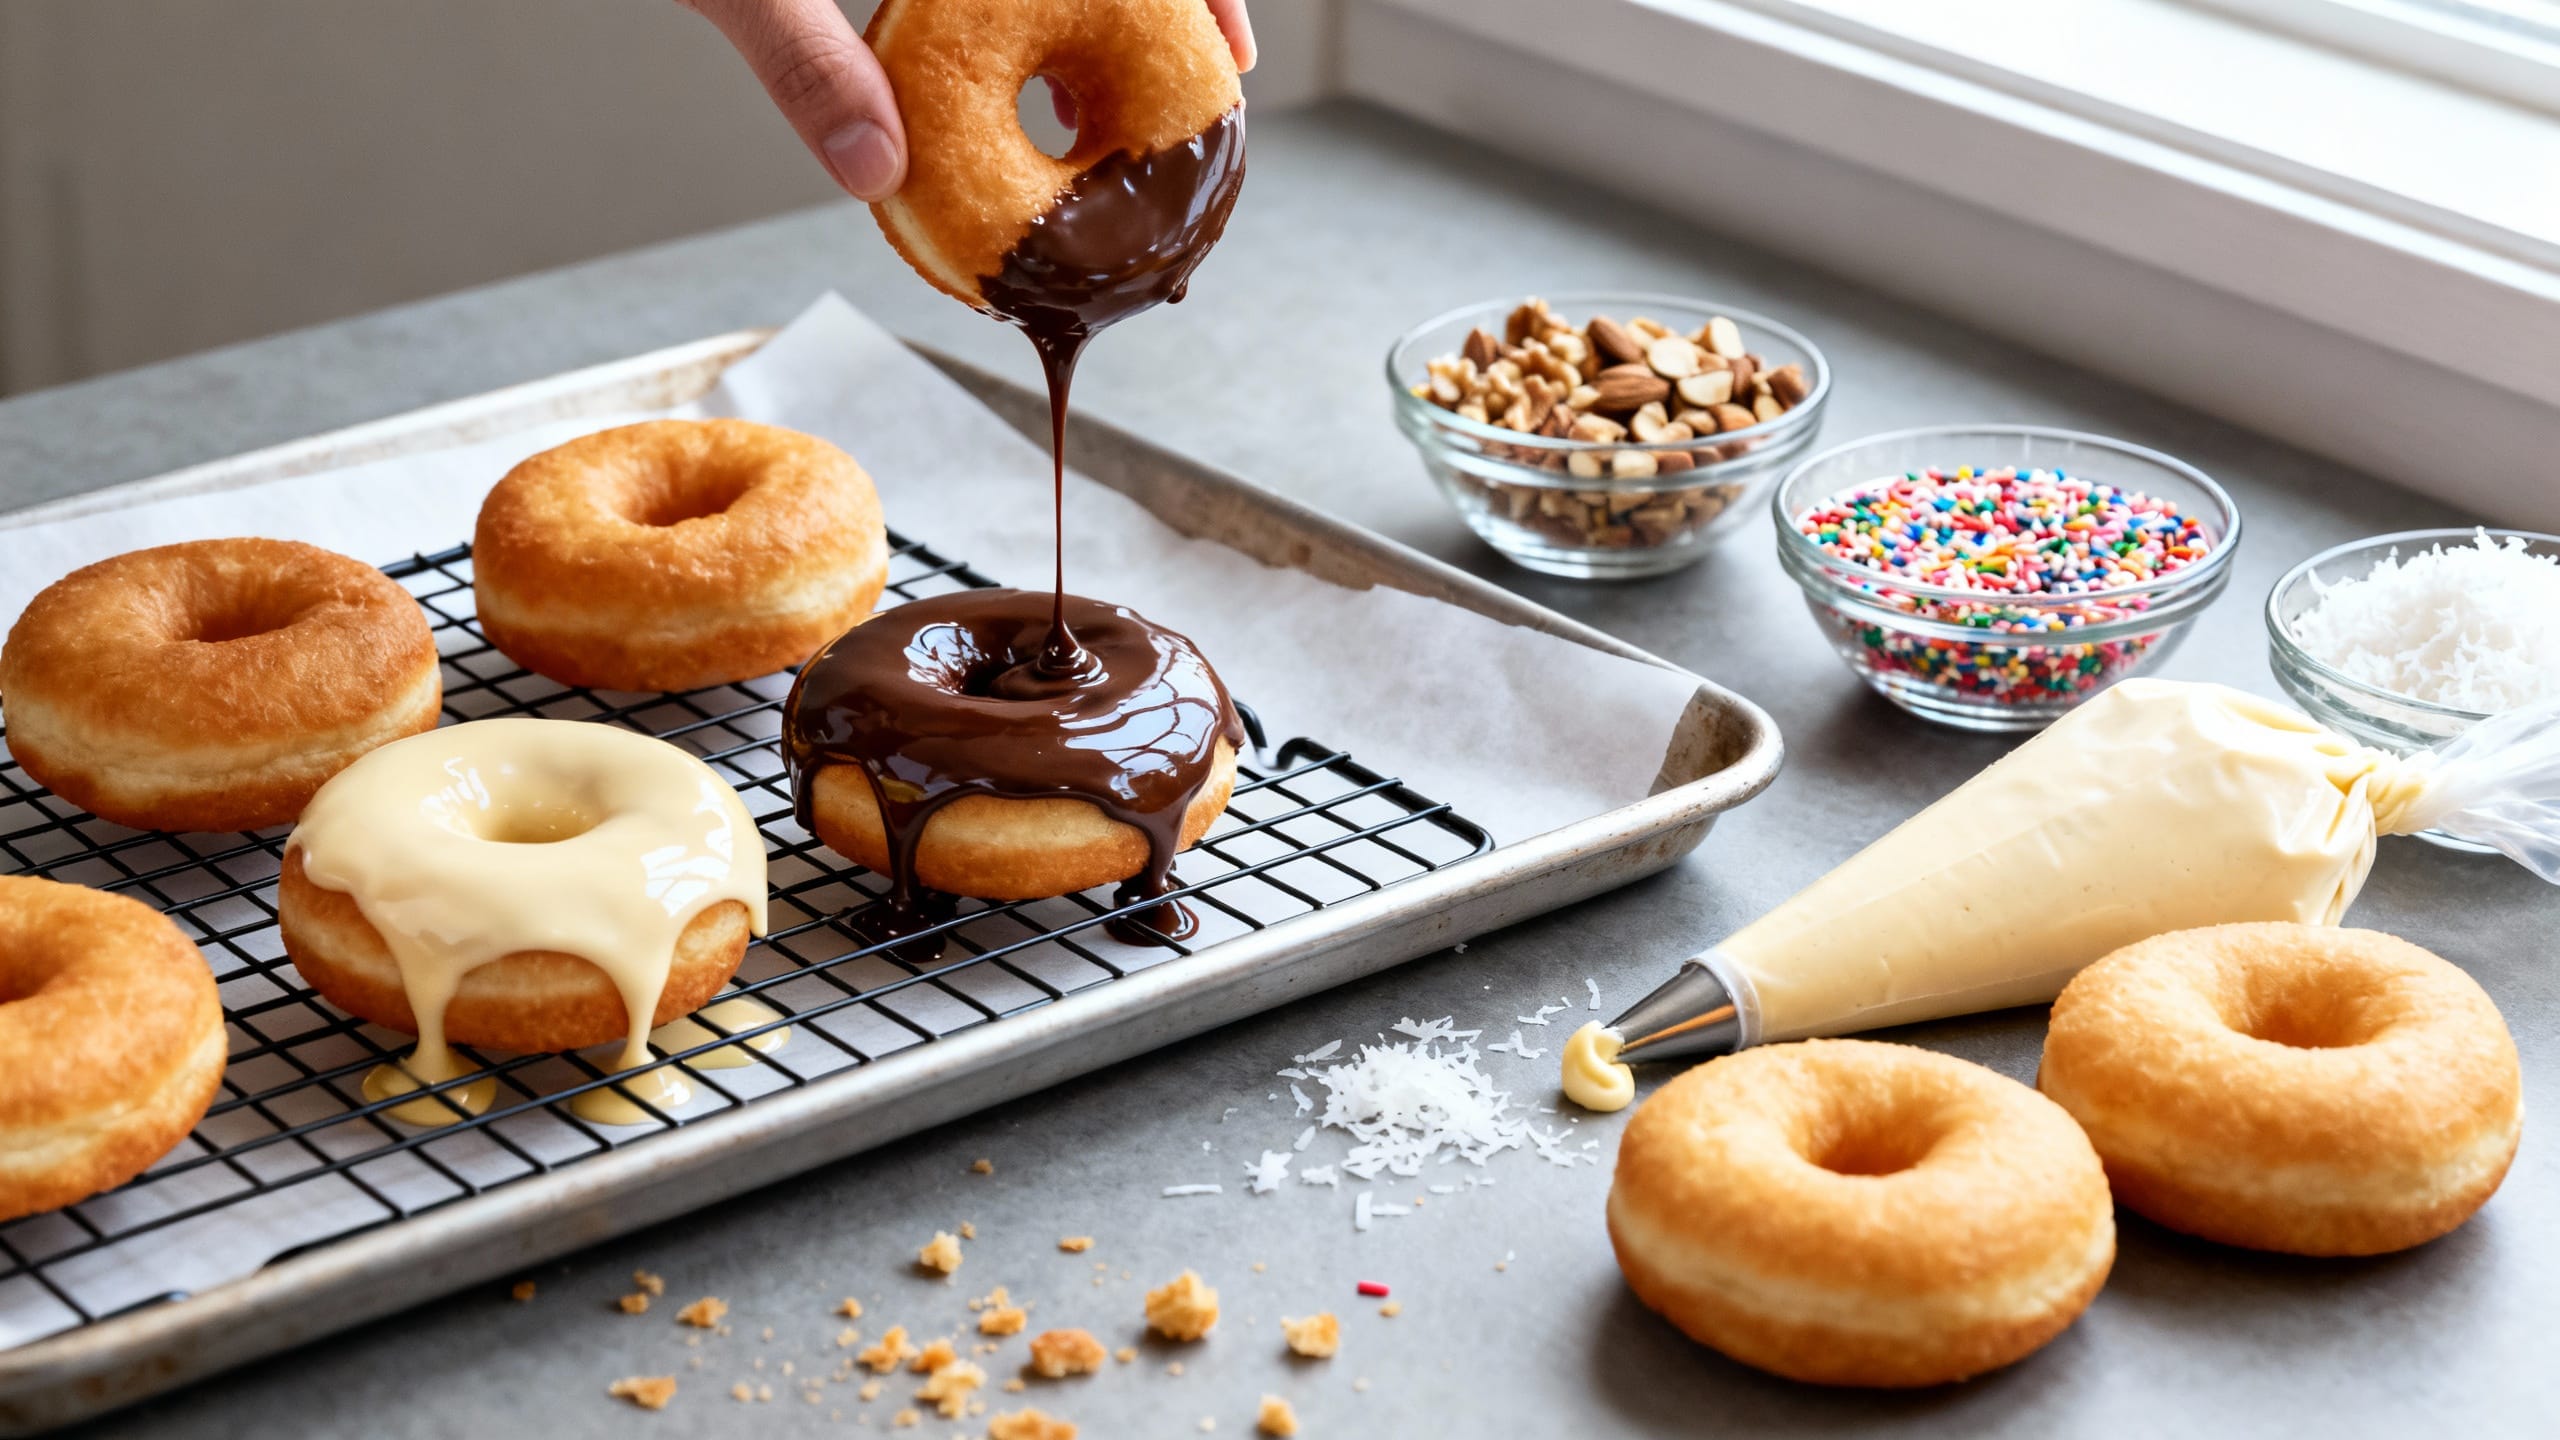
- Fry: Heat oil to 350°F. Fry 1–2 minutes per side until golden. Don’t crowd the pot—give them space to float and brown evenly. Transfer to a rack lined with paper towels.
- Glaze while warm-ish: When donuts are still slightly warm (not hot), dip tops into glaze or dunk fully. Set on a rack so excess drips off cleanly.
- Fill and finish: For filled donuts, skip cutting holes (cut rounds instead), fry, cool slightly, then poke a side hole and pipe in filling. Add toppings while glaze is wet so everything sticks like it means it.
Tips for the Best Results
- Use a thermometer for the oil. Too hot = dark outside, raw inside. Too cool = oily donuts.
- Don’t over-flour the dough. A slightly tacky dough fries up lighter and softer.
- Proof matters: under-proofed donuts can split and look rough; over-proofed donuts can collapse in the oil.
- Glaze timing is everything: dip when donuts are warm for a thin, shiny coat; dip when cooler for thicker coverage.
- For ultra-smooth glaze, sift powdered sugar and whisk until glossy. Add milk slowly—glaze goes from perfect to watery fast.
- Want bakery-style? Double-dip: glaze once, let set 10 minutes, then dip again for a thicker shell.
Variations
- Maple glaze: Swap vanilla glaze liquid for 2–3 tbsp maple syrup plus enough milk to thin; add a pinch of cinnamon.
- Strawberry crunch: Vanilla glaze + crushed freeze-dried strawberries + buttery cookie crumbs.
- Boston cream vibes: Fill with pastry cream, top with chocolate glaze, and finish with a few sprinkles of flaky salt.
- Lemon poppy: Add 1 tbsp lemon zest to the dough; glaze with lemon juice + powdered sugar; sprinkle poppy seeds on top.
- Cinnamon sugar classic: Skip glaze; toss warm donuts in 1/2 cup sugar + 2 tsp cinnamon.
- “Everything” topping (pro-level): Chocolate glaze + toasted nuts + cocoa nibs + a tiny pinch of flaky salt.
Storage & Reheating
Donuts are best the day they’re made, but leftovers keep in an airtight container at room temp for up to 2 days (filled donuts: refrigerate and eat within 24 hours). To rewarm, microwave unglazed donuts for 8–12 seconds or heat in a 300°F oven for 5–7 minutes; glaze after reheating for the prettiest finish.
FAQ
How do I know when the oil is the right temperature without a thermometer?
It’s doable, but a thermometer is the easiest win. If you’re guessing: drop in a small piece of dough. It should bubble immediately and rise to the surface within a few seconds, turning golden in about a minute per side. If it browns too fast, lower heat; if it sits there pale and sluggish, increase heat.
Can I bake these instead of frying?
This specific dough is built for frying, so baked results won’t have the same crisp-tender texture. If you want to try anyway, bake at 375°F for about 10–12 minutes until lightly golden, then brush with melted butter and dip in glaze. Expect more “sweet roll” energy than classic donut.
What fillings work best for homemade donuts?
Thicker fillings are the easiest: pastry cream, jam, lemon curd, or chocolate-hazelnut spread. If using whipped cream, fill only once donuts are fully cooled and plan to serve right away (and store leftovers in the fridge).
Why is my glaze sliding off or looking streaky?
Usually the donuts are too hot or the glaze is too thin. Let donuts cool 5–10 minutes so they’re warm but not steamy, and thicken glaze with more powdered sugar. For a super-smooth look, dip once, let set, then dip again.
How do I get “pro-level” toppings to actually stick?
Add toppings immediately after glazing while the surface is still wet. For heavier toppings (nuts, cookie chunks), press gently so they set into the glaze. If you’re doing a double-dip glaze, sprinkle toppings after the second dip for the cleanest, most dramatic finish.